 Little Things Made
Party
K-Pop Demon Hunters 3rd Birthday
The idea
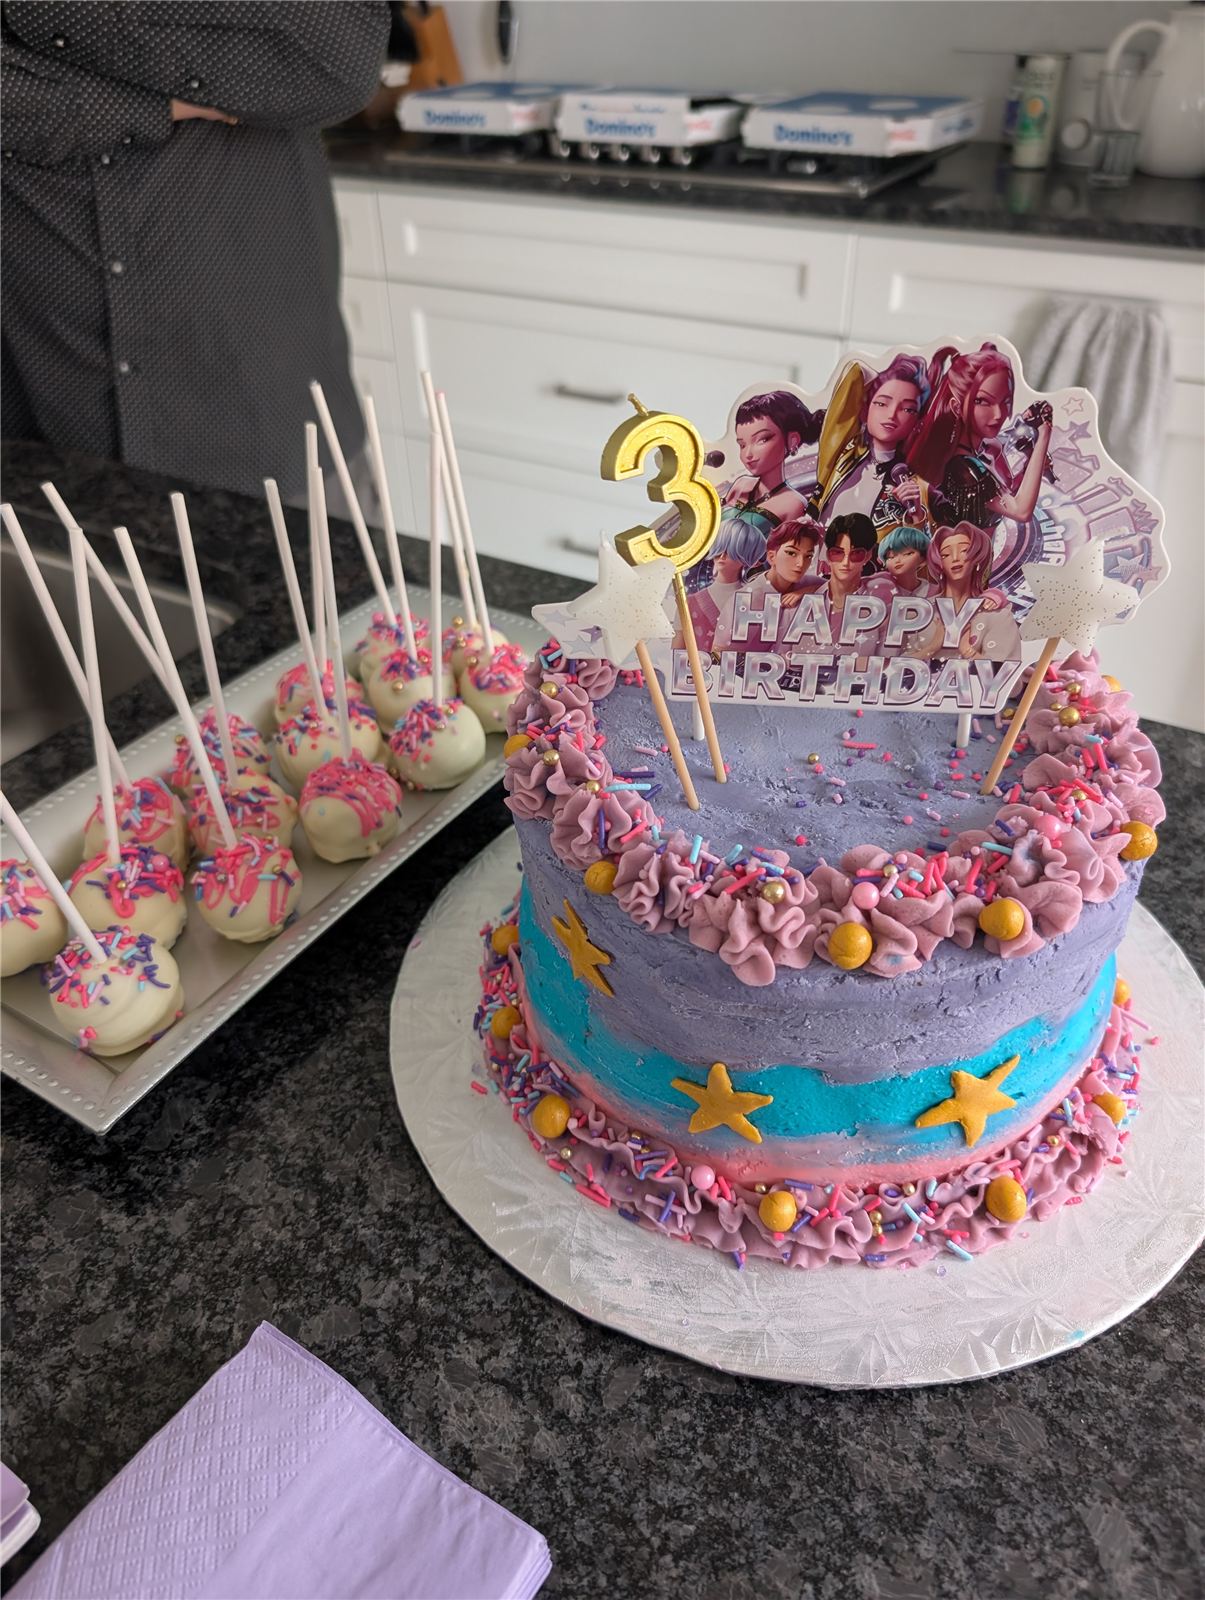
For a K-Pop Demon Hunters themed 3rd birthday, we handmade the pinata, the pin-the-braid party game, the whole photo wall, and baked the cake and cake pops ourselves. It came together as an ombre purple-to-blue-to-pink palette that tied every piece together.
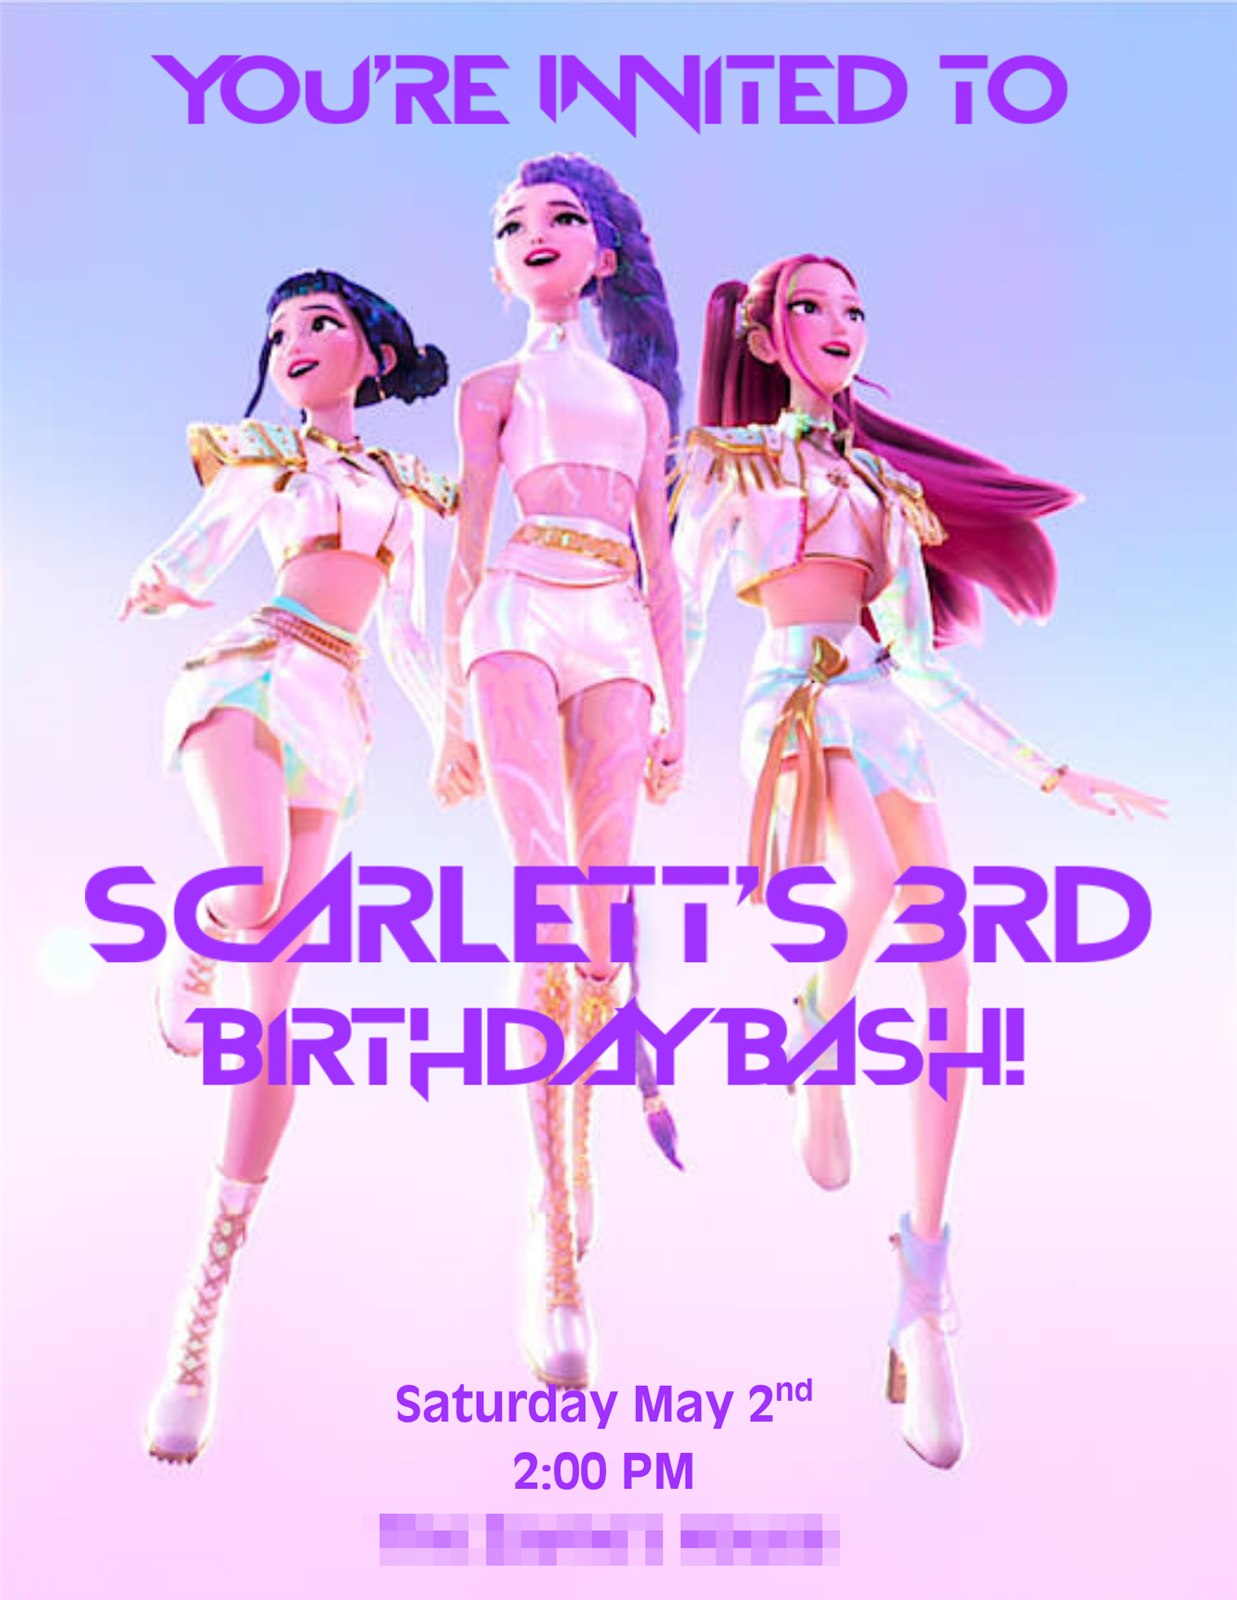
The invite set the palette for everything else: a group shot of the movie's characters (found via a Google image search) dropped into a Canva template, with the headline text run through the K-Pop Demon Hunters font generator on fontmeme.com for that glowing logo-style lettering.
Materials
- A large cardboard box, for the pinata base
- Hot glue gun & masking tape
- Crepe paper streamers (navy and mint), cut into fringe
- Coloured cardstock (yellow, orange, pink, white, black, red, purple), for the eyes, ears, teeth, and tongue
- Sturdy string, for hanging
- Rumi poster, for the photo backdrop and pin-the-braid game
- Purple cardstock braids (cut by hand) with guests' names, plus a blindfold, for pin-the-braid
- Coordinating balloons
- Toy sword, for smashing the pinata
The cake & cake pops
The cake is a three-layer vanilla cake iced in ombre bands — purple, blue, and pink — and one of the three cake layers gets set aside to become the cake pops, so nothing goes to waste.
K-Pop Ombre Vanilla Cake
Cake
- 3⅔ cups (433g) all-purpose flour
- 1 tsp salt
- 2 tsp baking powder
- ¾ tsp baking soda
- 1½ cups (340g) unsalted butter, at room temperature
- 2 cups (400g) granulated sugar
- 4 large eggs
- 1 tbsp pure vanilla extract
- 1½ cups (360ml) buttermilk, at room temperature
Vanilla Buttercream
- 5½ cups (650g) confectioners' sugar
- ⅔ cup (80ml) whole milk or heavy cream
- 1½ tsp pure vanilla extract
- Gold fondant, for the stars and pearls
- Pink, blue, and purple gel food colouring
Method
- Preheat oven to 350°F. Grease three 9-inch cake pans, line with parchment paper rounds, then grease the parchment too — it helps the cakes release cleanly.
- Whisk the flour, salt, baking powder, and baking soda together and set aside.
- Beat the butter and sugar on high speed until smooth and creamy, about 3 minutes. Beat in the eggs and vanilla extract until combined, about 2 minutes.
- With the mixer on low, add the dry ingredients just until combined, then pour in the buttermilk and mix just until combined.
- Divide the batter evenly among the three pans and bake 23–26 minutes, until a toothpick inserted in the center comes out clean. Cool completely in the pans on a wire rack before frosting — the cakes must be fully cool before assembling.
- For the buttercream, beat the confectioners' sugar, milk, and vanilla on low speed until combined, then increase to high and beat for 2 minutes.
- Set one cooled cake layer aside for the cake pops (recipe below). Divide the remaining buttercream into three bowls and tint one pink, one blue, and one purple.
- Stack and fill the two remaining cake layers with buttercream, then apply a thin crumb coat around the whole cake and chill briefly until firm.
- Ice the cake in three ombre bands — pink around the base, blue through the middle, and purple on the top third — smoothing each band on with an offset spatula, then run a bench scraper around the cake to blend the colours softly where they meet.
- Fit a piping bag with a petal (ruffle) tip and pipe a ruffled border of pink buttercream around the top edge and the base. While the icing is still soft, press gold fondant stars and pearls into the blue band and along the top border, then finish with a scatter of sprinkles and the cake topper.
K-Pop Cake Pops
Ingredients
- 1 reserved 9-inch cake layer (from the recipe above)
- 1½ cups vanilla buttercream (reserved from above)
- 24 oz candy melts
- Sprinkles
- Lollipop sticks
Method
- Crumble the reserved cake layer into a stand mixer and mix with the buttercream until the mixture can be molded into a ball without crumbling.
- Scoop out a tablespoon at a time and roll into balls. Place on a parchment-lined baking sheet and repeat.
- Chill the tray for 1–2 hours, until firm.
- Melt the candy melts in the microwave in 20-second bursts, stirring between each, until smooth.
- Working with a couple of cake balls at a time, dip about ½ inch of a lollipop stick into the coating, then insert it about halfway into the center of the cake ball.
- Dip each cake ball fully into the coating until completely covered, making sure the coating covers the base where it meets the stick. Gently tap the stick against the edge of the bowl to let the excess drip off.
- Decorate with sprinkles while the coating is still wet, then stand upright in a foam block or box until fully set.
What we did
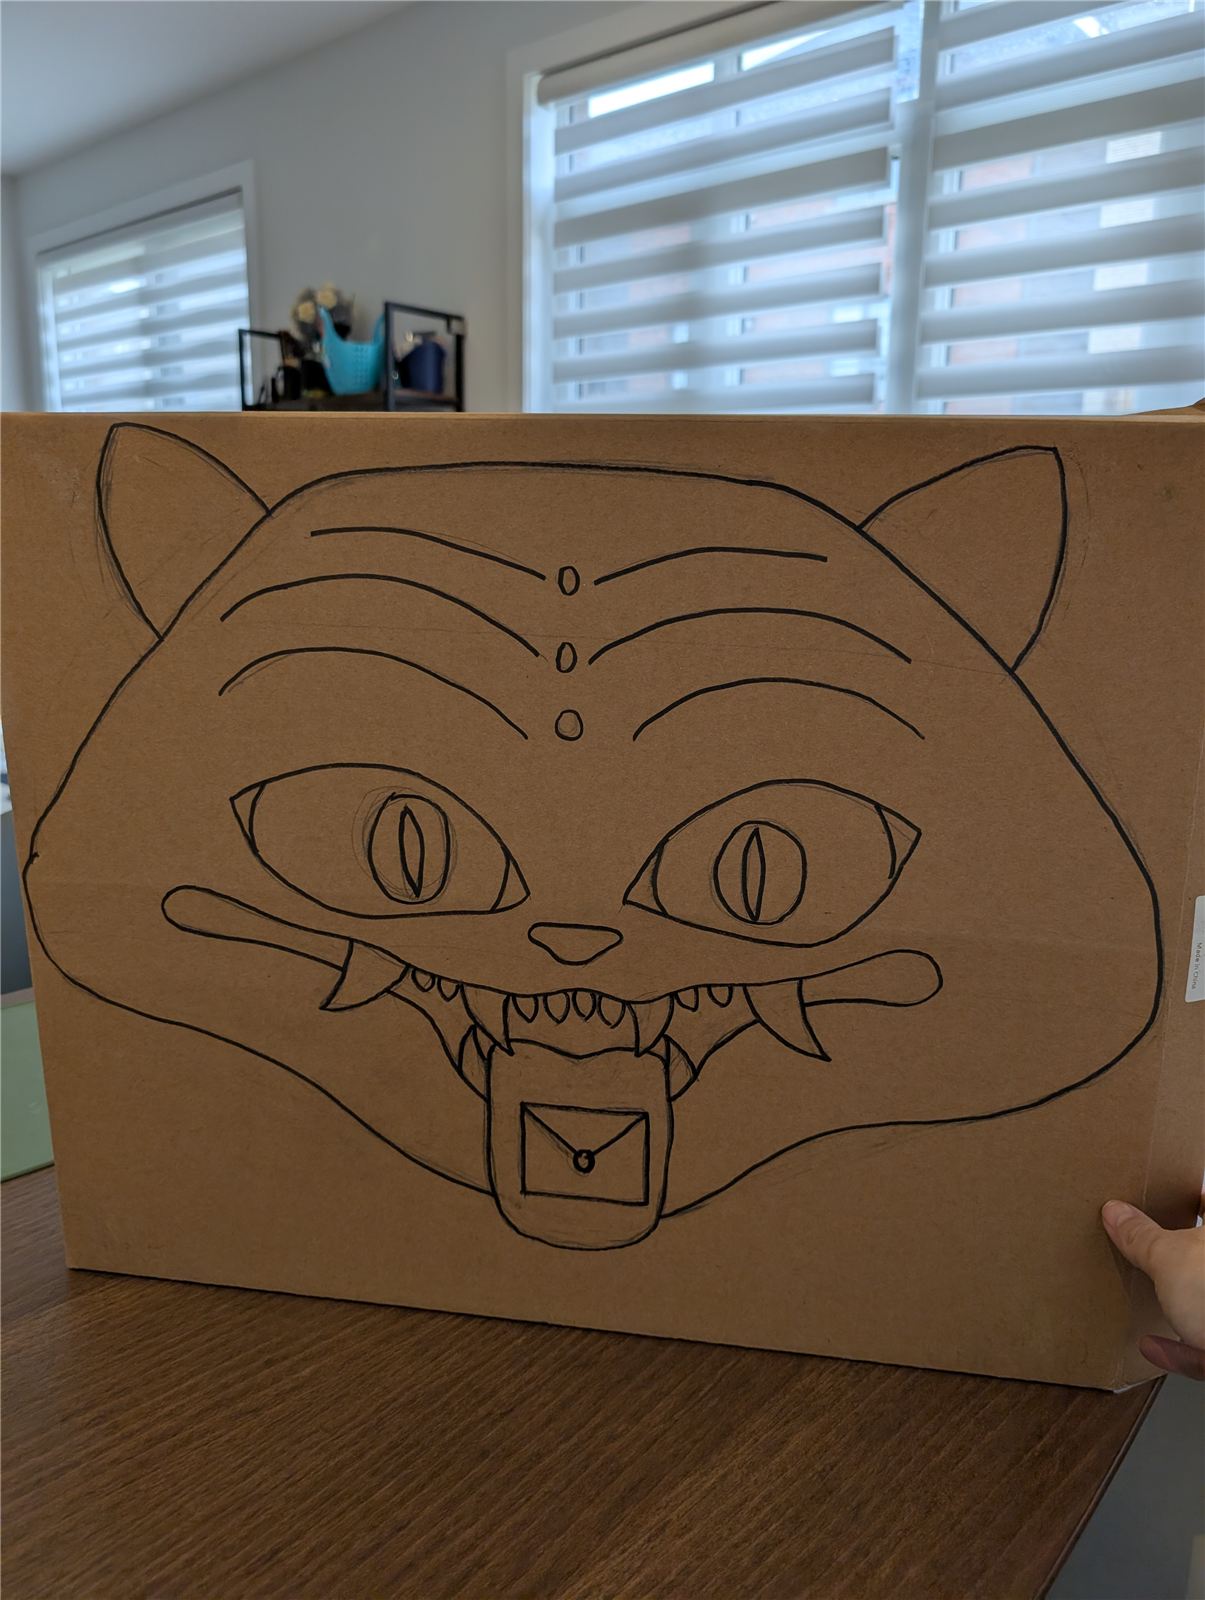
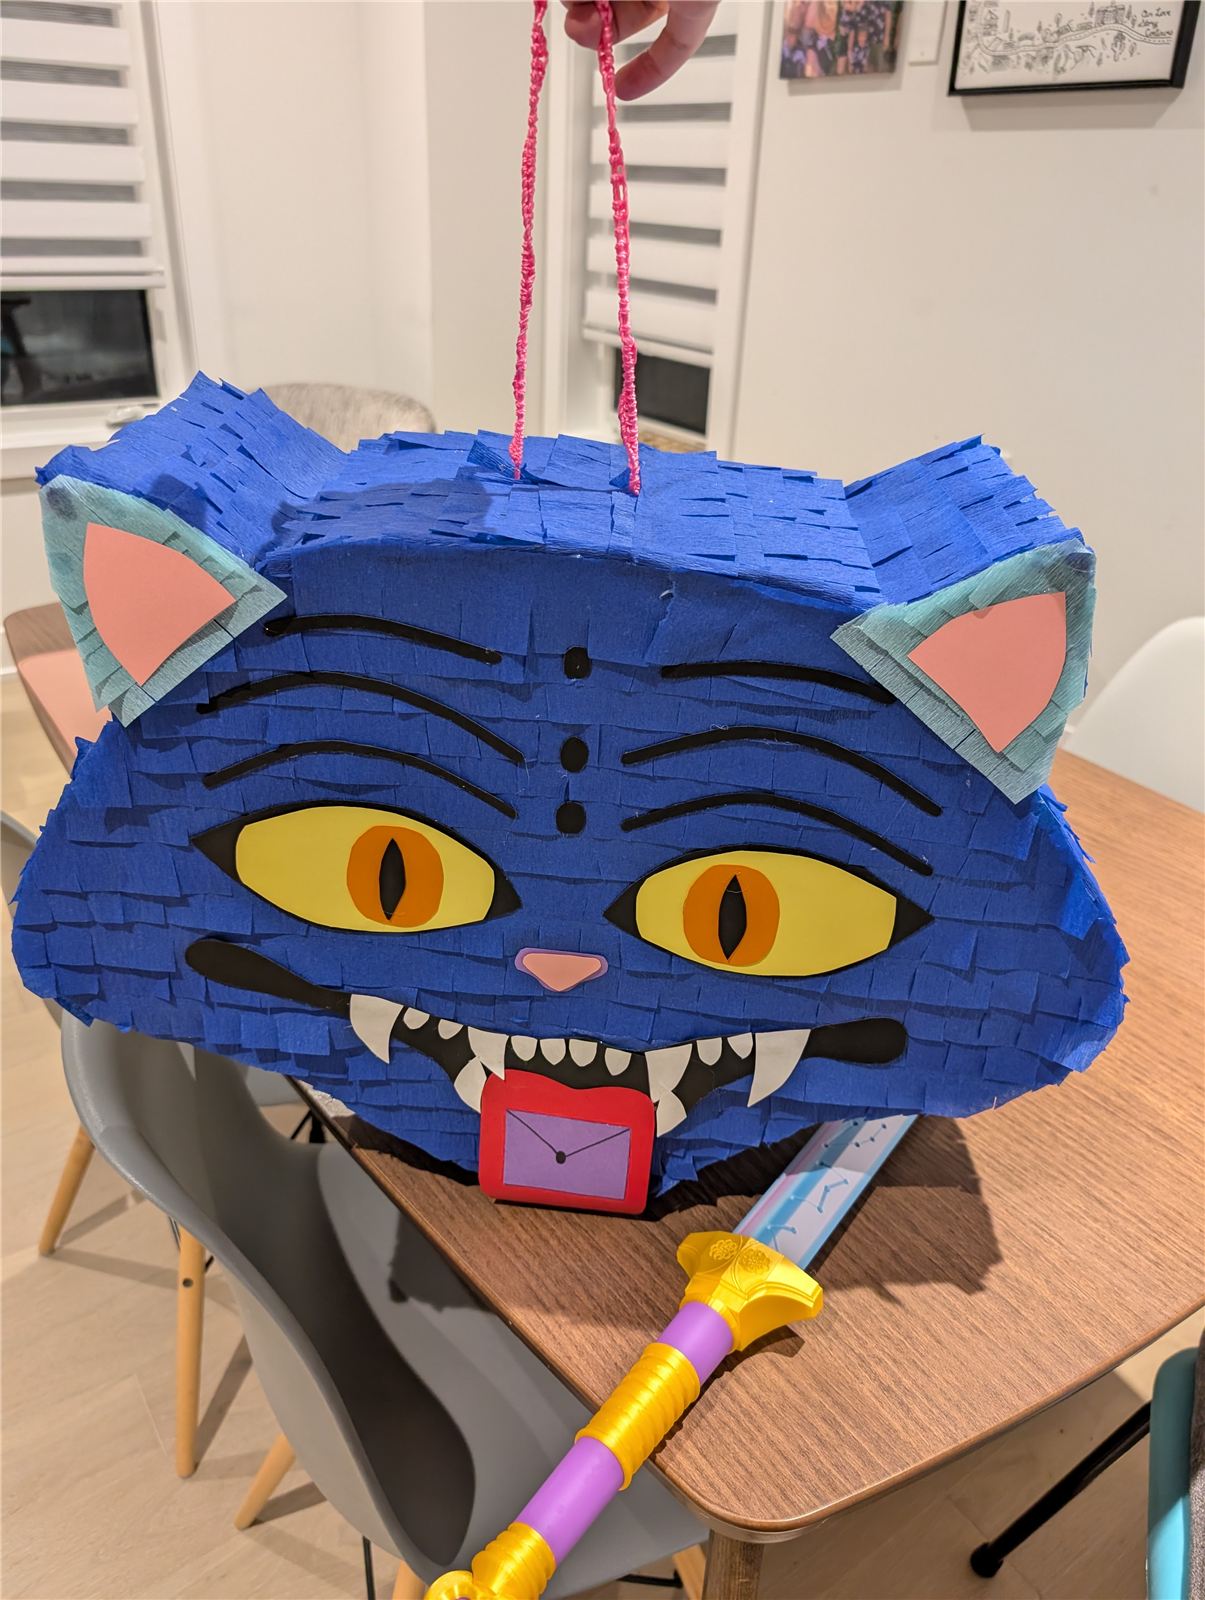
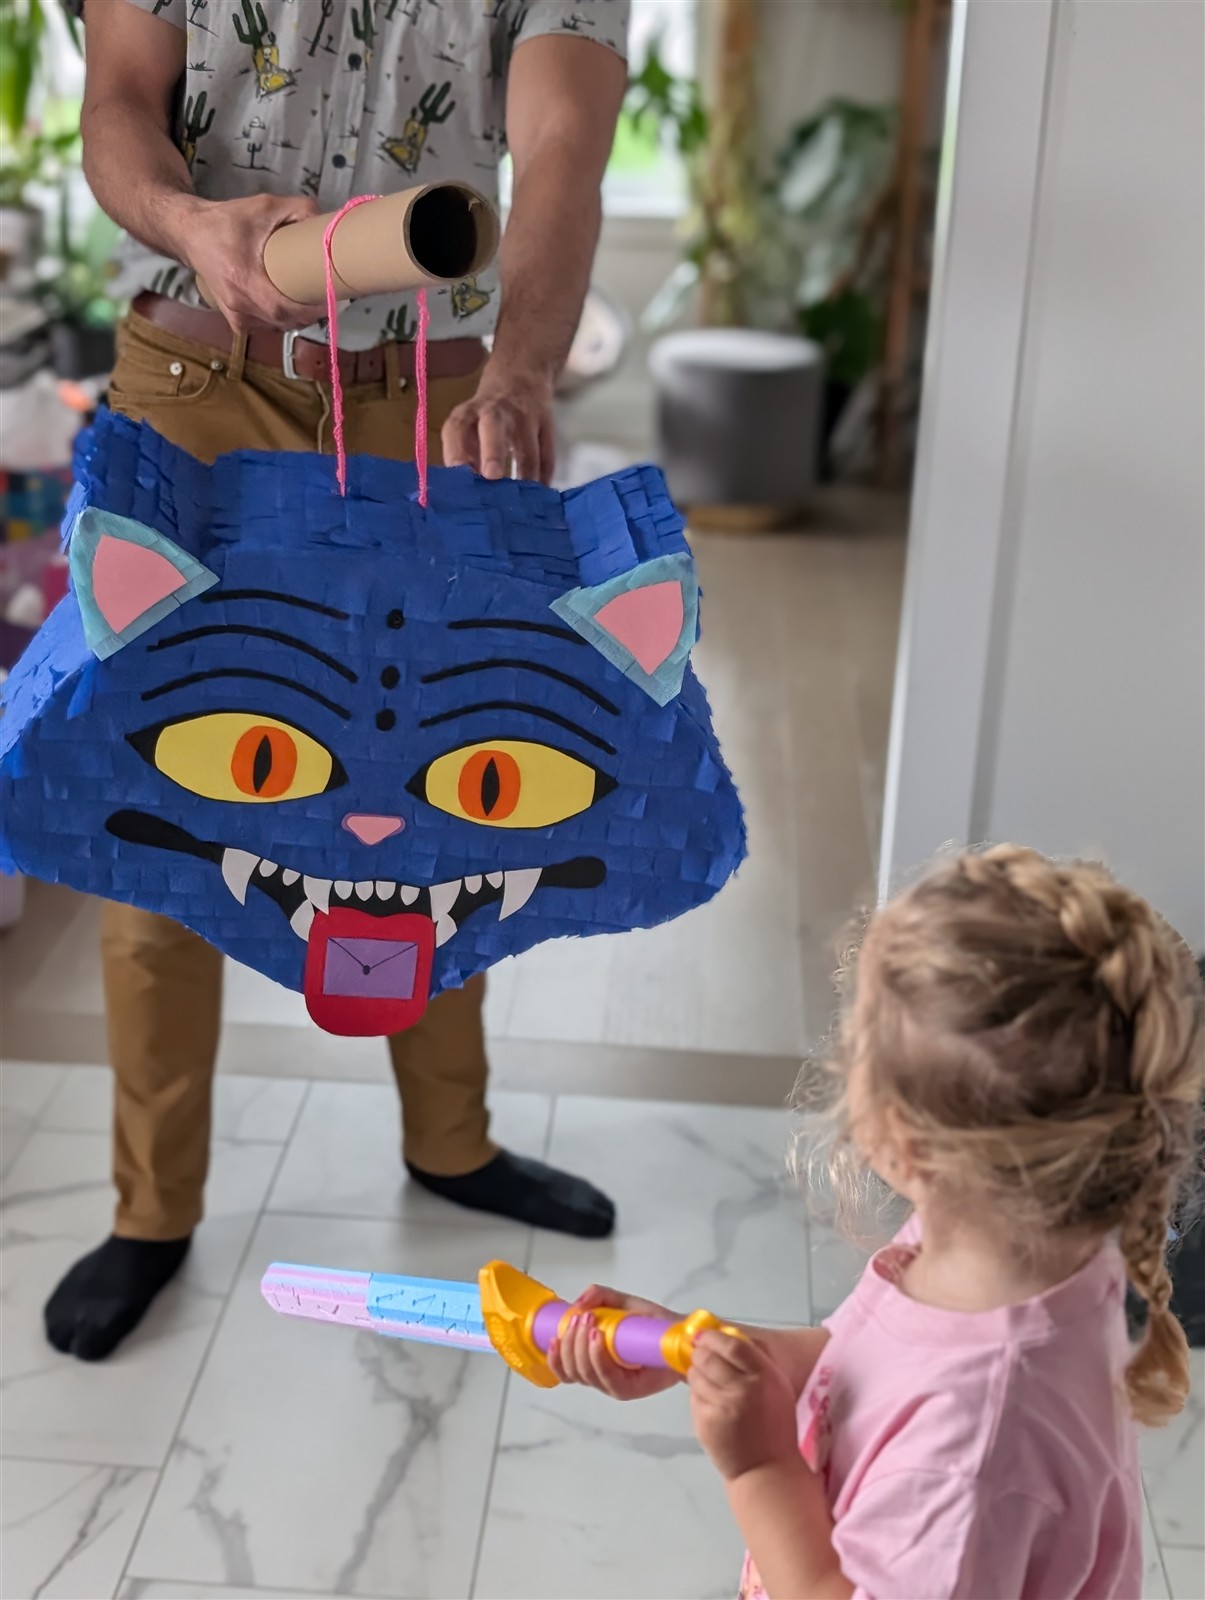
The pinata started as a full-size cardboard box, with the demon cat face sketched straight onto one side in pencil first, then inked over so it was easy to follow once the crepe paper went on.
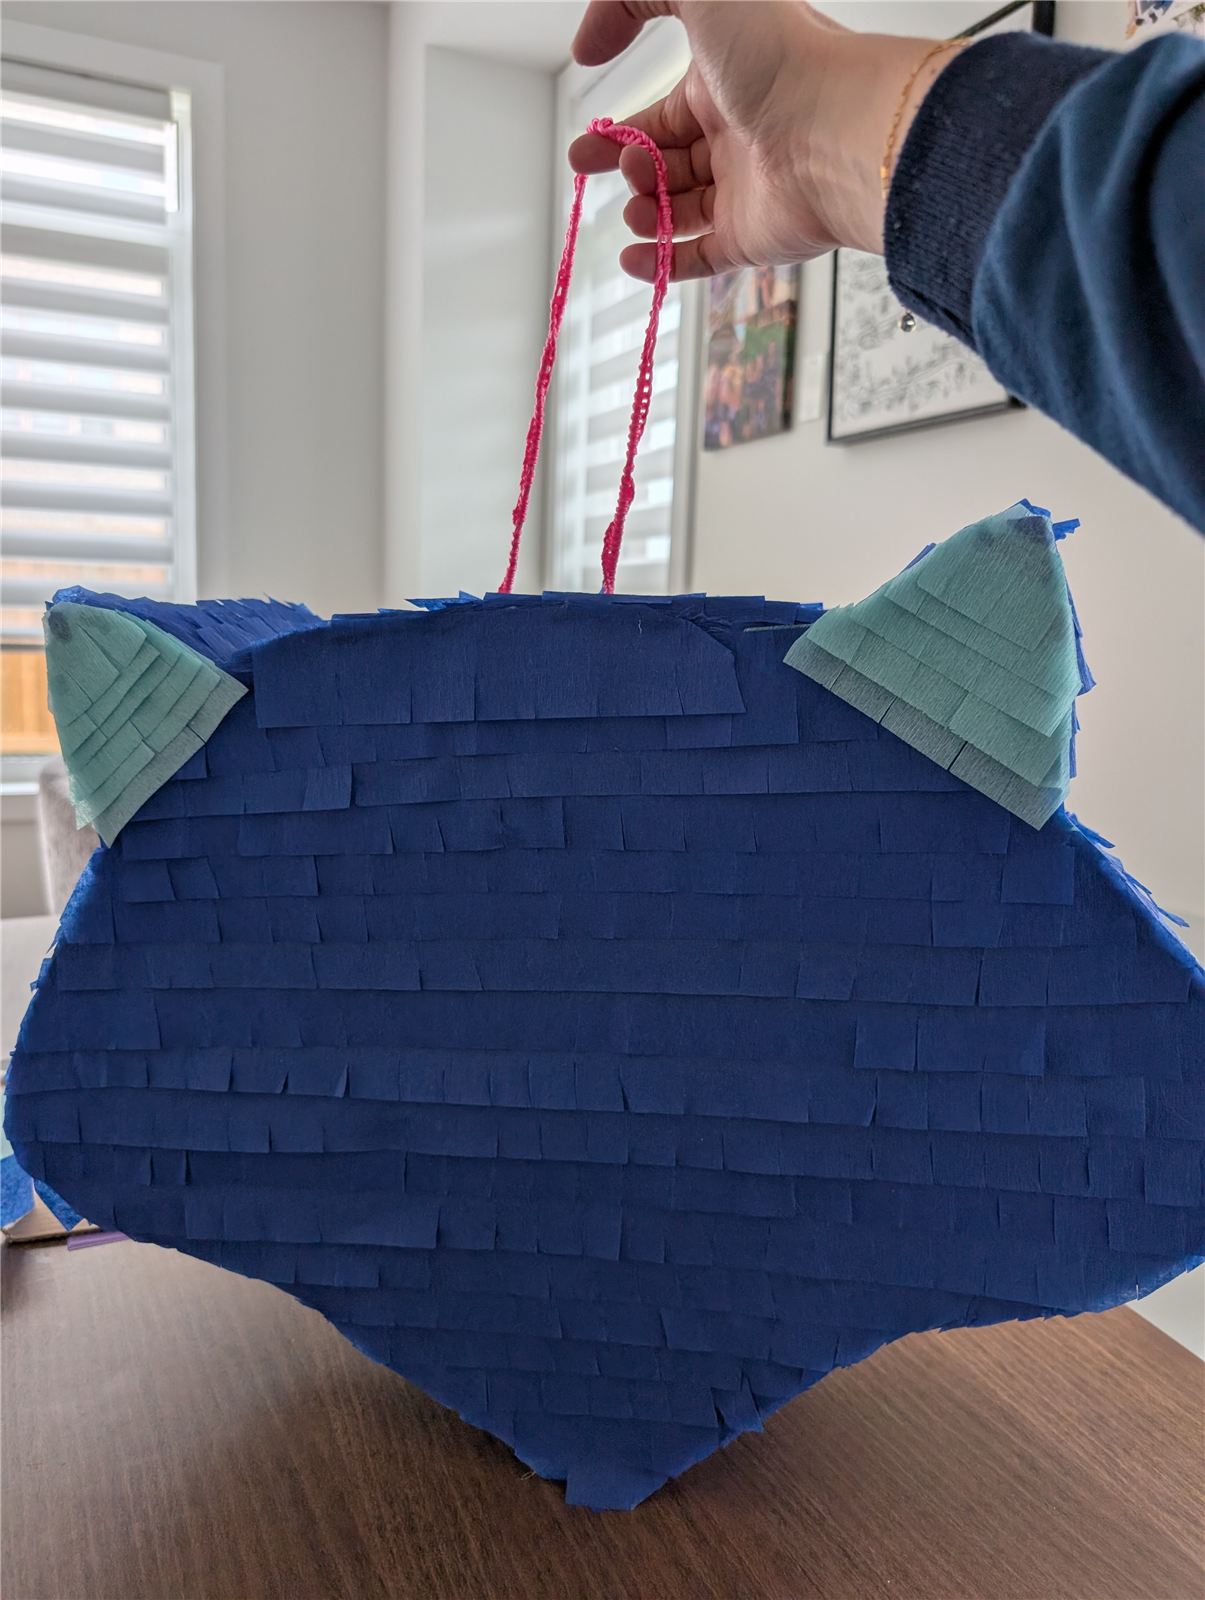
We covered the box in overlapping strips of fringed navy crepe paper, working bottom to top like a traditional pinata, with mint fringe layered on for the inner ears. A pink string loop was taped and glued to the top for hanging.
Once the crepe base was done, we cut the eyes, nose, fangs, teeth, and tongue out of coloured cardstock and glued them on piece by piece over the inked guide, finishing with a small purple envelope shape on the tongue as a nod to the character card game.
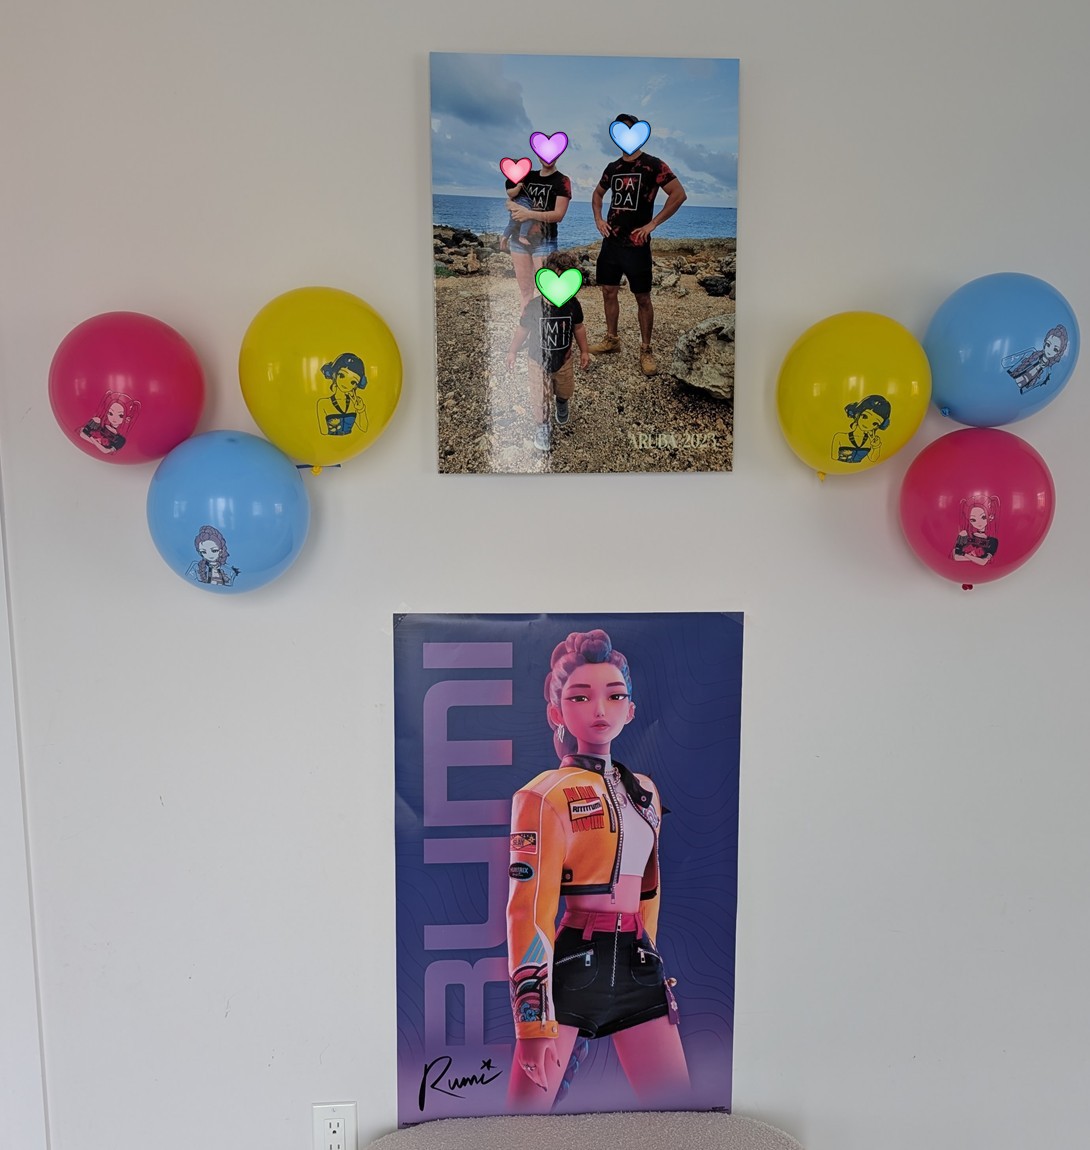
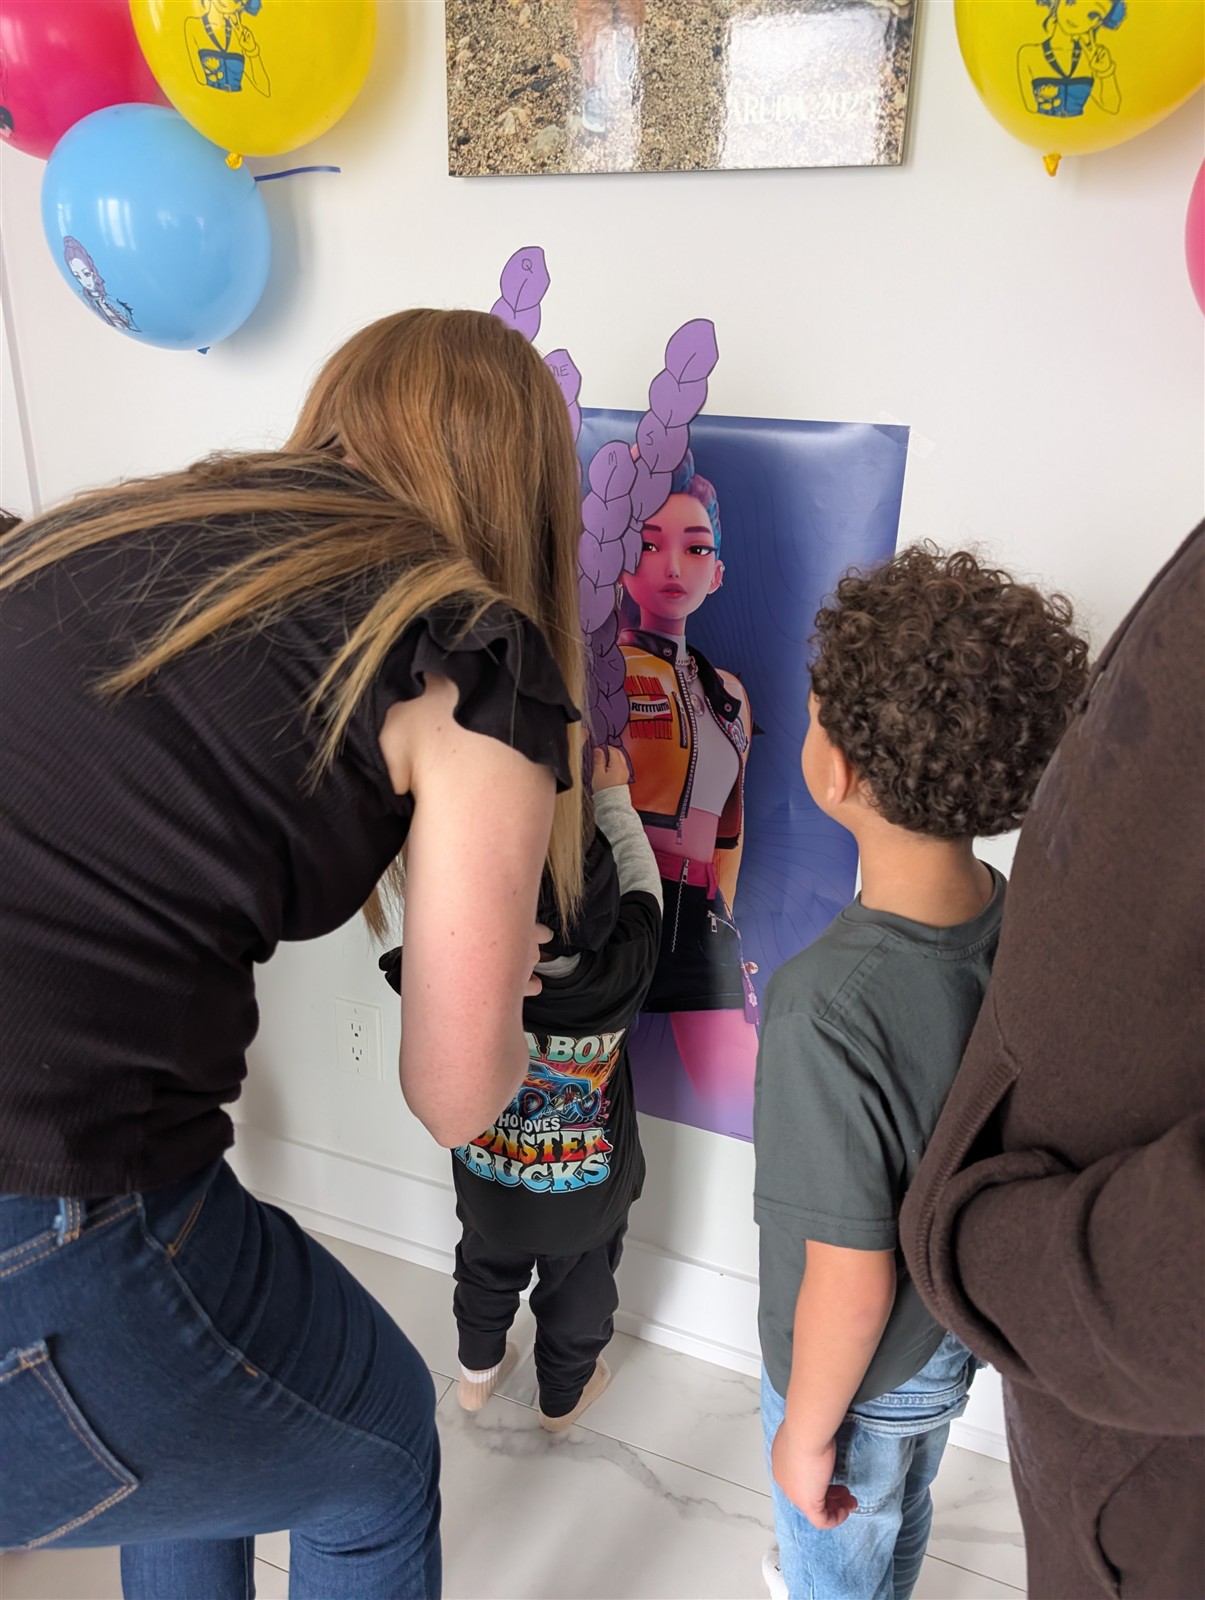
For the photo wall, we hung the Rumi poster with a cluster of coordinating balloons on either side, alongside a family photo. The same Rumi poster doubled as a party game: we cut purple braid shapes out of cardstock, wrote each guest's name on one, and let the kids take turns pinning (or sticking) their braid onto Rumi while blindfolded.
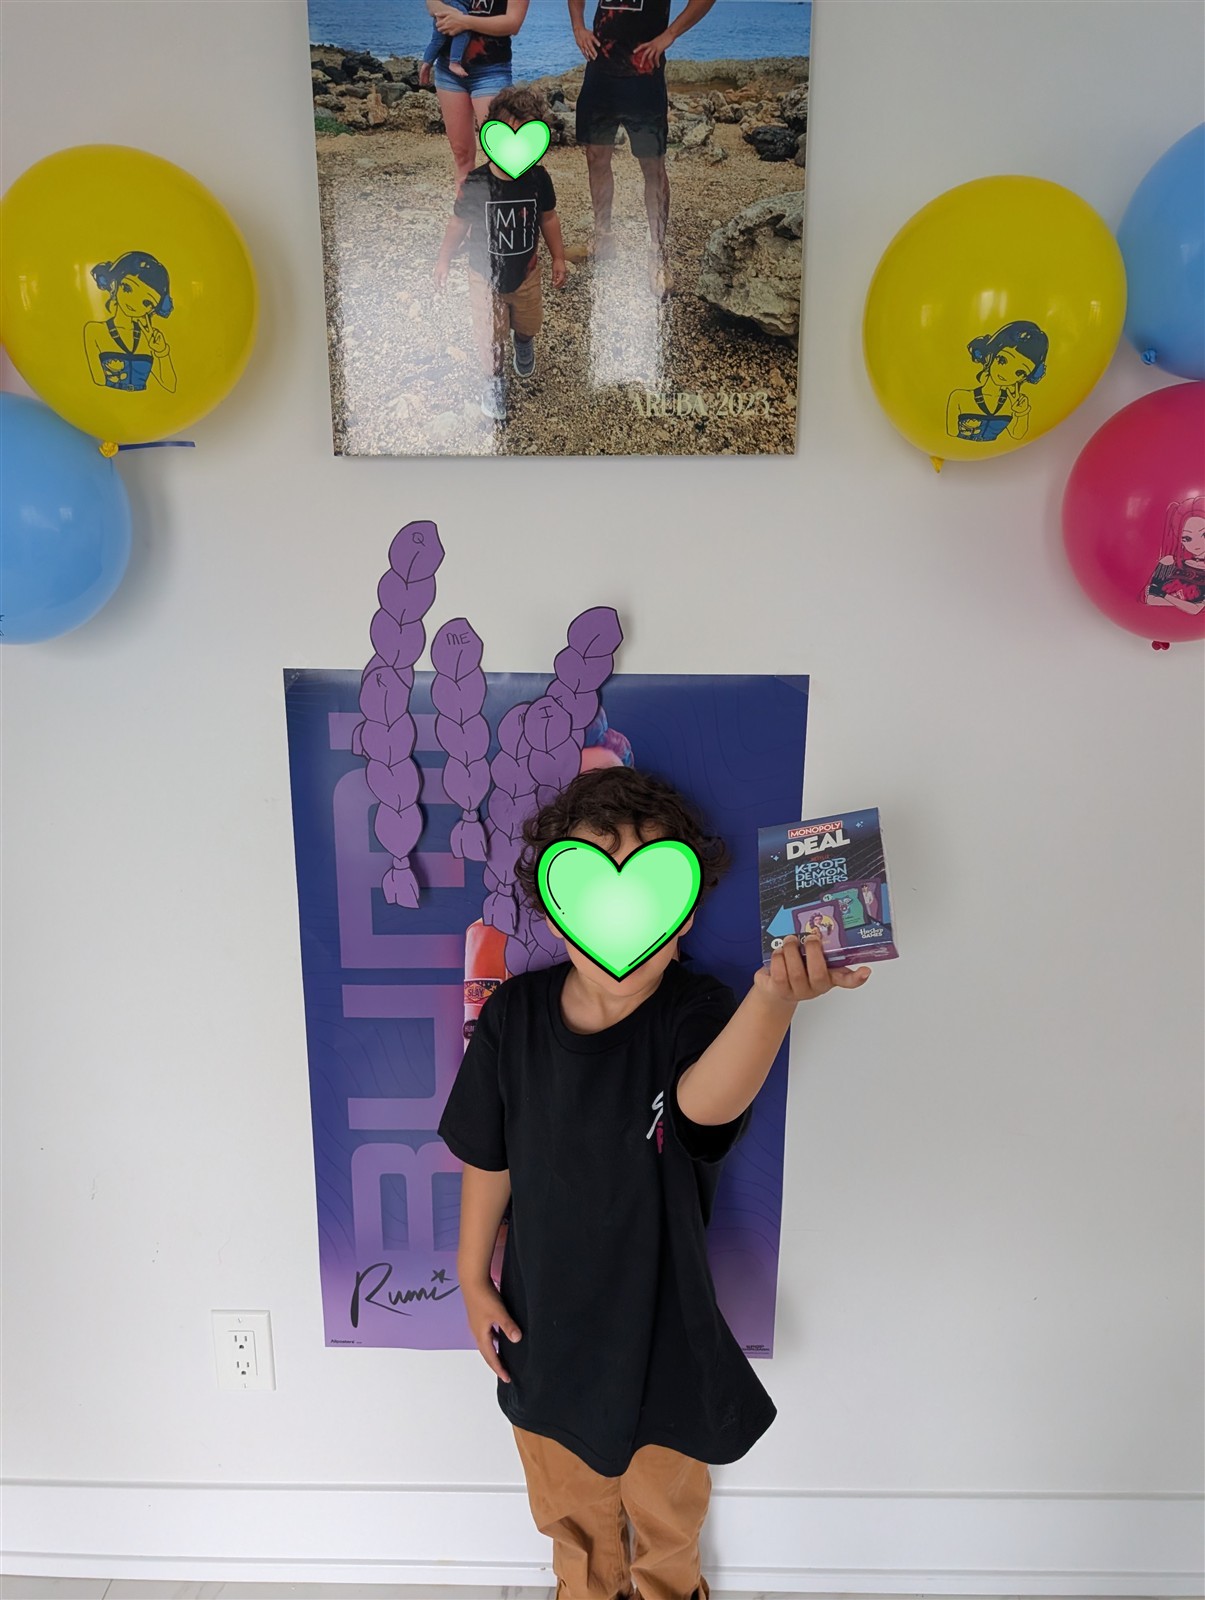
Party favours followed the theme too — including a Monopoly Deal card game in the K-Pop Demon Hunters edition for guests to take home.
When it was time to smash the pinata, the toy sword doubled as the weapon of choice instead of a traditional bat — fitting for the theme, and easier for smaller guests to swing safely.
Result
A fully themed party from the photo wall to the pinata, right down to a homemade cake and cake pops in the same purple-blue-pink palette. If you're planning a character-themed party, a poster of the character (like the Rumi one here) is one of the cheapest ways to anchor both a photo backdrop and a party game at once.