 Little Things Made
Kids Craft
Paper Mache Pumpkins
The idea
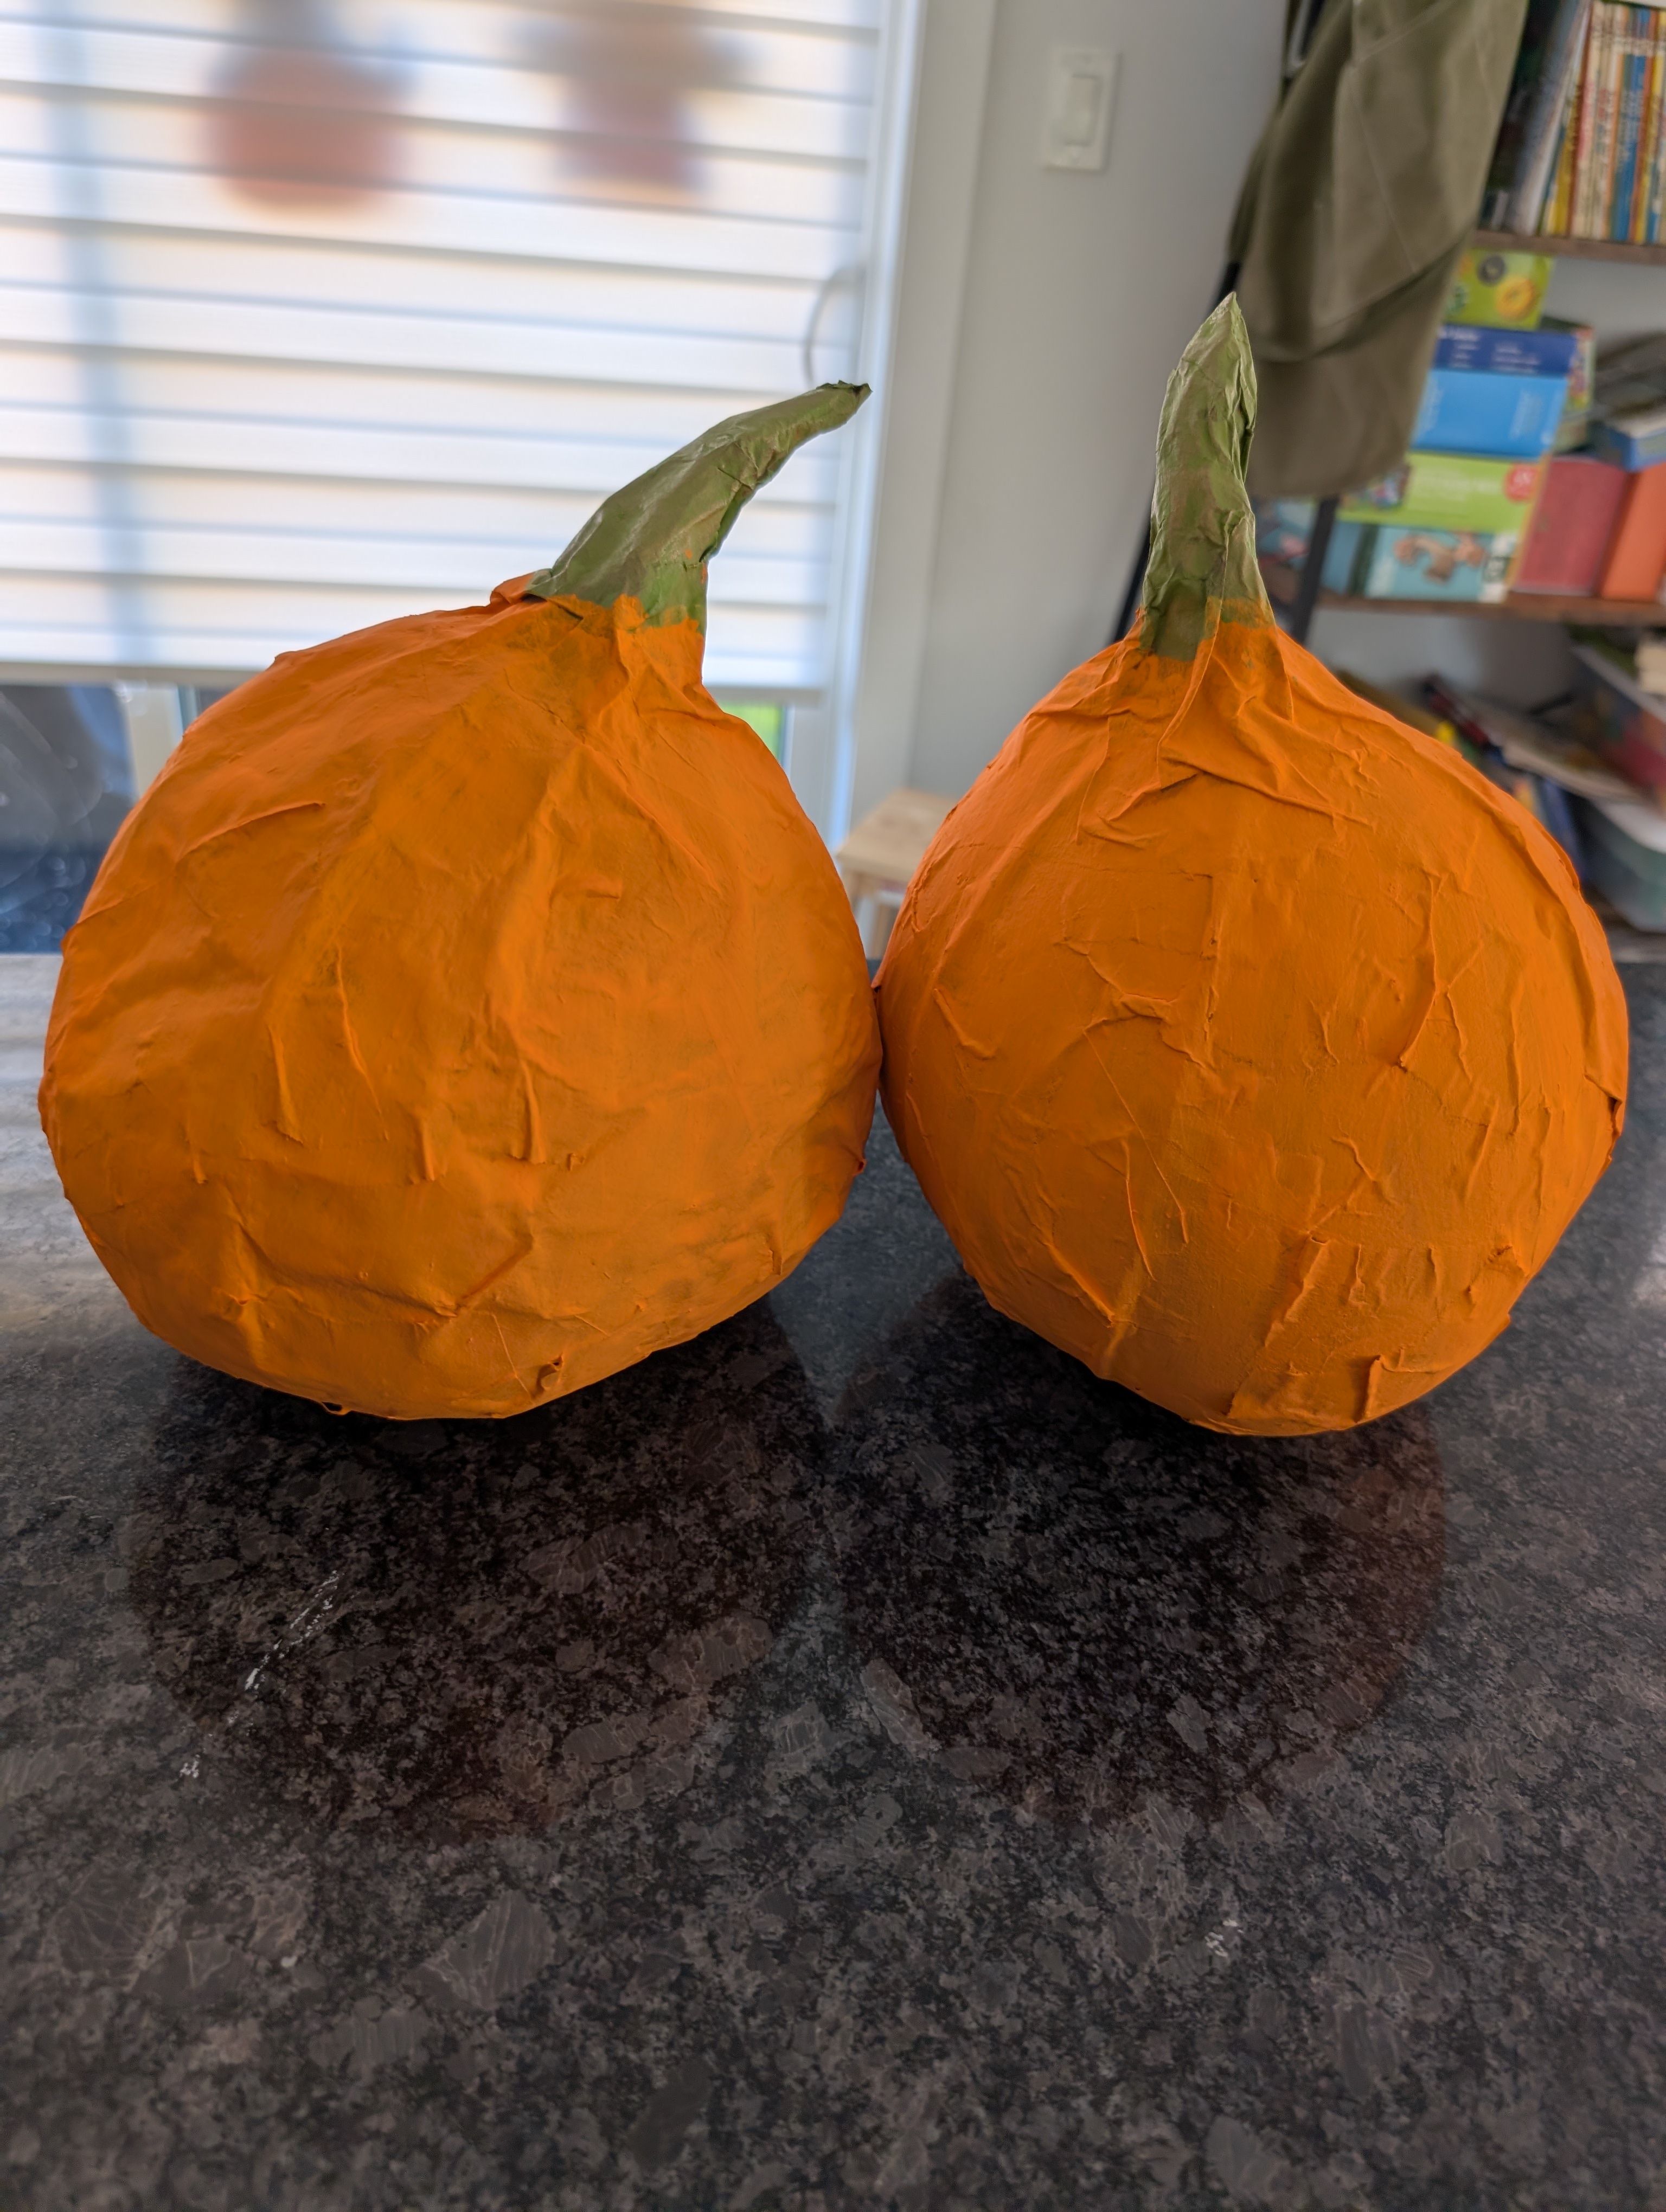
A classic paper mache pumpkin, built over a balloon and shaped with nothing fancier than a length of rope. The rope trick is what gives these their pumpkin ridges instead of just looking like painted balloons — and it's simple enough that little hands can help with most of it.
Materials
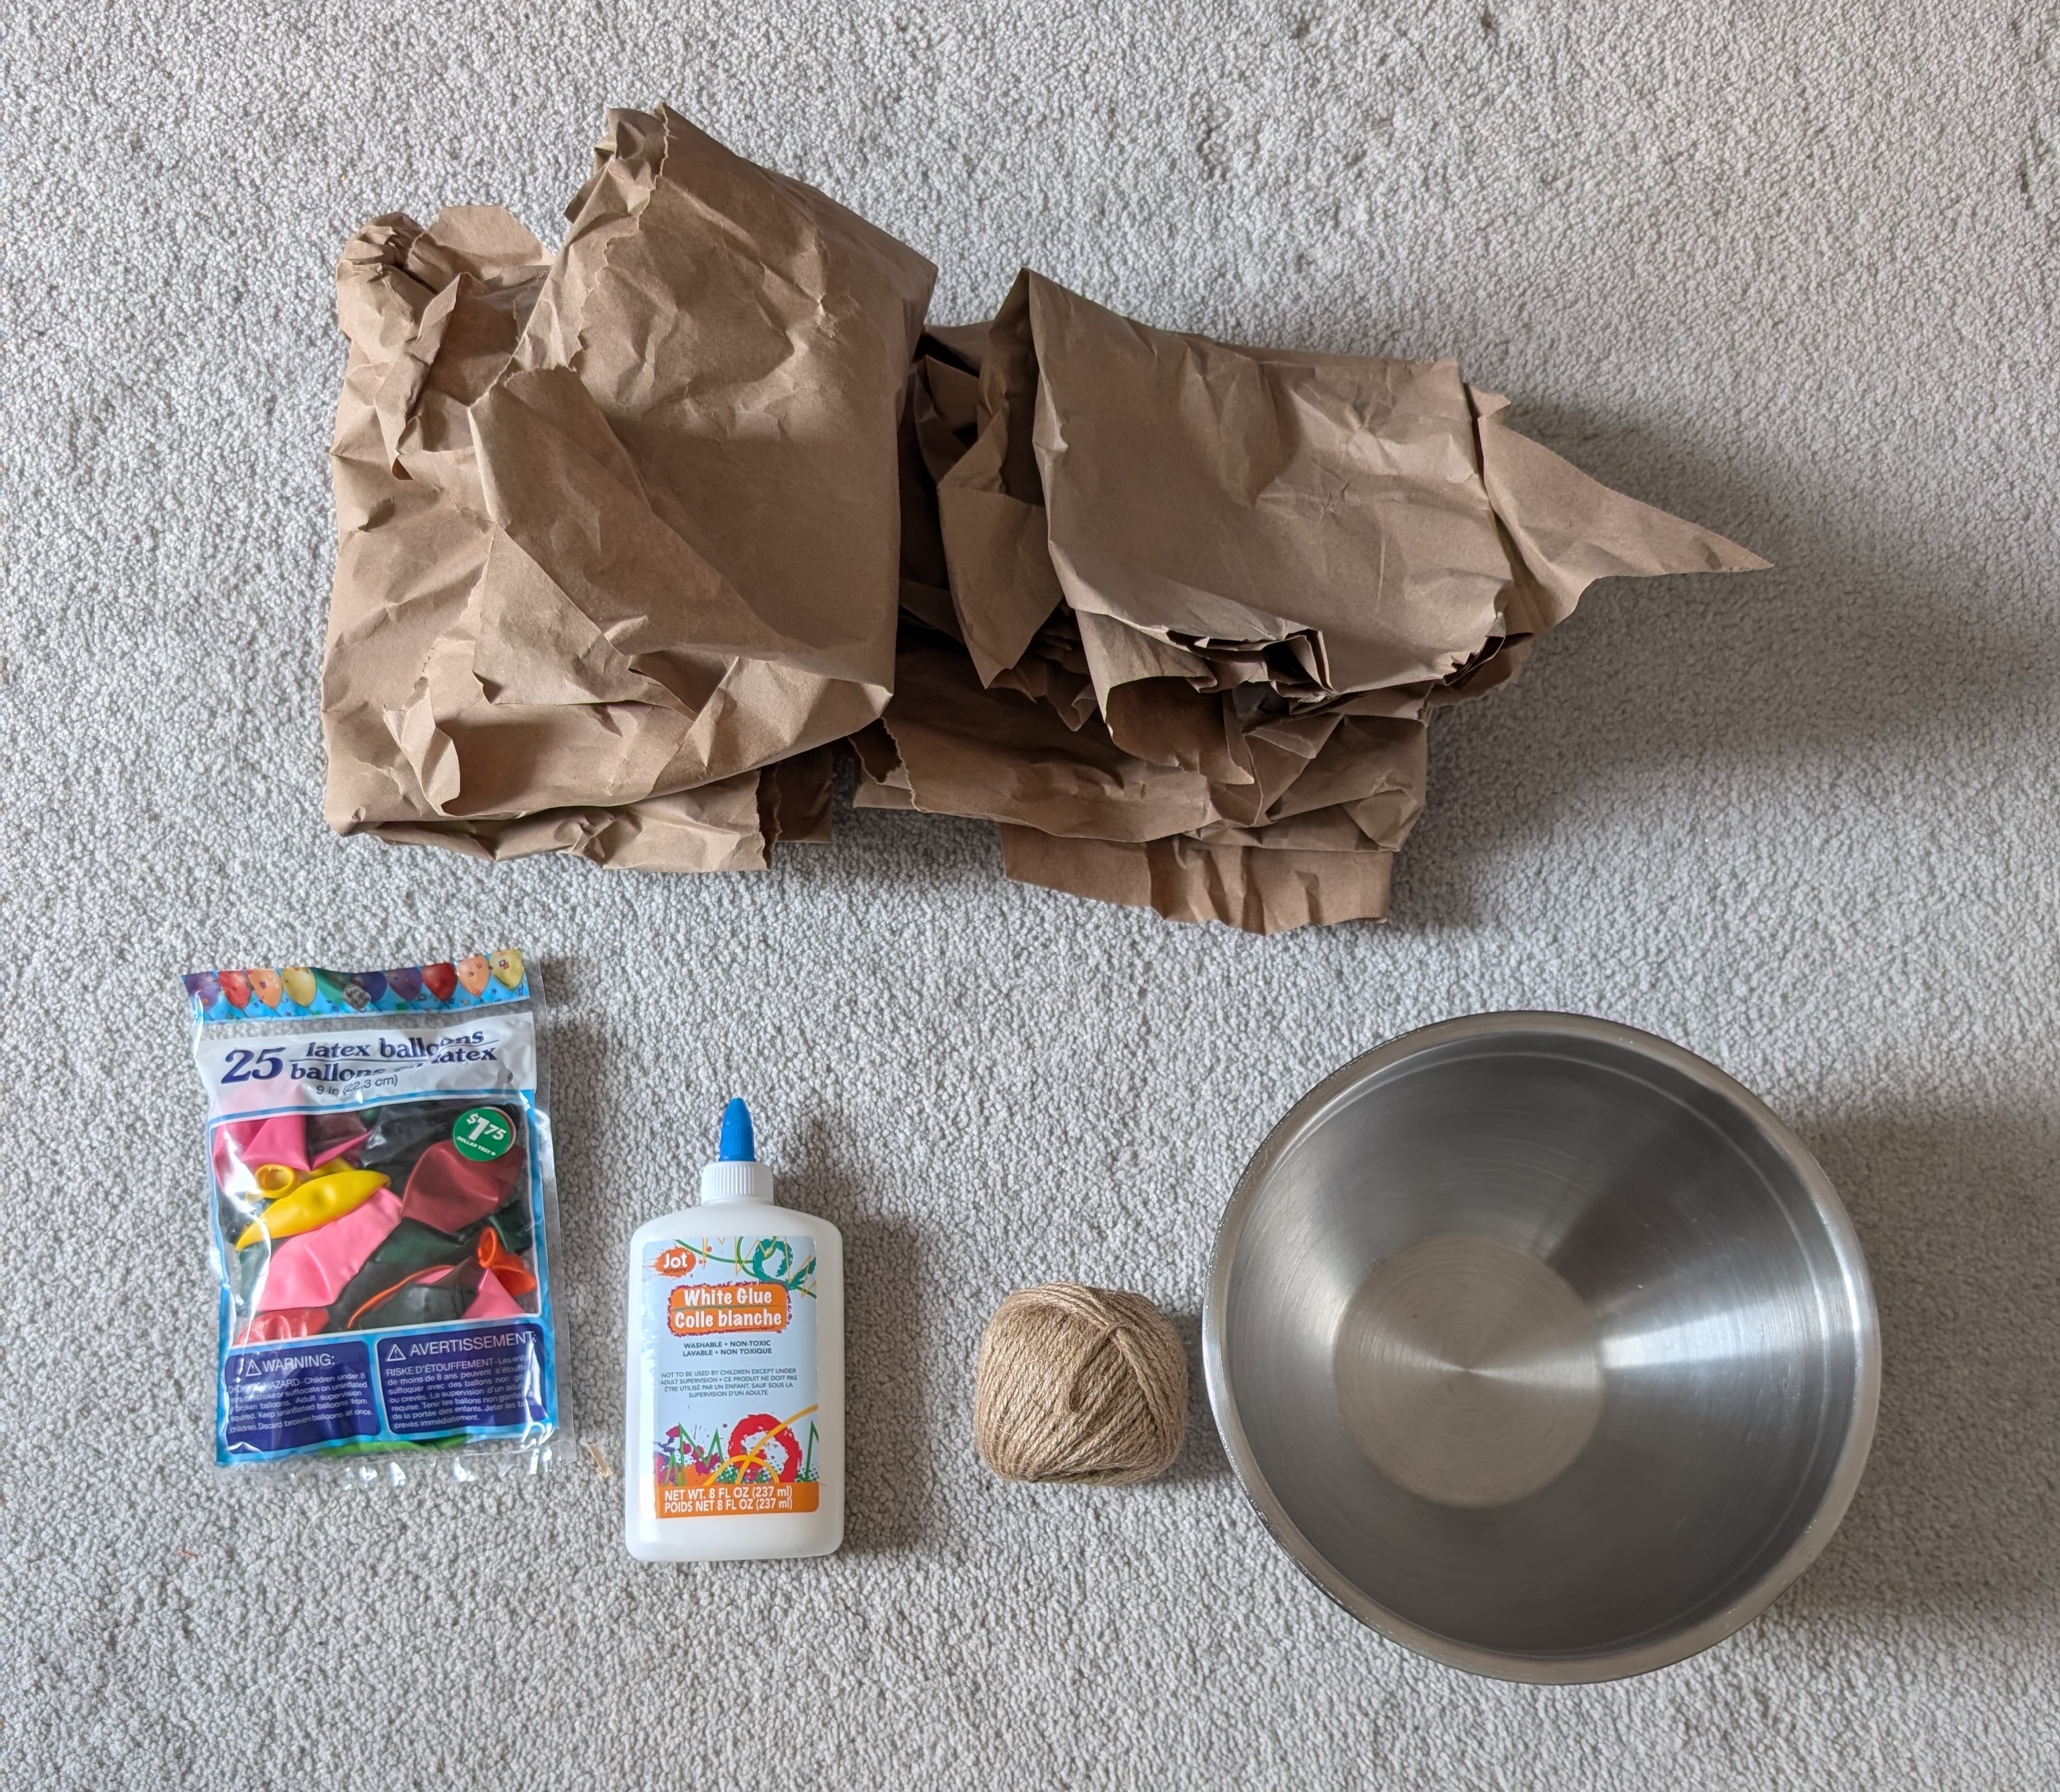
- 12" latex balloons (9" balloons are too tight and harder to shape)
- Craft paper, torn into strips (we used craft paper that comes in packages from Amazon, since we don't get newspaper delivered)
- White glue
- Water
- A mixing bowl
- Twine or rope, for shaping the ridges
- Scotch tape
- Scissors
- Hot glue gun, for attaching the stems
- Orange and green craft paint
What we did
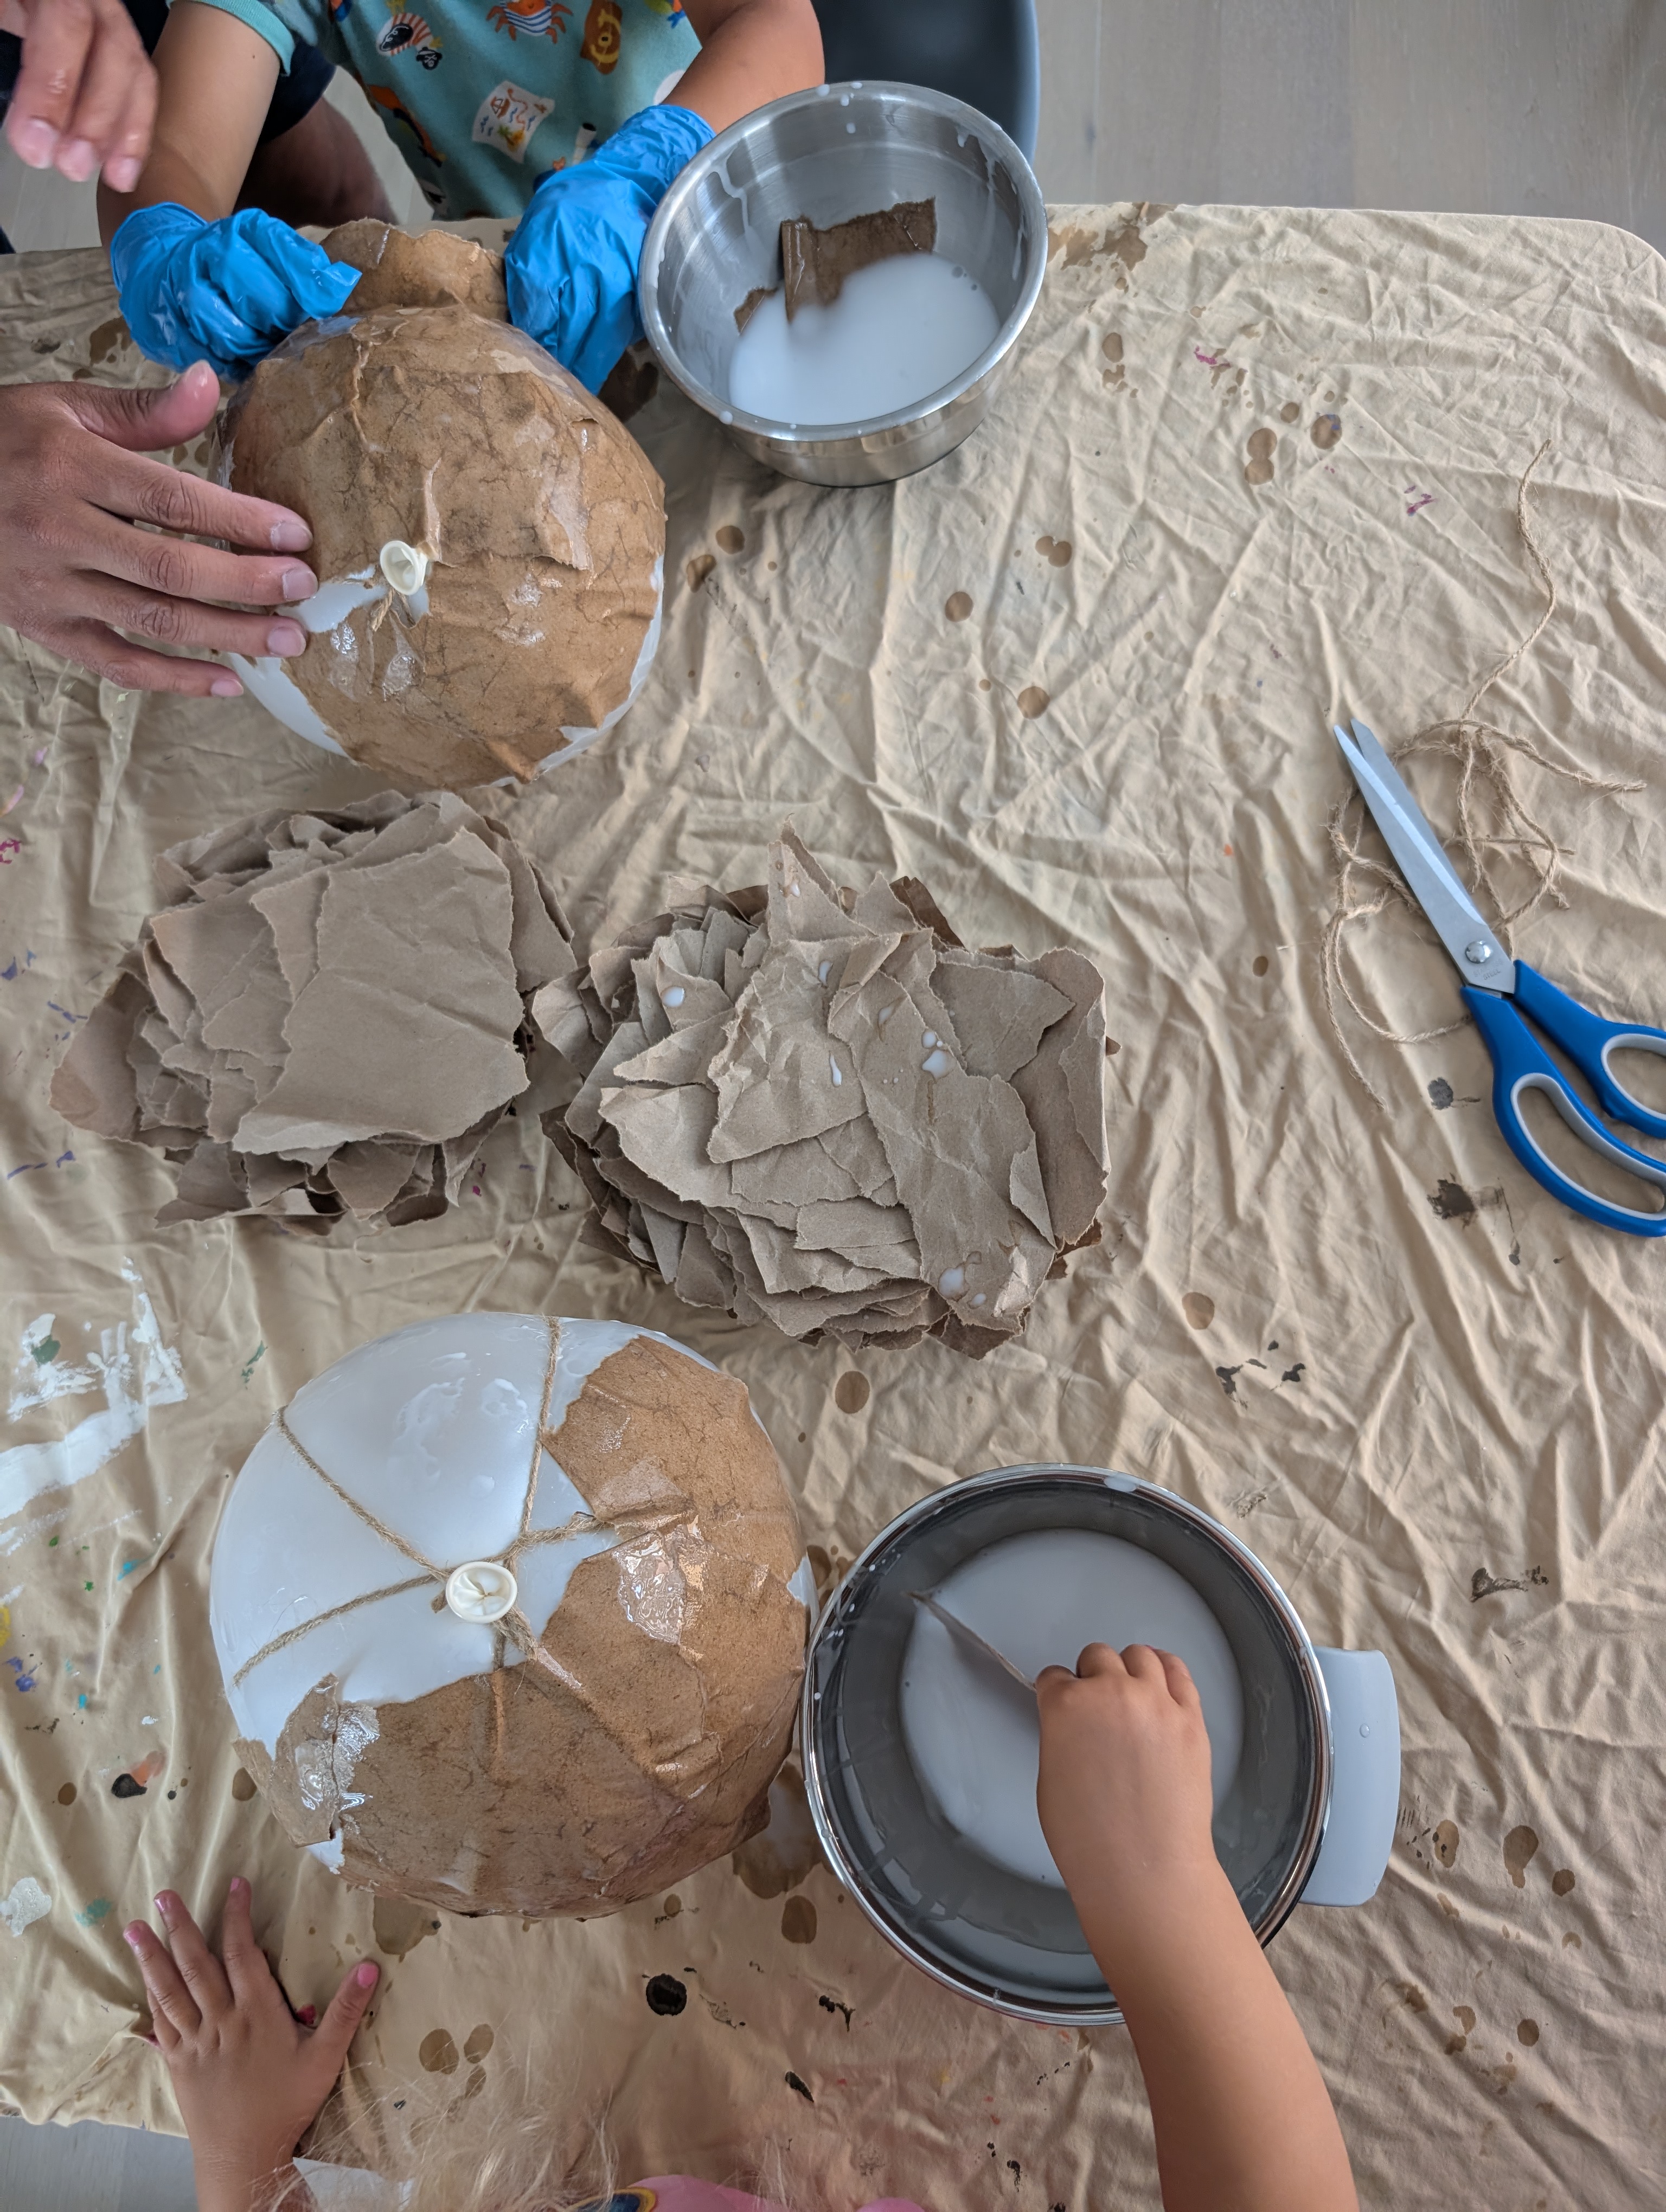
We blew up a 12" balloon most of the way, but not completely — leaving a little room in the balloon is what lets the rope create real indents instead of just sitting on top of a fully-tight surface. Instead of tying the balloon off right away, we taped the neck shut with a piece of Scotch tape first.
With the balloon taped shut, we wrapped twine around it from top to bottom, dividing it into pumpkin-like segments, and tied the rope off. Then came the trick: we blew a little more air into the balloon through the tape before sealing it for good. That extra bit of air pushes against the rope and makes the pumpkin indents much more pronounced than if the balloon were tied off tight from the start.
Watch the balloon and rope trick
Once the rope was in place, we mixed up a paper mache paste using equal parts water and white glue (1 cup water to 1 cup white glue), tore the craft paper into strips, dipped them in the mixture, and layered them over the balloon between the rope lines, leaving the rope itself exposed to keep the ridges defined. A few coats later, we set them aside to dry completely.
After drying, the balloons were popped and removed from inside, leaving hollow paper mache shells with the pumpkin ridges built right in.
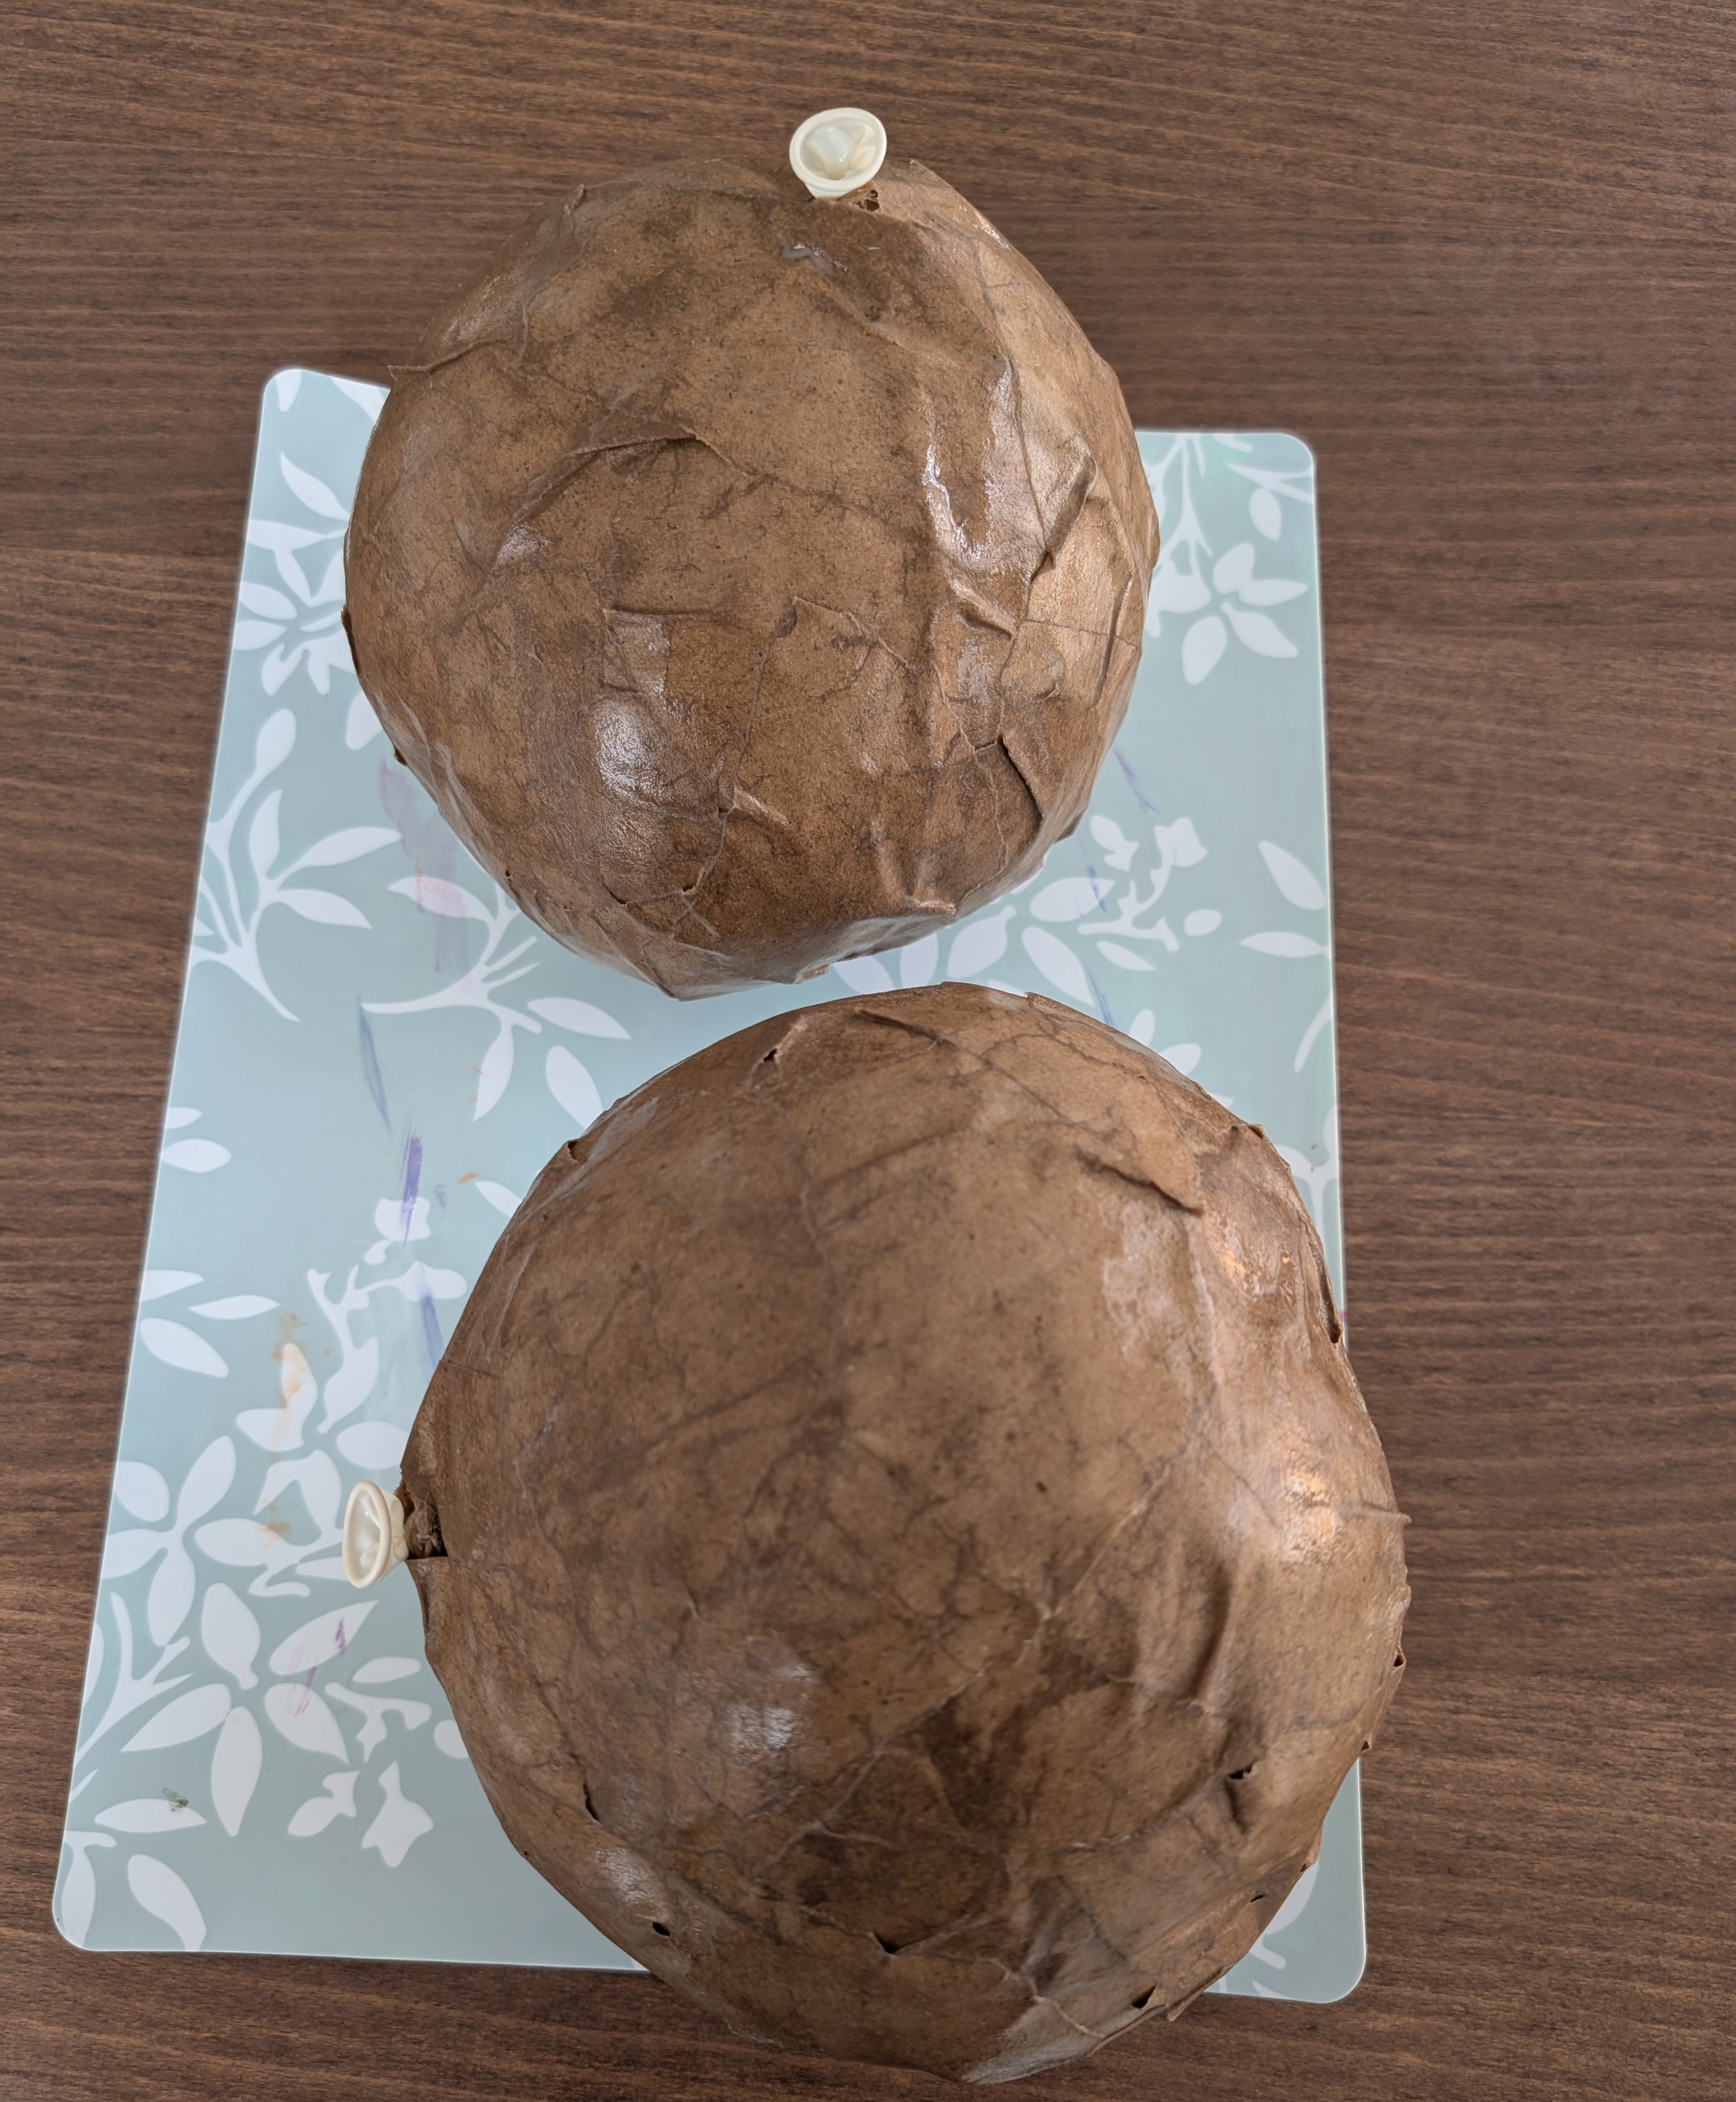
For the stems, we crumpled leftover craft paper into a stick shape, hot glued it onto the top of each dried pumpkin, then paper mached over the stem itself a couple more times to blend it into one solid shape. Once everything was dry again, we painted the pumpkins orange and the stems green.
Watch it in action
Result
A pair of cheerful, ridged pumpkins made almost entirely from balloons, scrap paper, and glue — sturdy enough to display for the whole season.