 Little Things Made
Home
DIY Two-Level Plant Stand
The idea
A very sturdy plant stand built from lumber you can pick up at Home Depot. If you plan to put heavy plants on it, you want to make sure the stand properly supports them. This one has notched 2x3 posts and a plywood panel under every platform, so the weight is carried by the frame instead of just the slats.
Materials
- (1) 2x3x8 board, cut into (4) 18″ pieces and (2) 12″ pieces, for the posts
- (2) 1x6x8 knotty pine boards, cut into (9) 15.5″ pieces, for the platforms
- (1) 1/2″ × 24″ × 48″ spruce handy panel, cut into (1) 15.5″ × 15.5″ piece and (1) 15.5″ × 31″ piece
- Norton 60 grit sanding sponges (2-pack)
- Norton 120 grit multi-angle sanding sponge
- Varathane Ultimate oil-based interior wood stain in Weathered Grey (236 ml)
- (4) 1″ zinc-plated corner braces (4-pack), to fix the plywood to the 18″ posts
- 1½″ screws, for the plywood into the 2x3 posts
- 1″ screws, for the pine boards into the plywood
- A drill and a jigsaw
- A table saw for the cuts (or have Home Depot cut the boards for you)
What we did
Step 1: Sketch it out
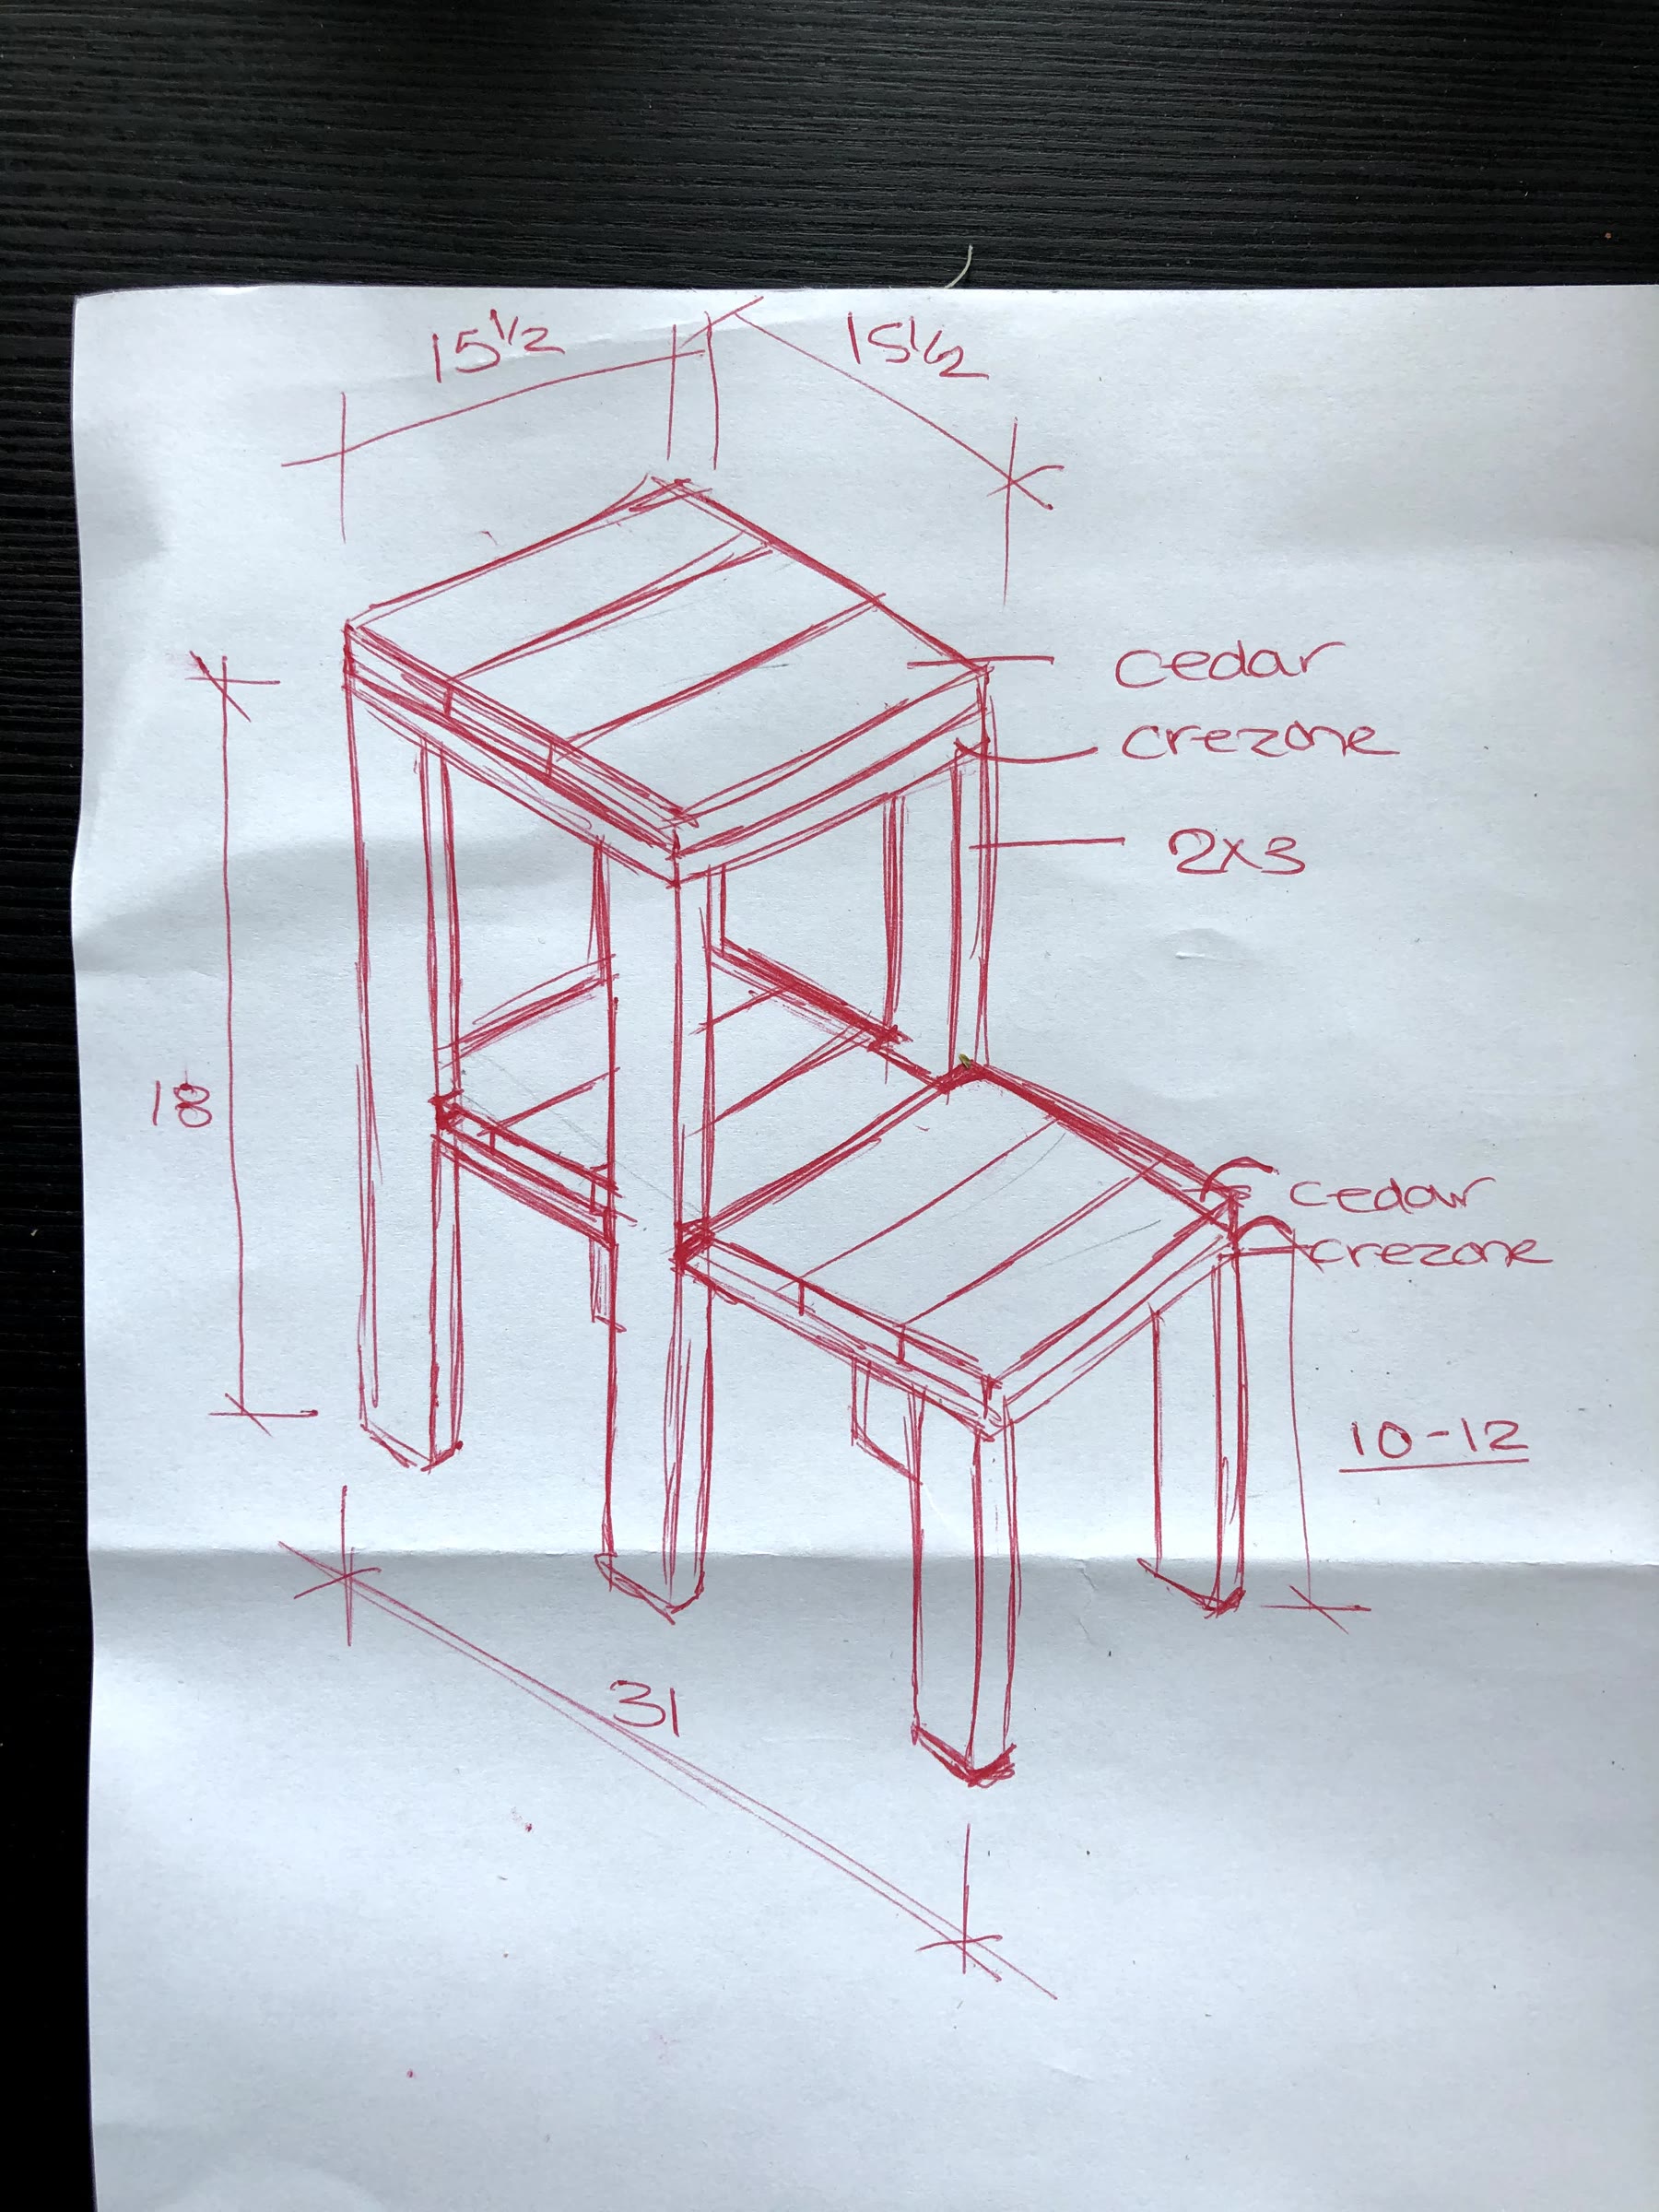
Before cutting anything, I sketched the stand with its measurements. It has two levels: a tall platform on four 18″ posts, and a lower level that runs 31″ long and steps out from underneath it.
Step 2: Cut the wood
Cut the 2x3 into four 18″ posts and two 12″ posts, the 1x6 boards into nine 15.5″ pieces, and the plywood panel into one 15.5″ × 15.5″ piece and one 15.5″ × 31″ piece. I used a table saw, but you can also ask Home Depot to cut the boards to size for you.
Step 3: Notch the posts
Use a jigsaw to notch out the posts around the 4 legs. This is the one cut Home Depot won't do for you.
Step 4: Assemble the frame
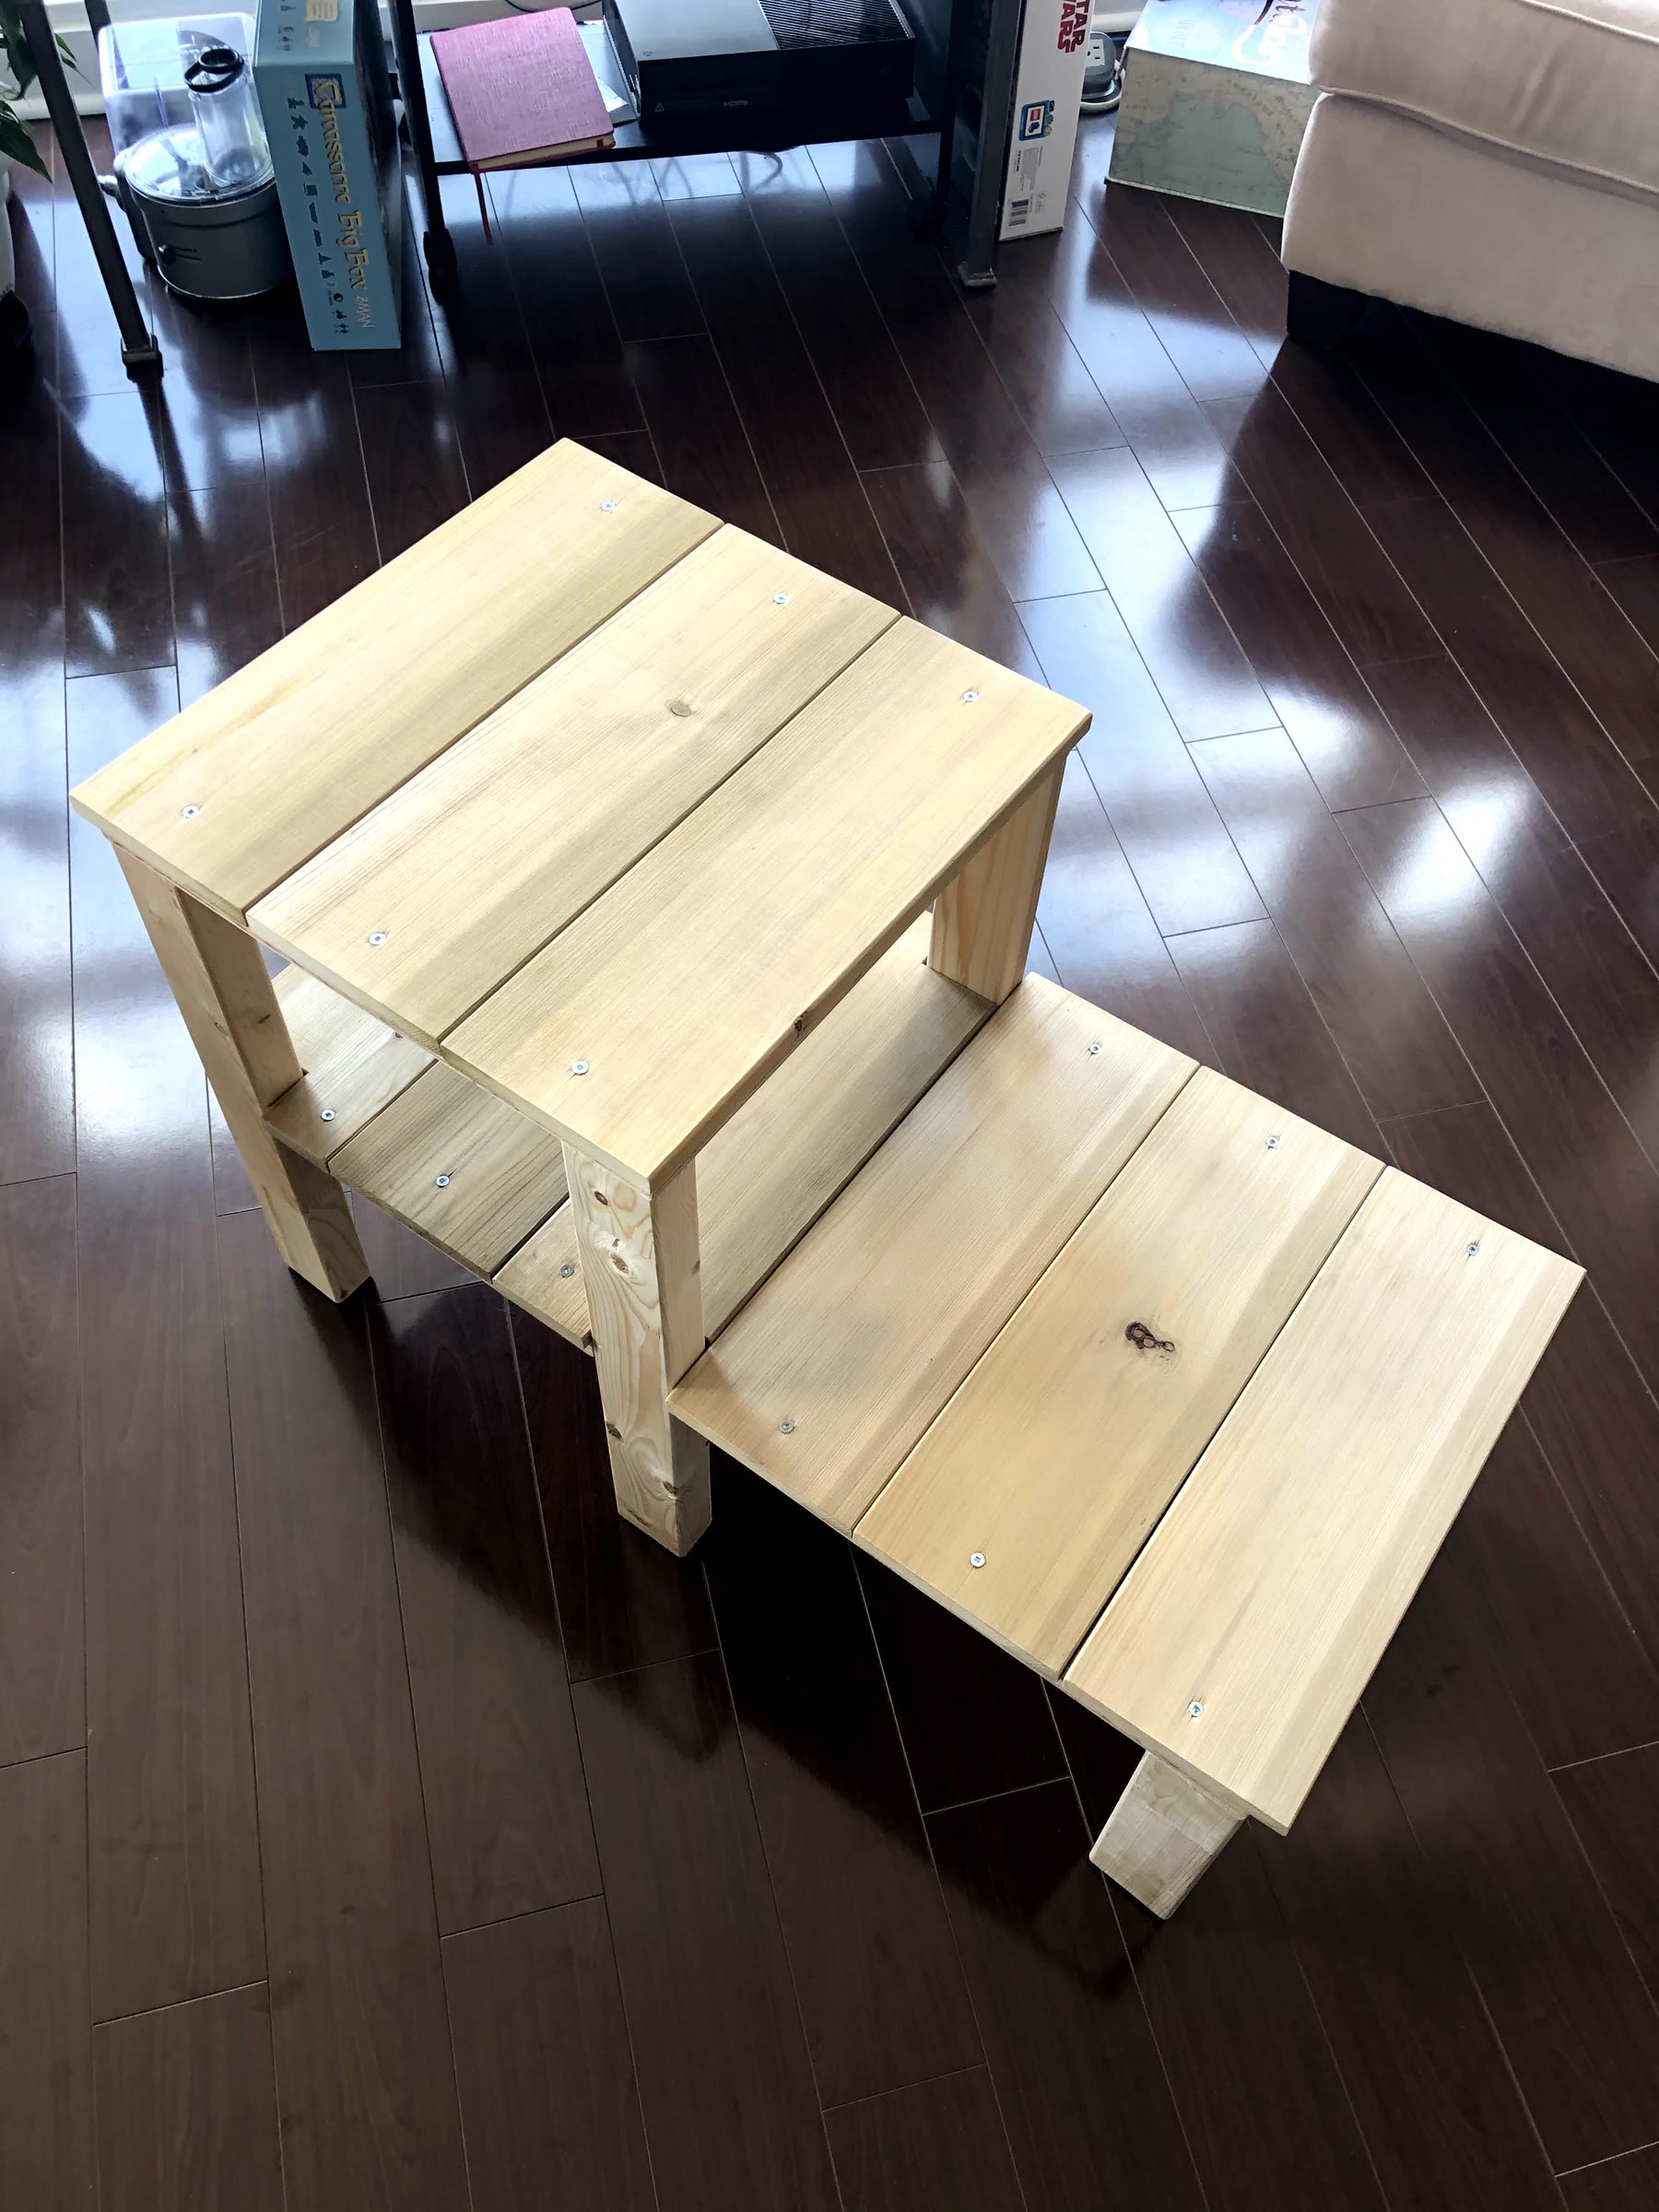
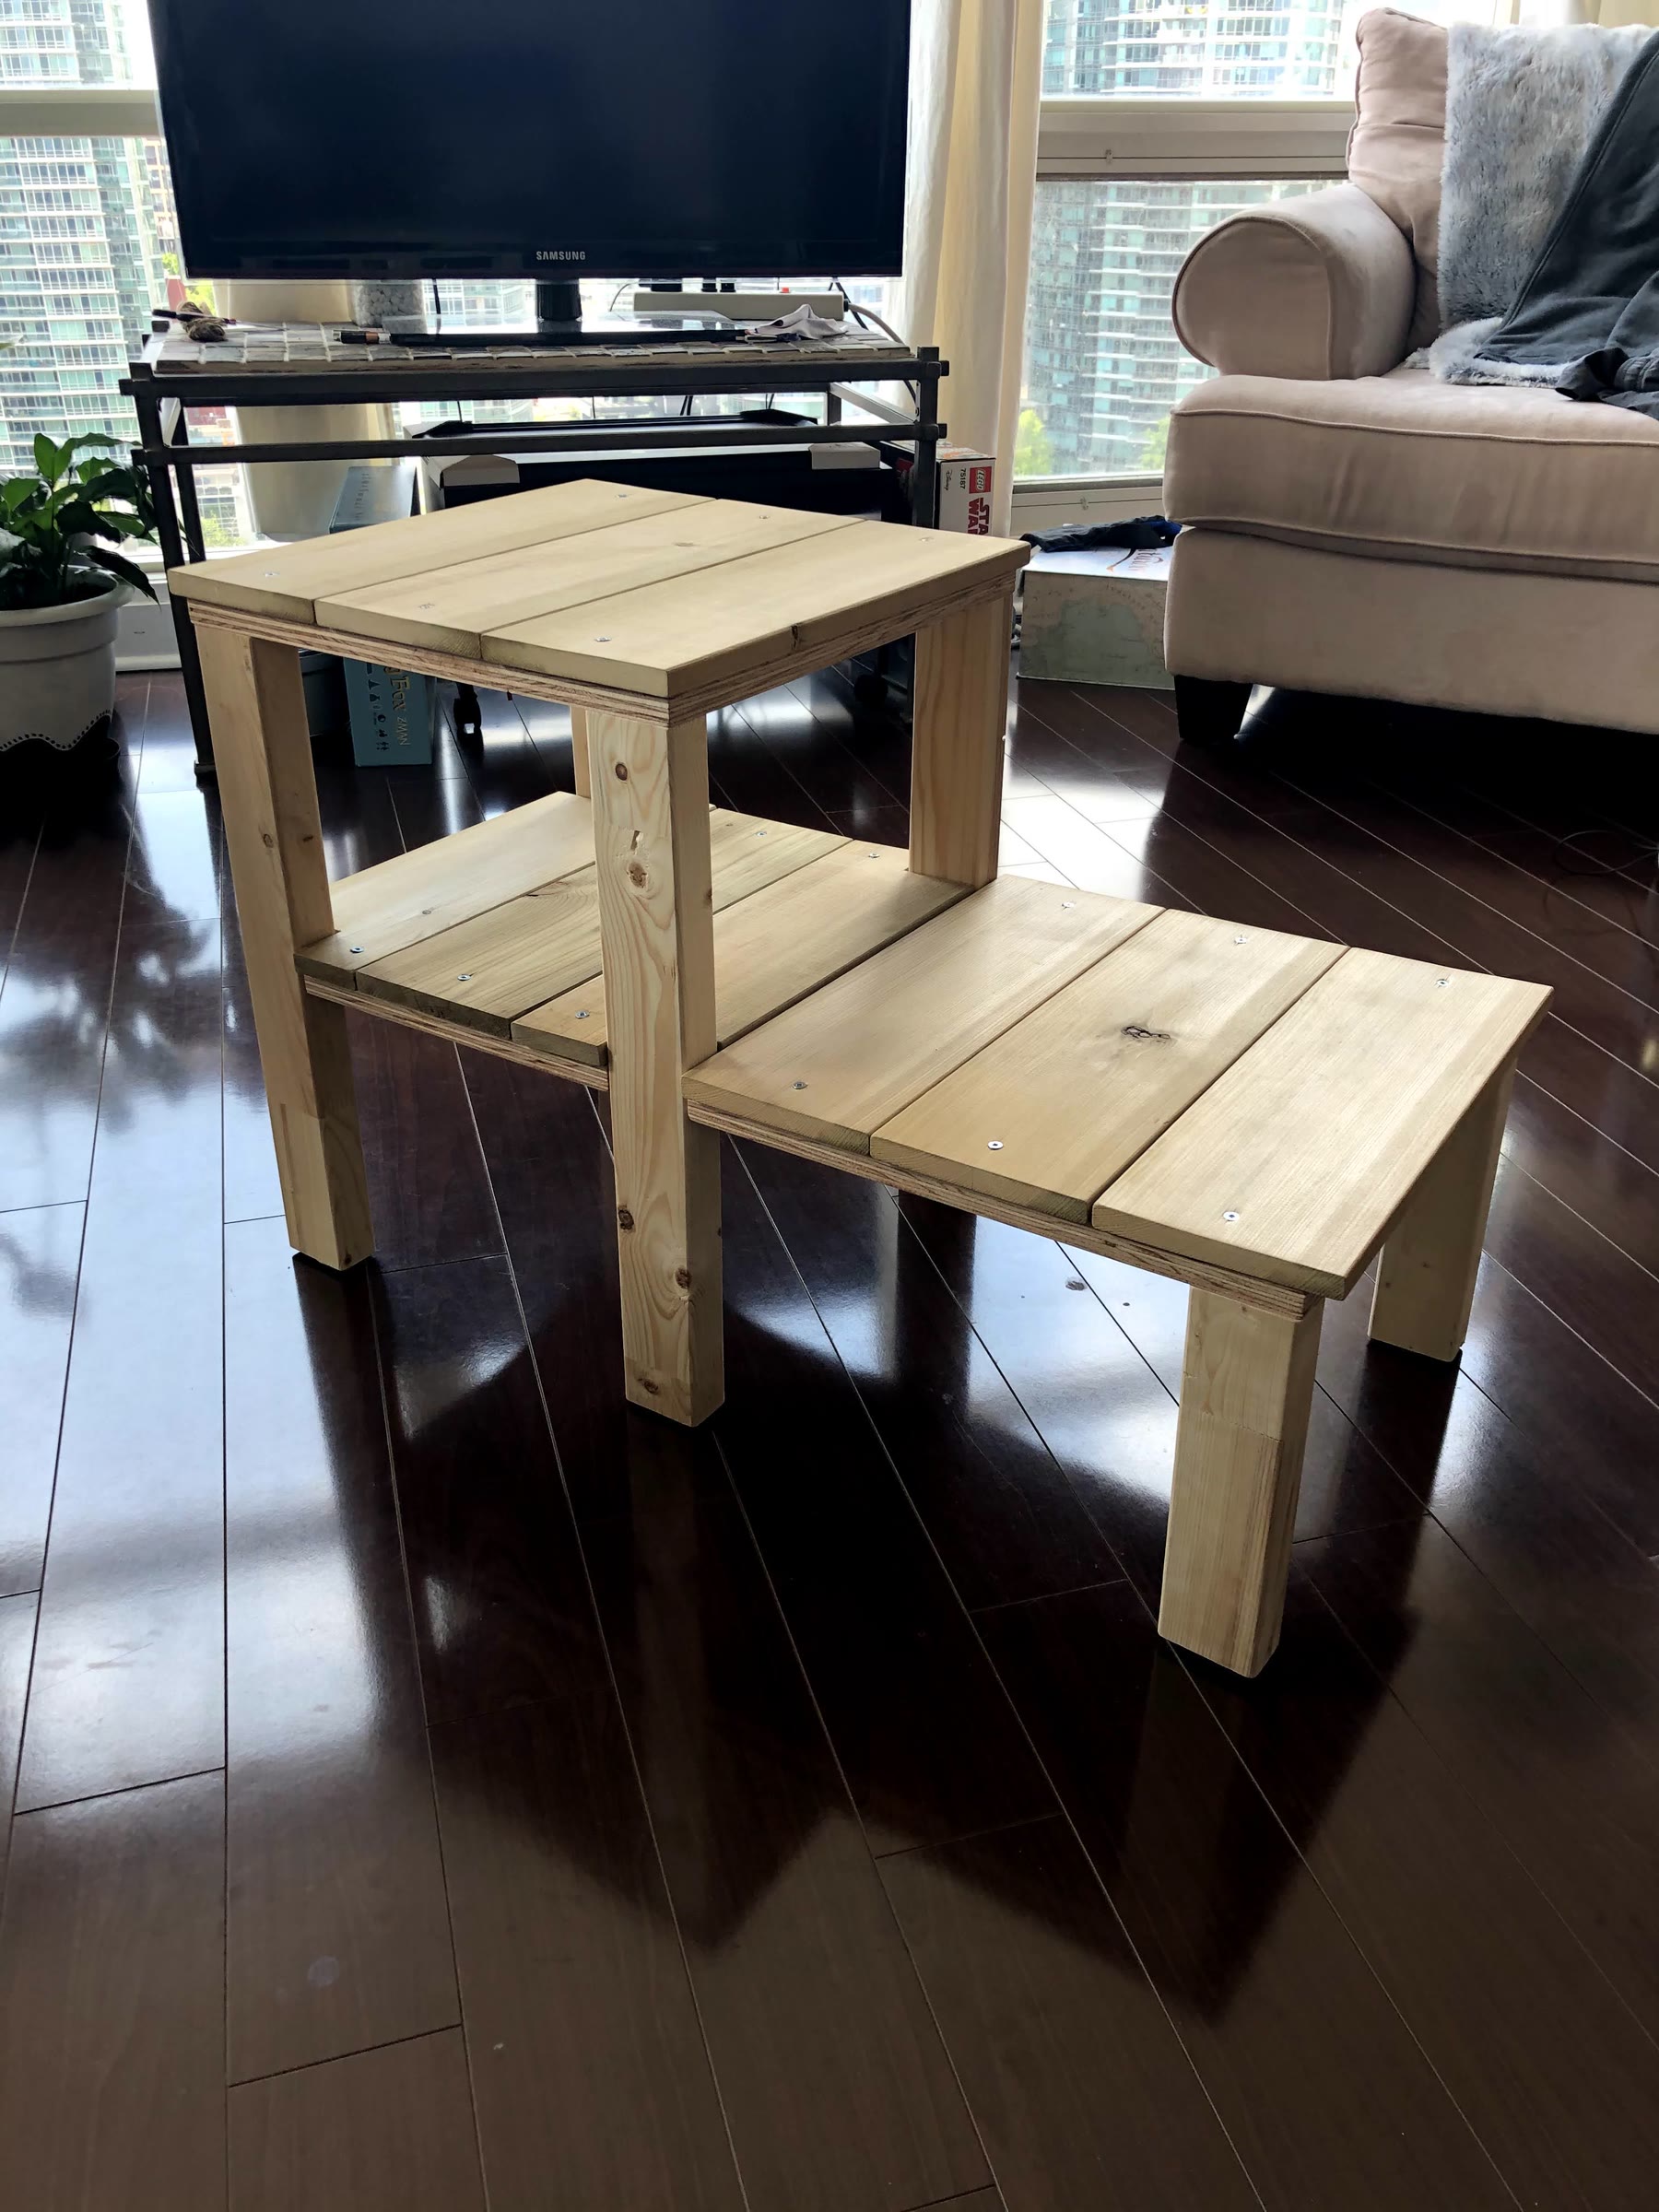
Start with the bottom platform and support the left side while you work (I used books). Screw the plywood onto the two 12″ legs, then use the L-brackets (corner braces) to fix the plywood to the four 18″ legs. Next, screw the top plywood onto the four 18″ legs.
Wait until everything is in place and looks the way you like before you move on. Then add the 1x6 pine boards: three on the 15.5″ × 15.5″ panel on the tall level, and six on the 15.5″ × 31″ panel on the low level. I used 1½″ screws for the plywood into the 2x3 posts and 1″ screws for the pine into the plywood. No glue was used.
Step 5: Sand everything down
Sand every piece. I start with a 60 or 80 grit sponge, then work my way up to 120.
Step 6: Stain it
I used two coats of Varathane oil-based stain in Weathered Grey.
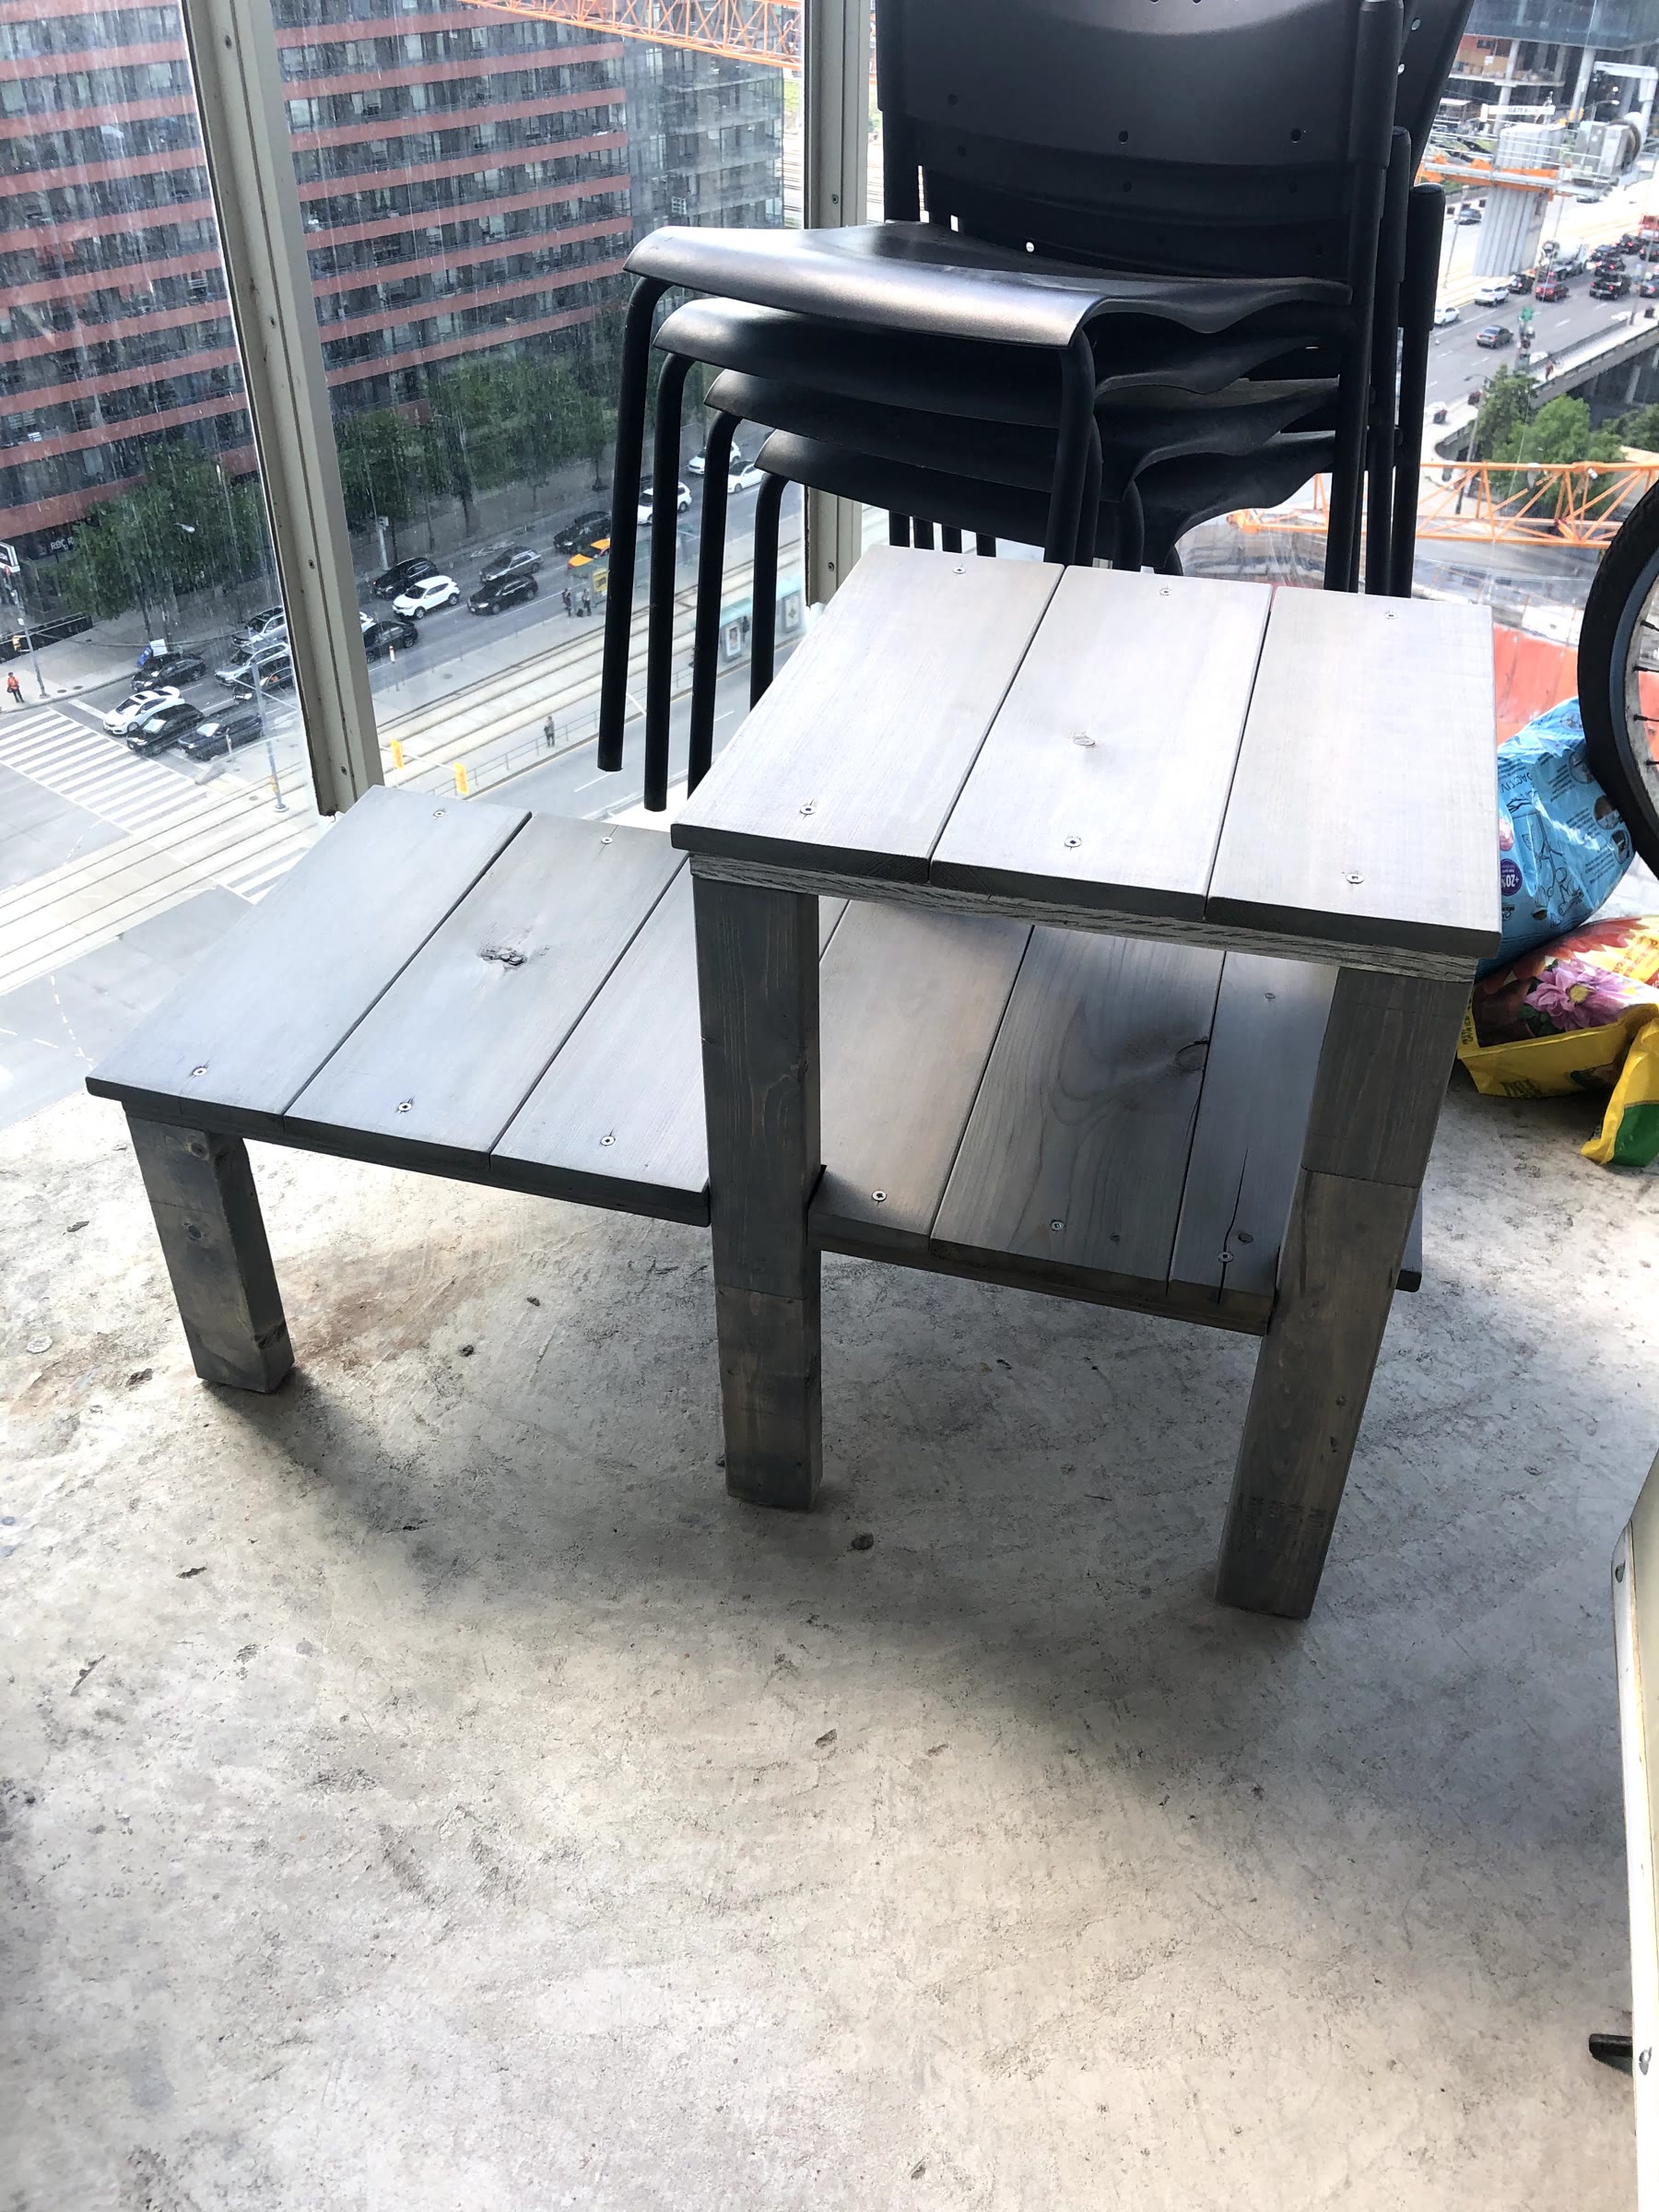
Result
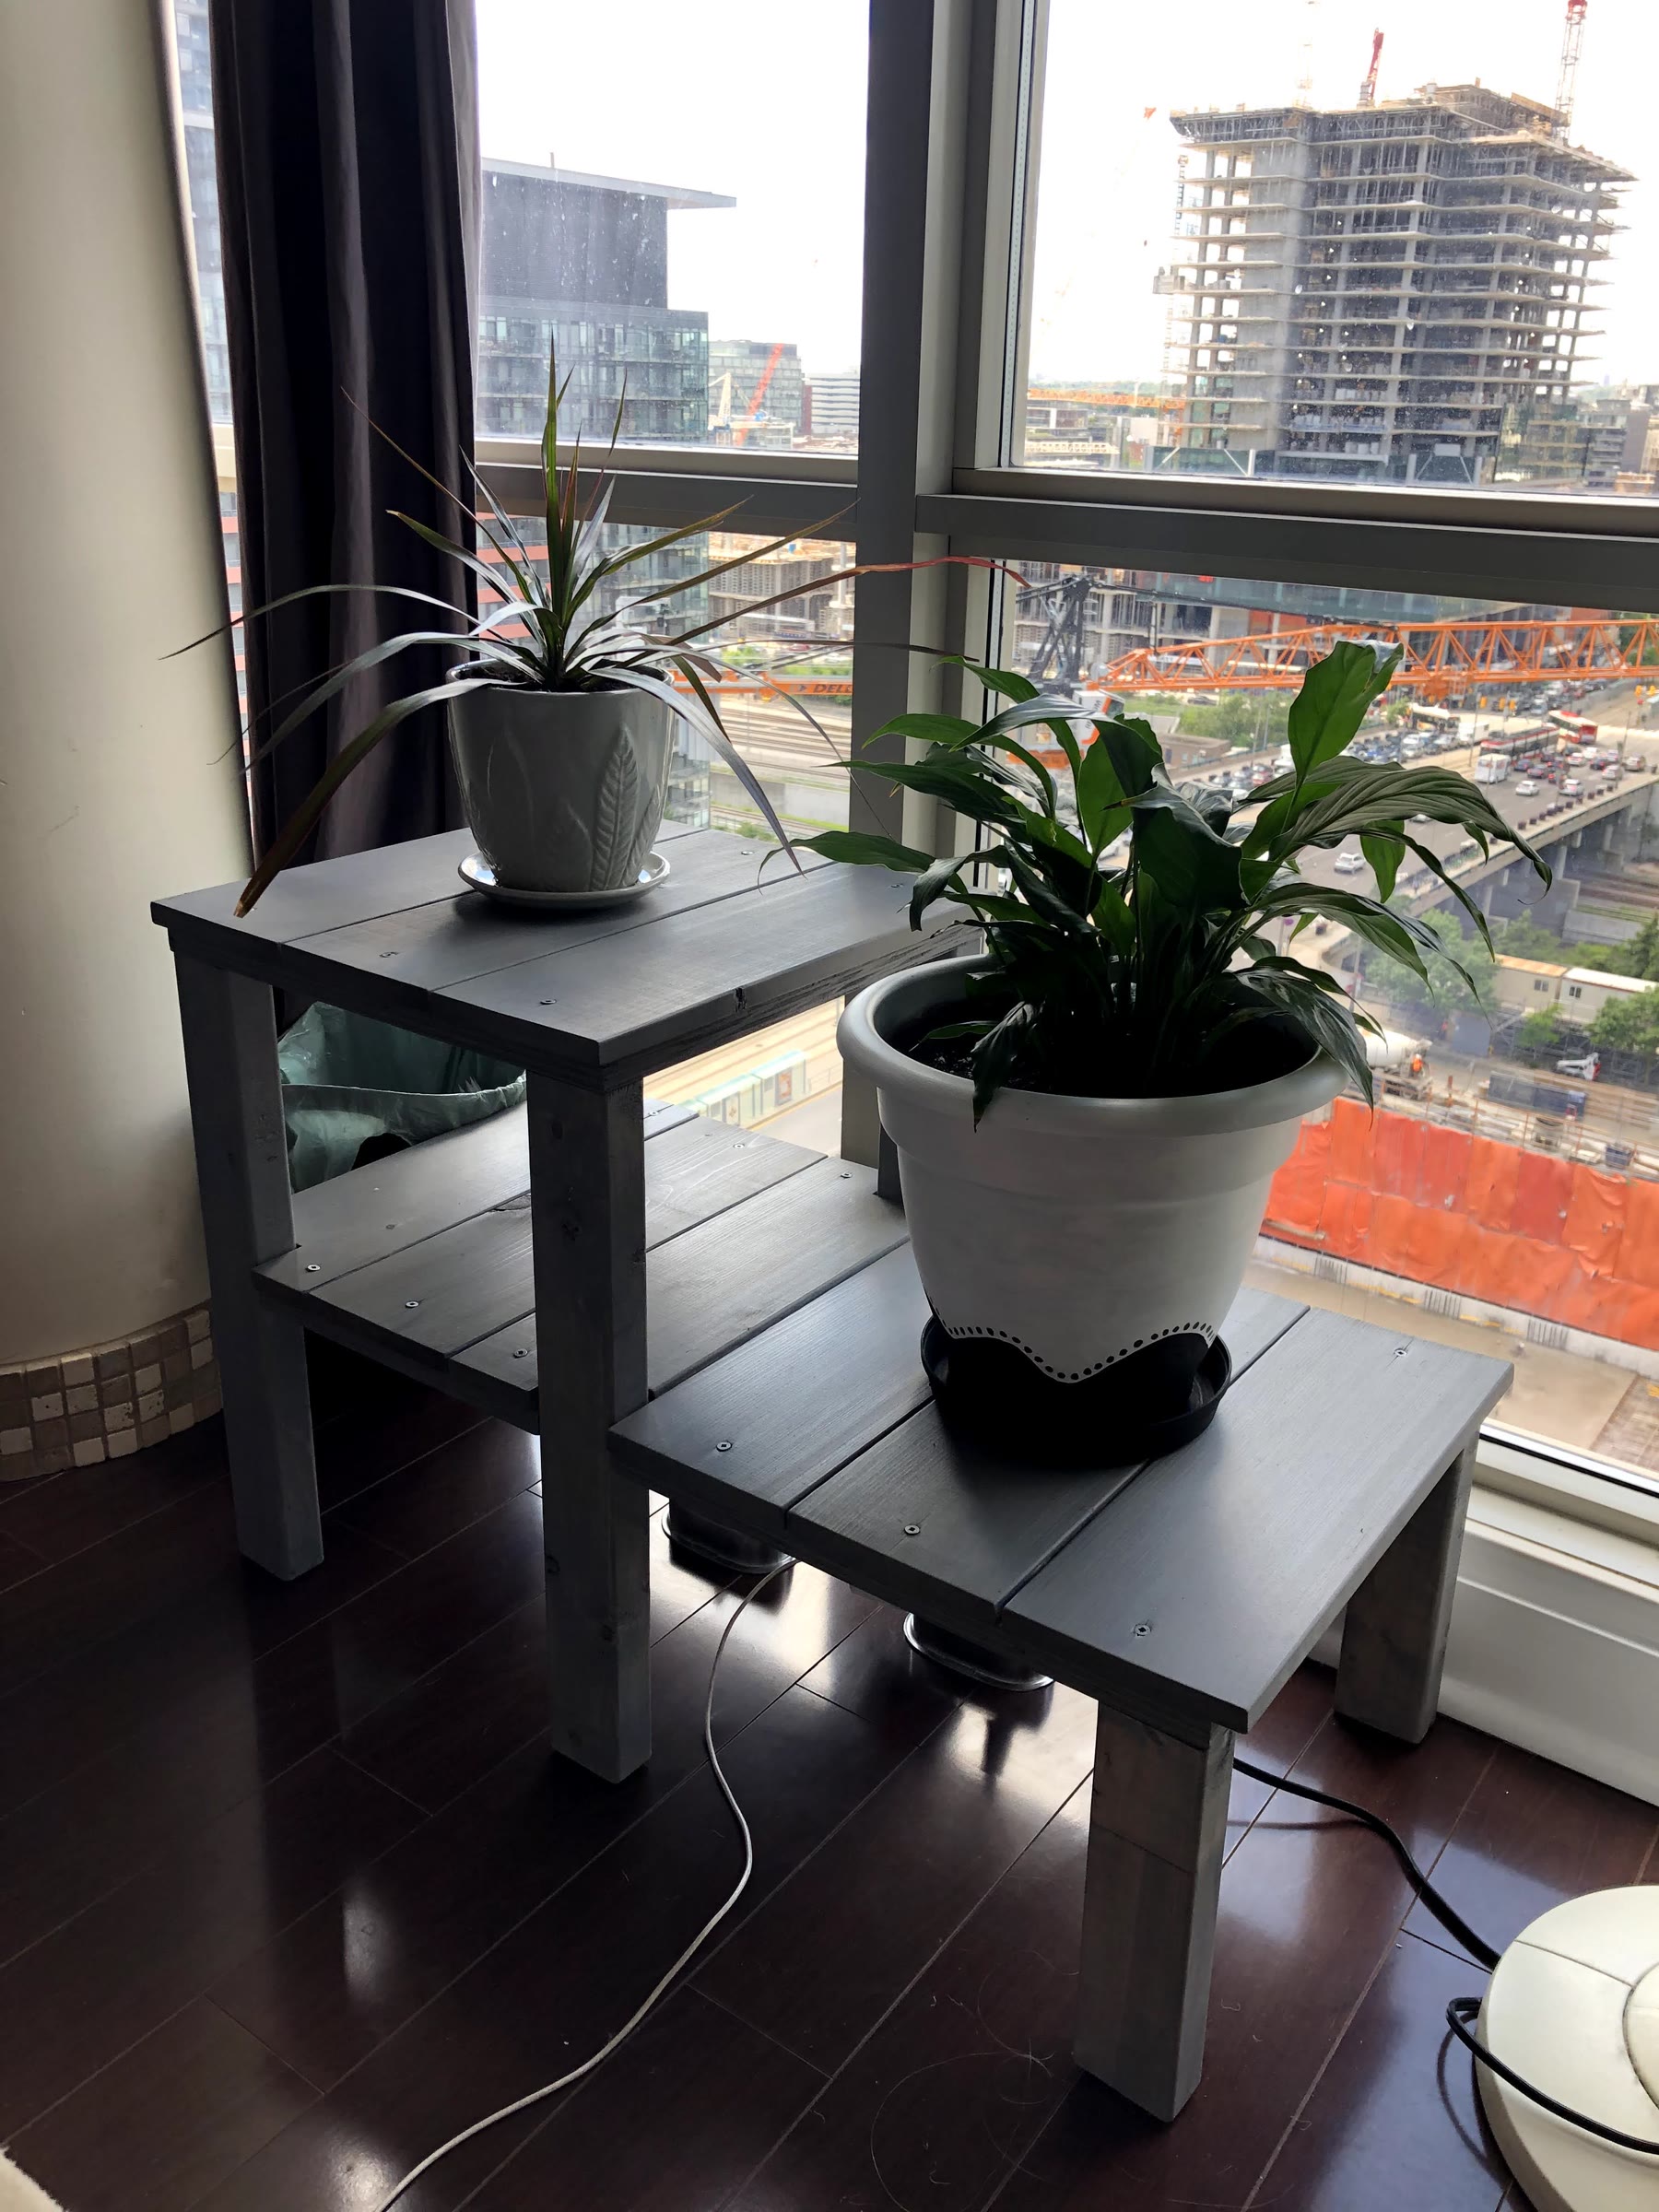
A very sturdy two-level plant stand that holds a big, heavy pot on the low level and a second plant up top.