 Little Things Made
Home
Reclaimed Skid Headboard
The idea
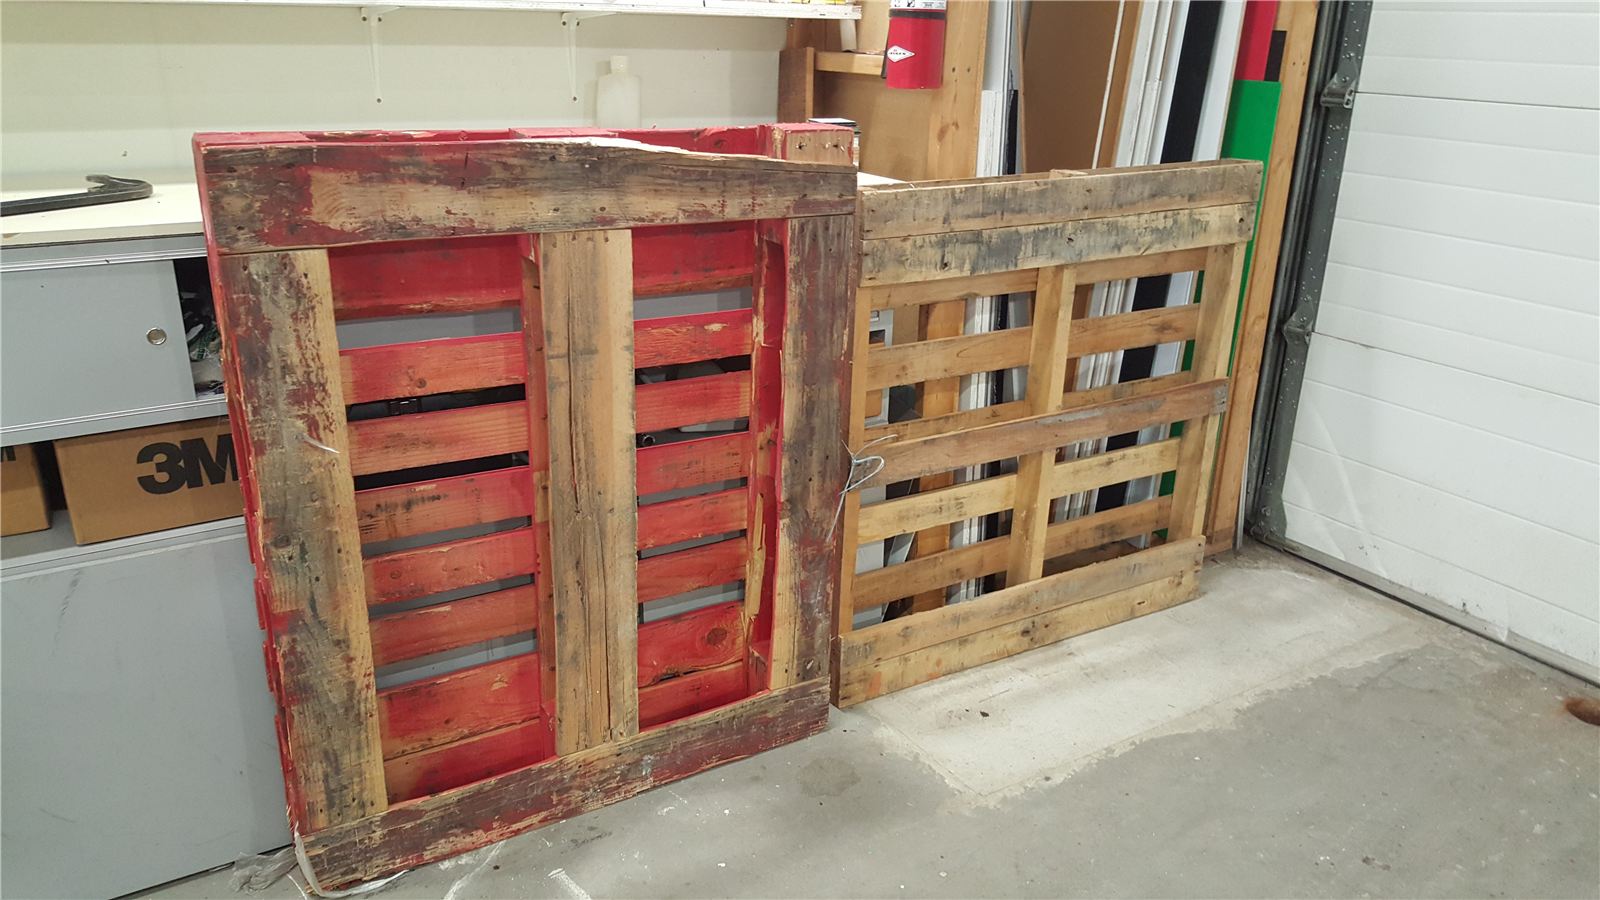
My dad had a stack of old shipping skids sitting around his shop, and the mismatched, paint-splattered boards looked exactly like the reclaimed-wood headboards I kept seeing online. Instead of buying reclaimed lumber, I took the skids apart myself.
Materials
- Reclaimed wood skids/pallets
- (2) 4x4 cedar posts, for the support legs
- (2) Nelson Pear wall sconces from MillerKnoll
- (1) 4-pack of 3" corner braces, for mounting to the wall
- Sandpaper, for smoothing every board
- Wood glue and finish nails
- Rented 18-gauge finish nailer from Home Depot
- Pencil, paper, and a tape measure, for the sketch
What we did
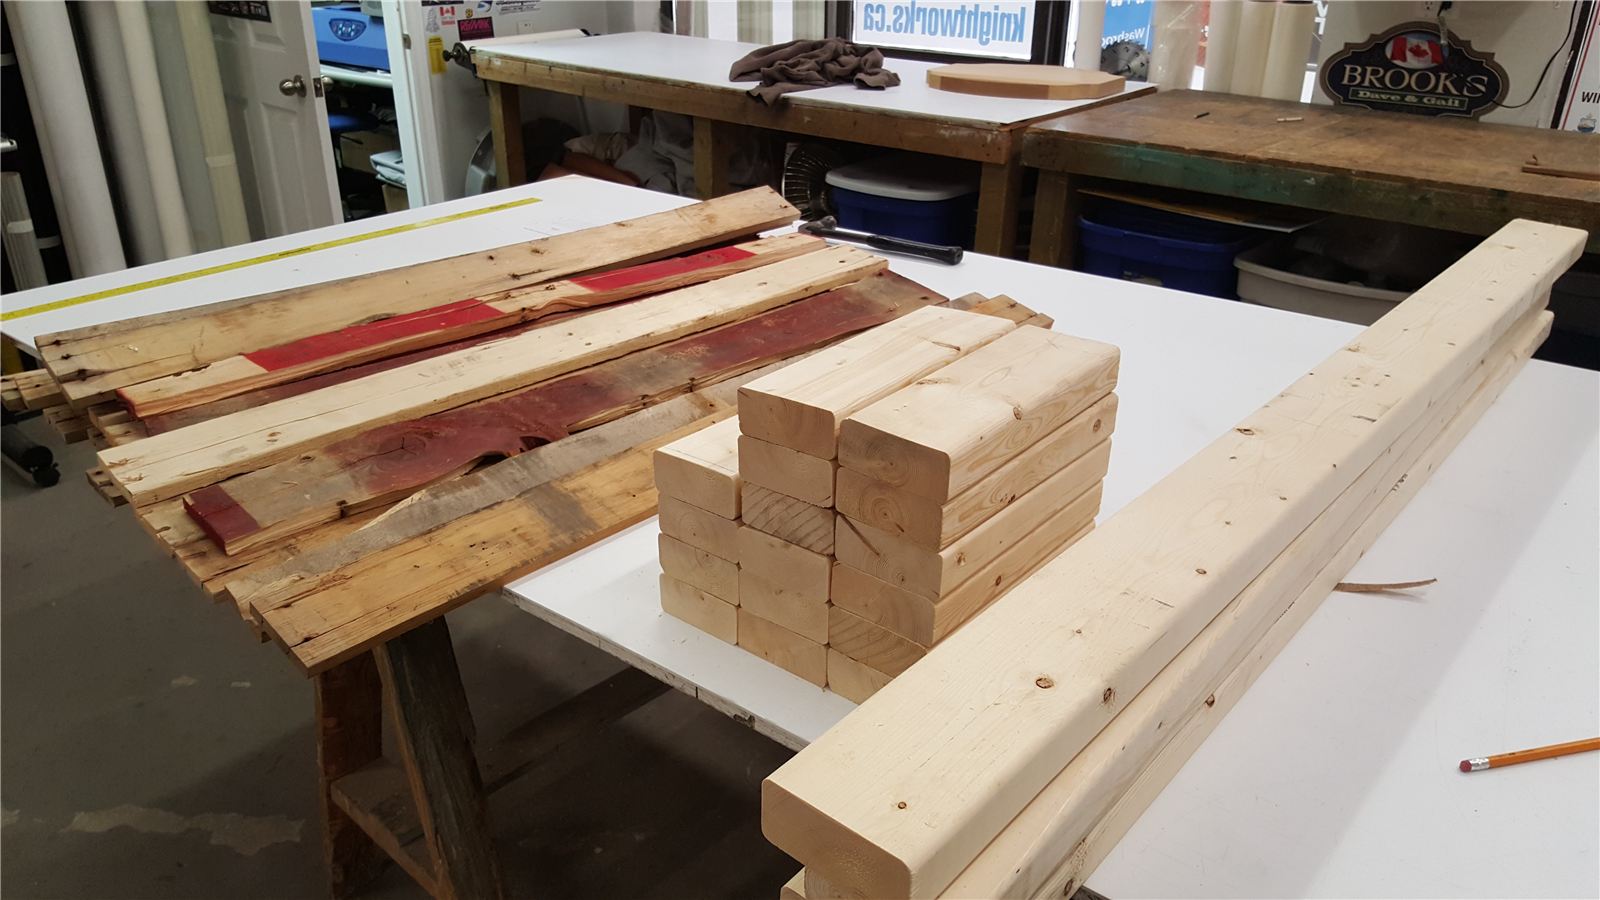
At my dad's shop, I took the skids apart board by board, cut each piece down to size, and sanded every single one to knock back the splinters while keeping the old paint and weathering intact for character.
Back at home, I sketched out what the headboard would actually look like — how many boards, what sizes, and how the whole structure would come together — before cutting anything further. I picked up two 4x4 cedar posts to use as the support legs, since the reclaimed boards alone wouldn't have been structurally stable on their own.
Everything got hauled home, and I laid the whole headboard out in the living room before assembling it for real, just to make sure I liked the board arrangement and the overall look. I rented an 18-gauge finish nailer from Home Depot rather than buying one outright, since this was a one-time build.
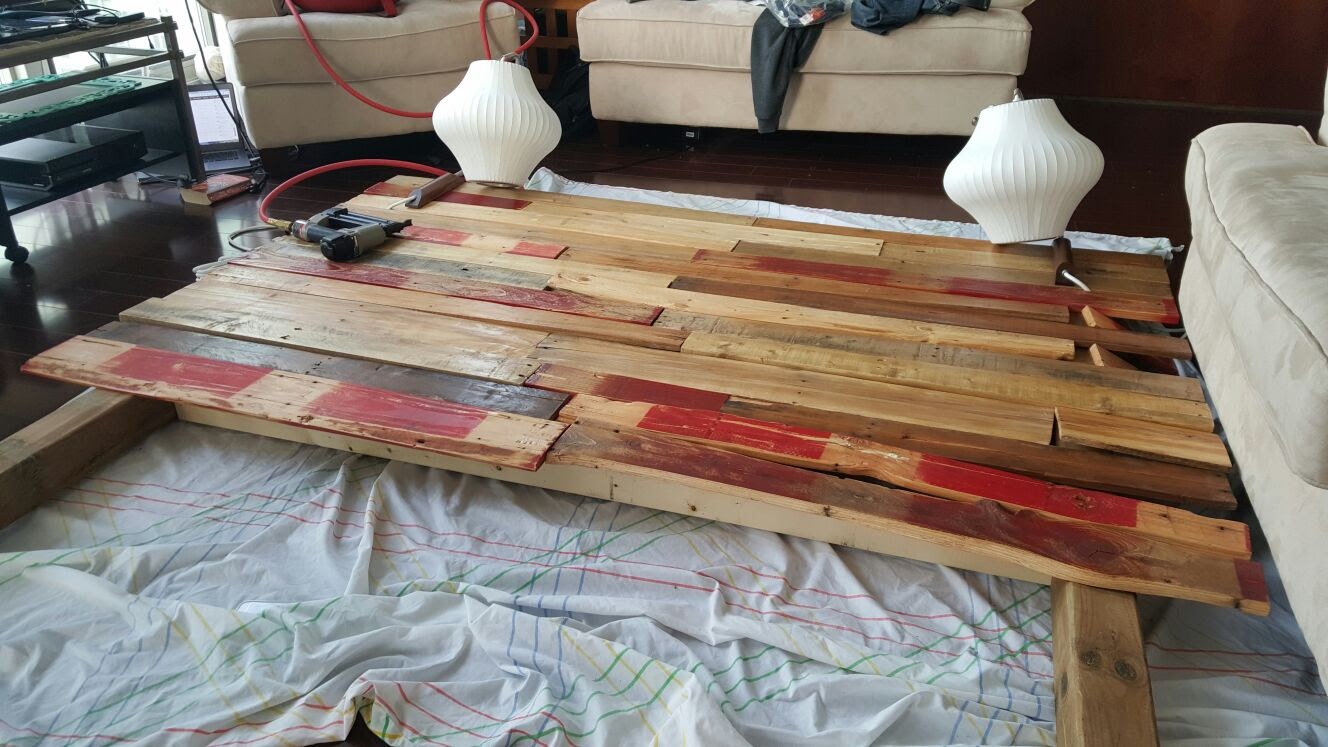
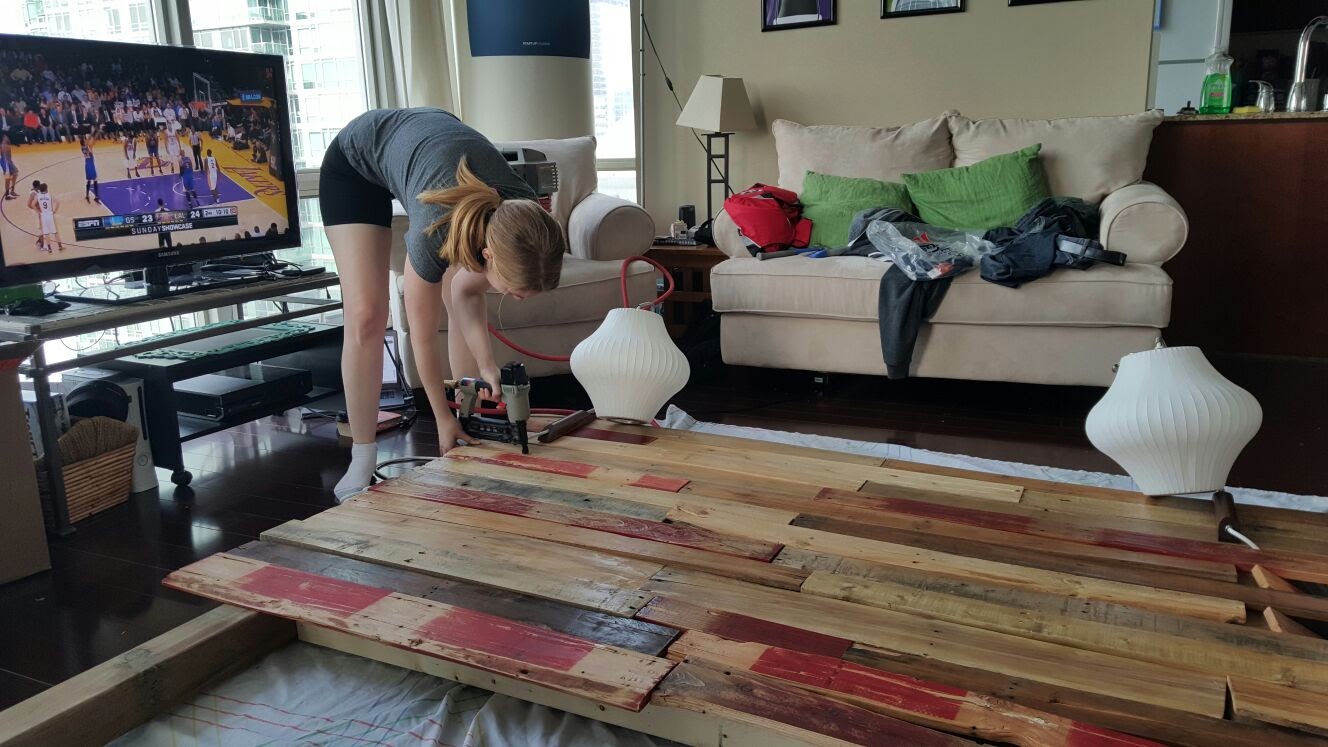
Once the boards were nailed onto the cedar frame, I laid it flat to check that everything sat square and the legs were even before moving it into the bedroom.
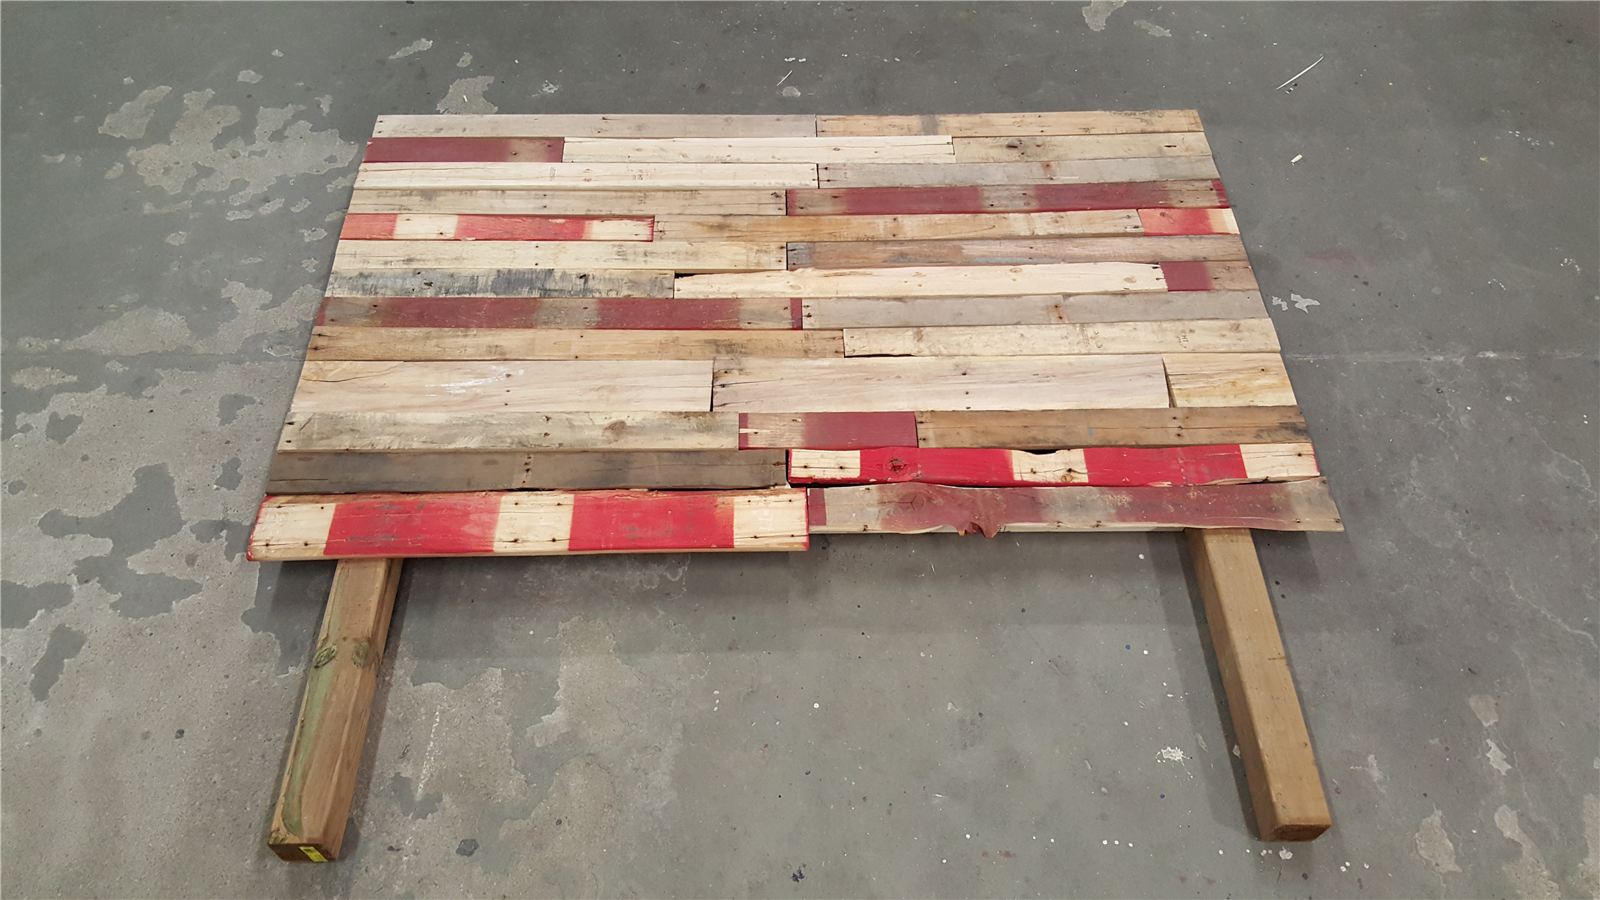
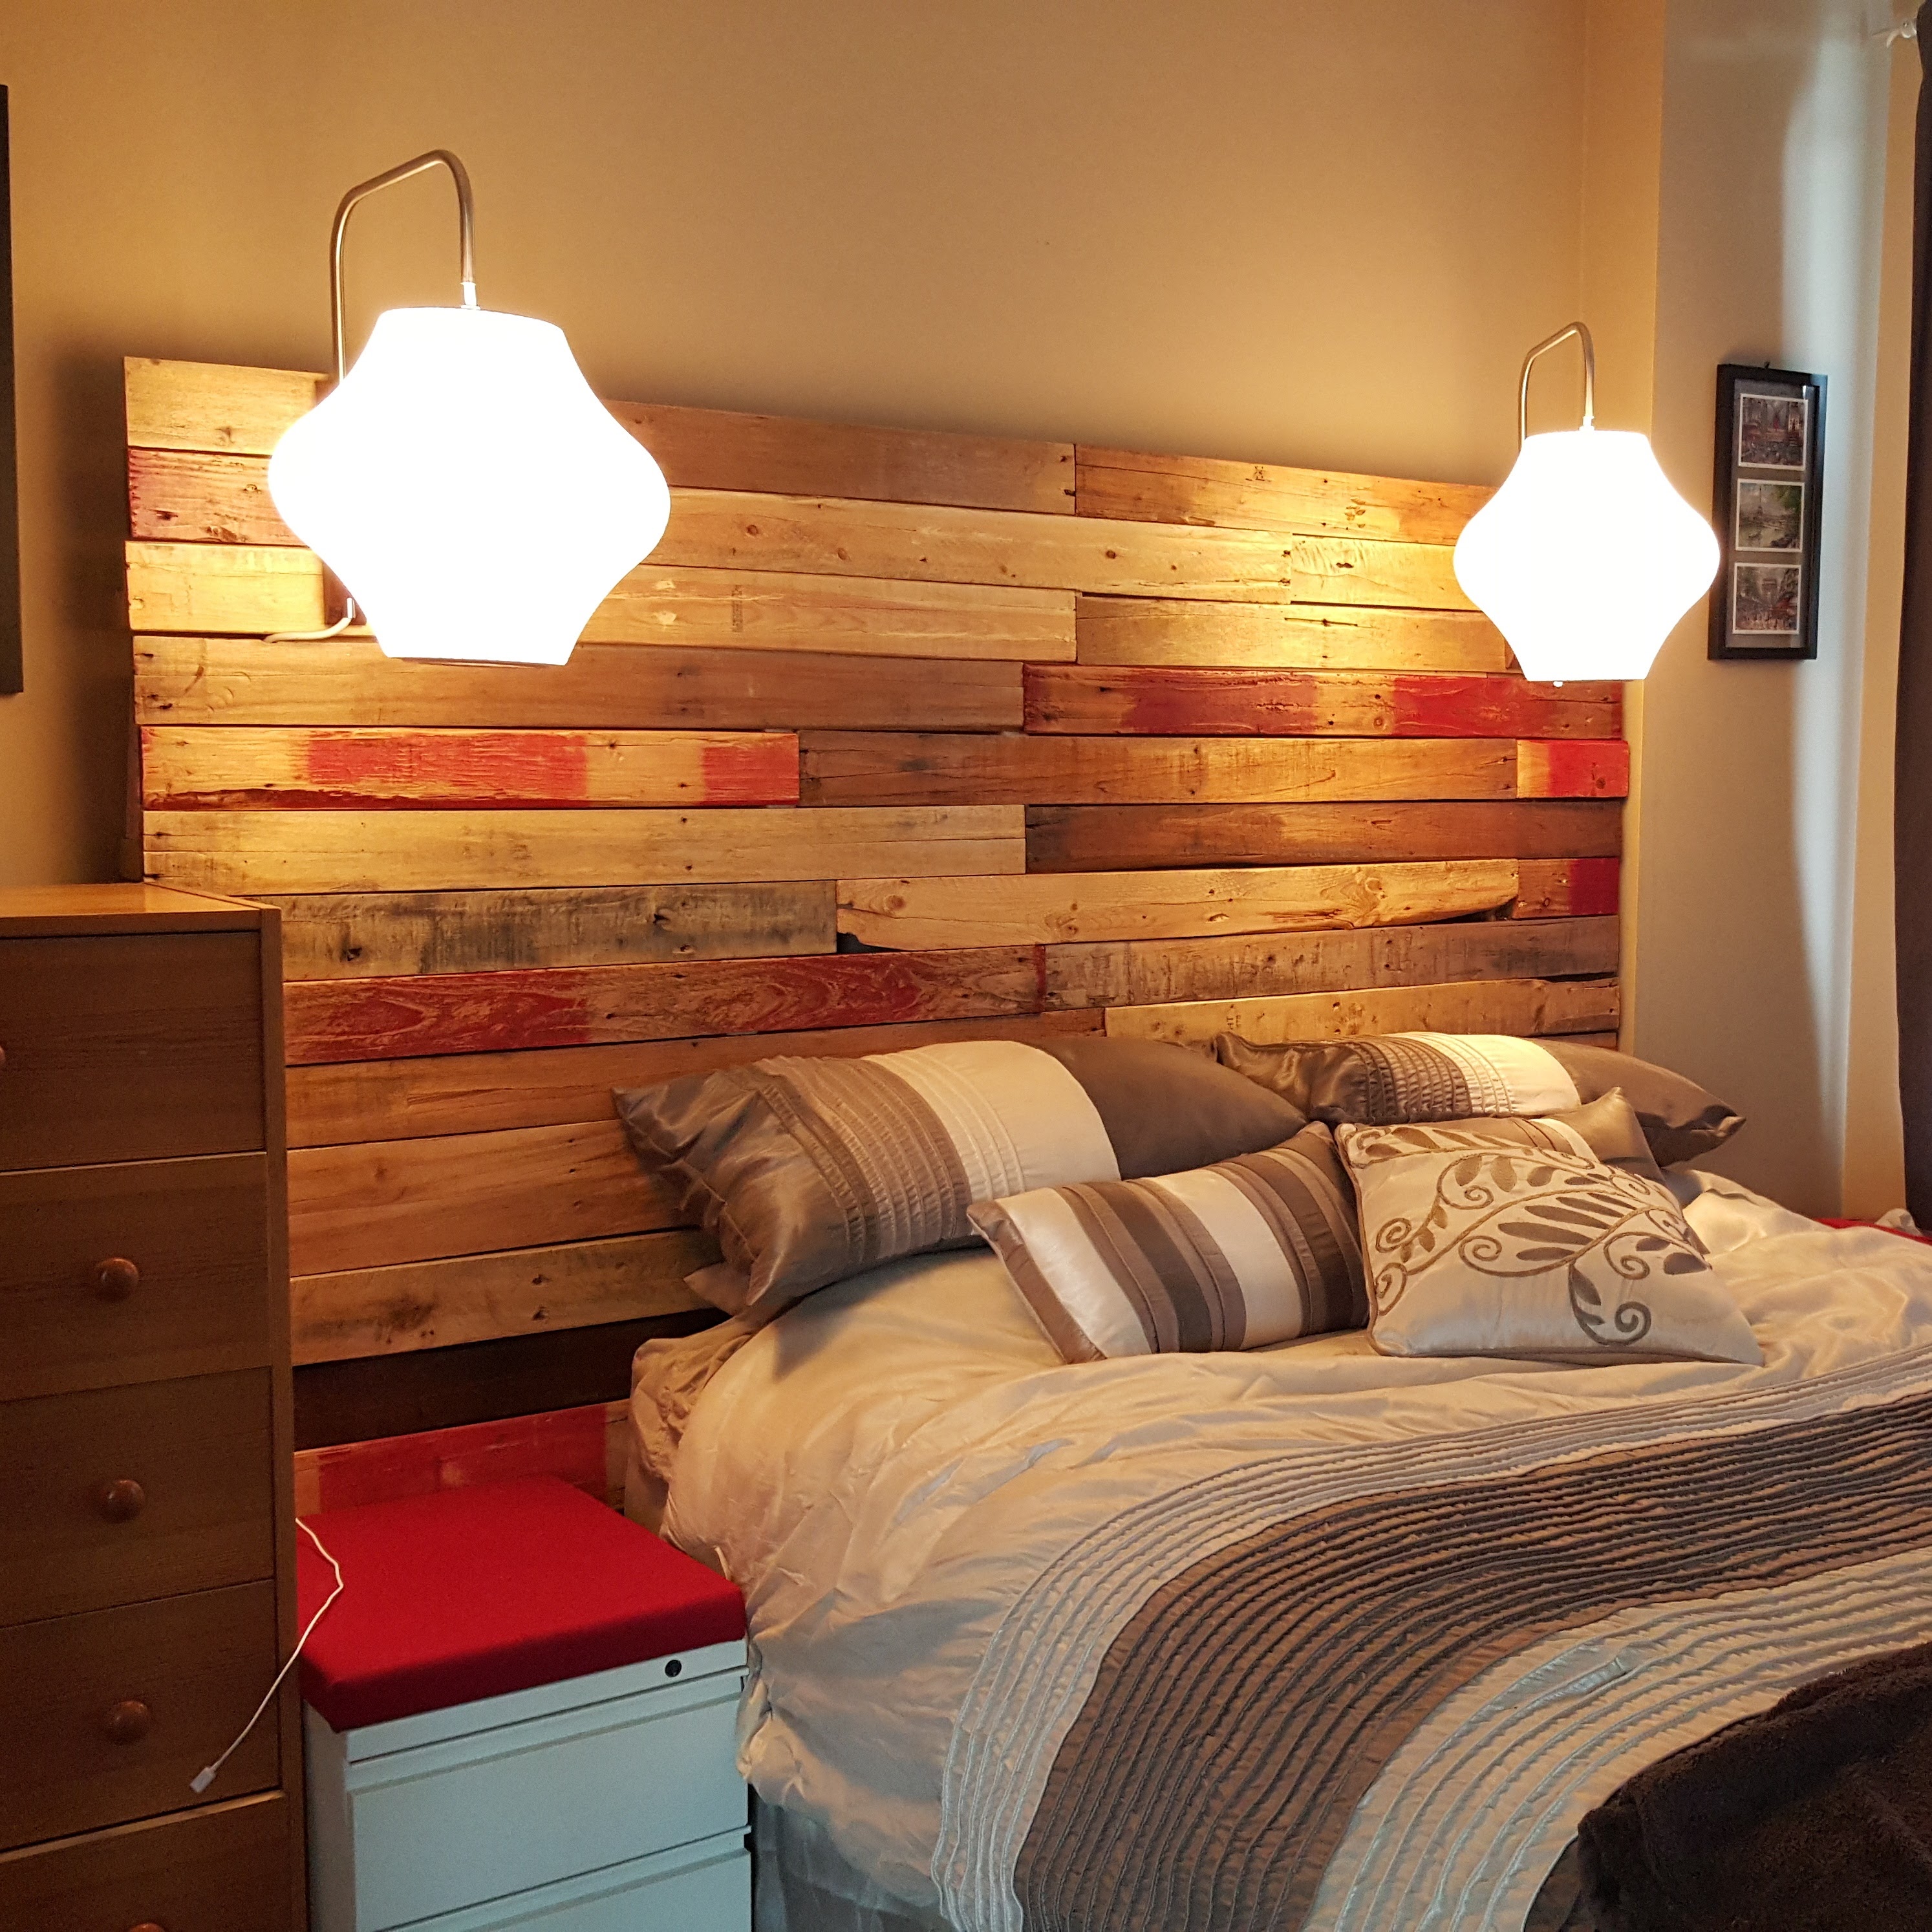
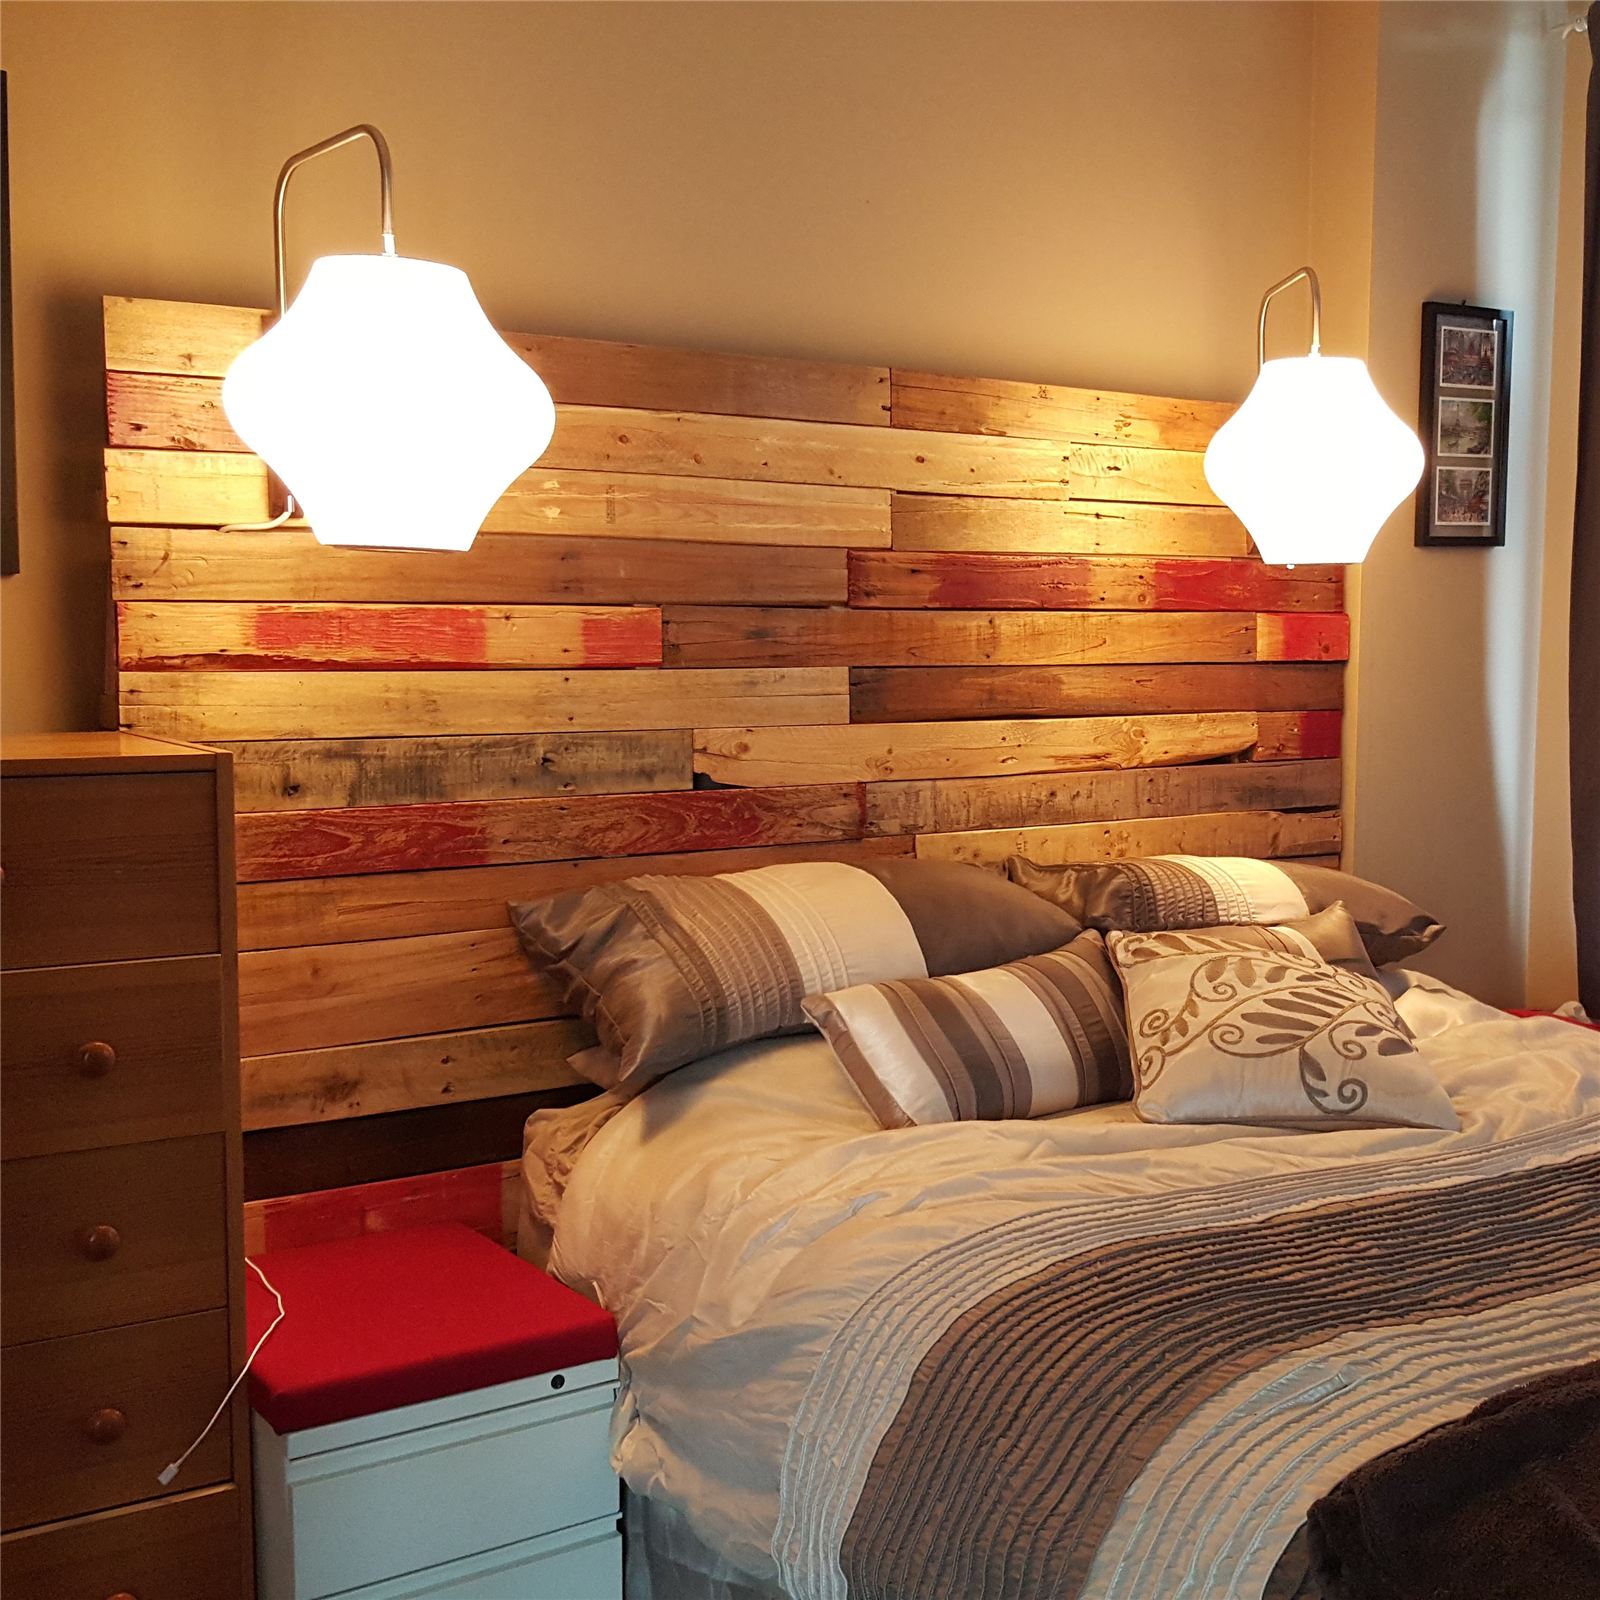
In the bedroom, we bracketed the headboard to the wall using 3" corner braces from Home Depot so it couldn't tip or shift, then mounted the two Nelson Pear wall sconces on either side for reading light.
Result
A one-of-a-kind headboard with zero material cost on the wood itself, built to be genuinely structurally sound rather than just screwed to drywall. Laying the whole thing out in the living room before final assembly was the step that made the biggest difference — it's much easier to rearrange loose boards on the floor than to redo something already nailed to a frame.