 Little Things Made
Kids Craft
No-Sew Sock Pumpkin
The idea
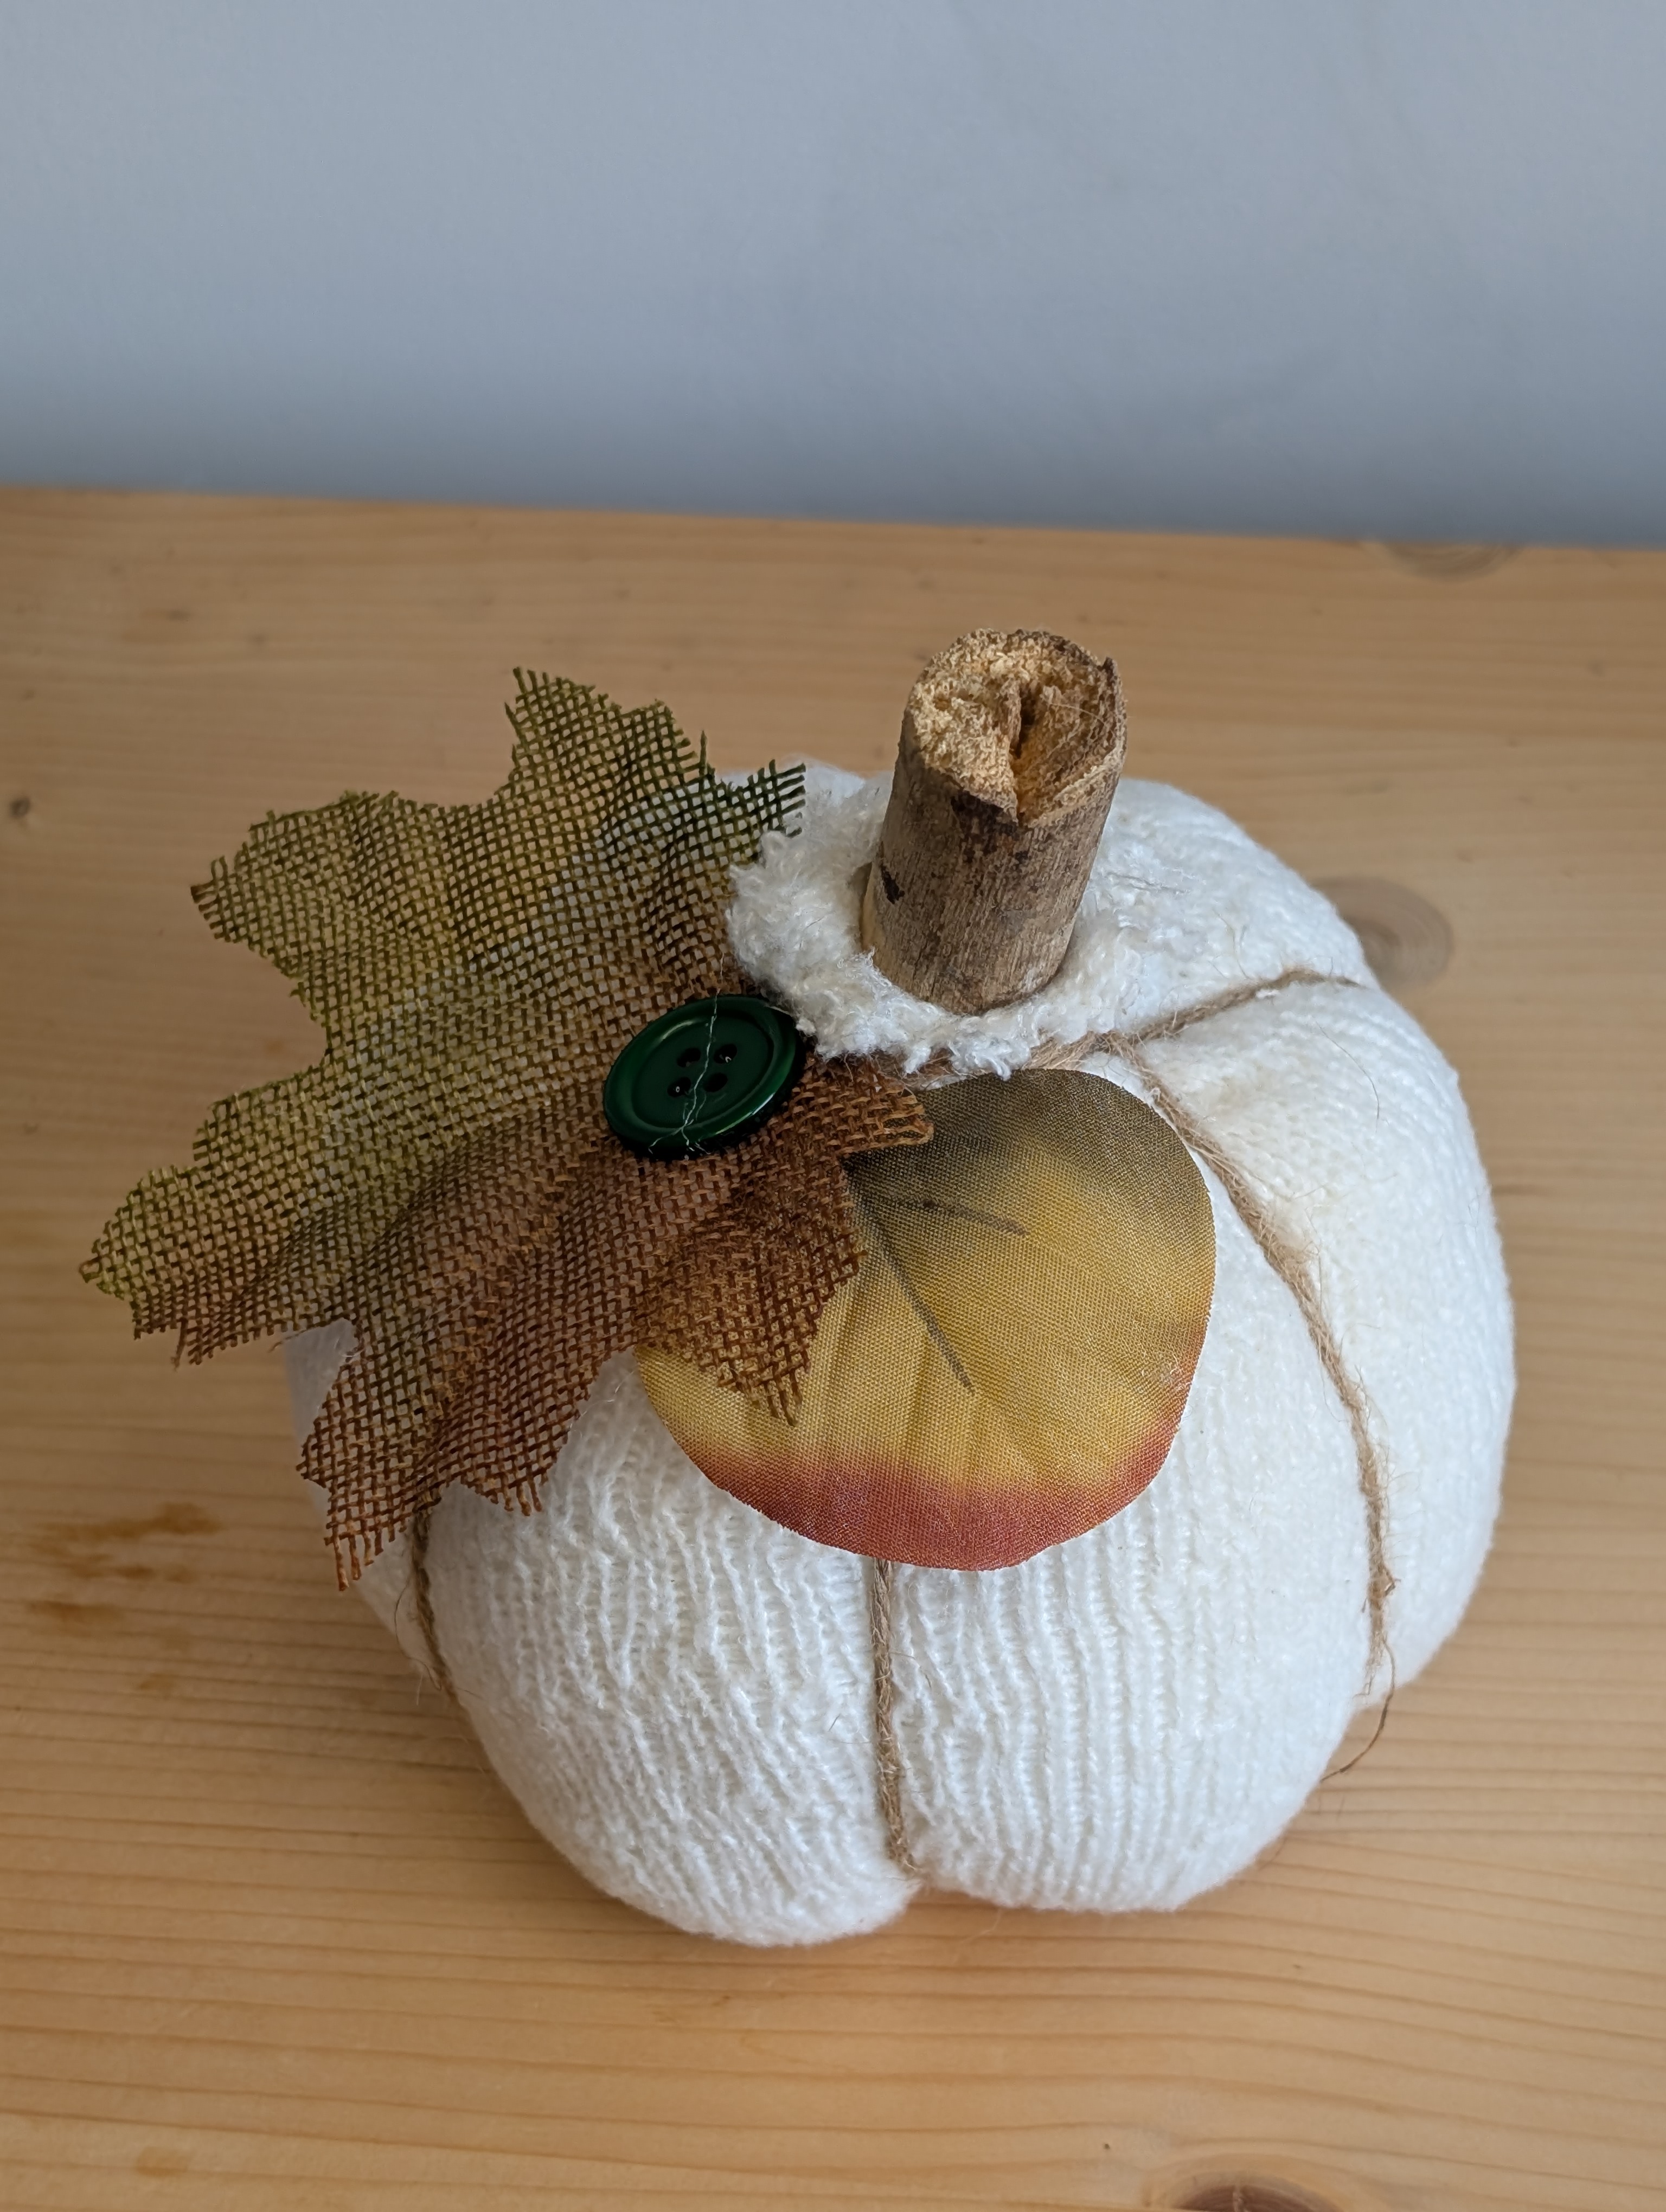
A cozy, cream-colored pumpkin made from nothing more than a plain sock, a handful of stuffing, and some twine. There's no sewing and no paint — just stuff, tie, wrap, and glue. It's one of the easiest fall decorations we make, and it works with whatever you already have around the house.
Materials
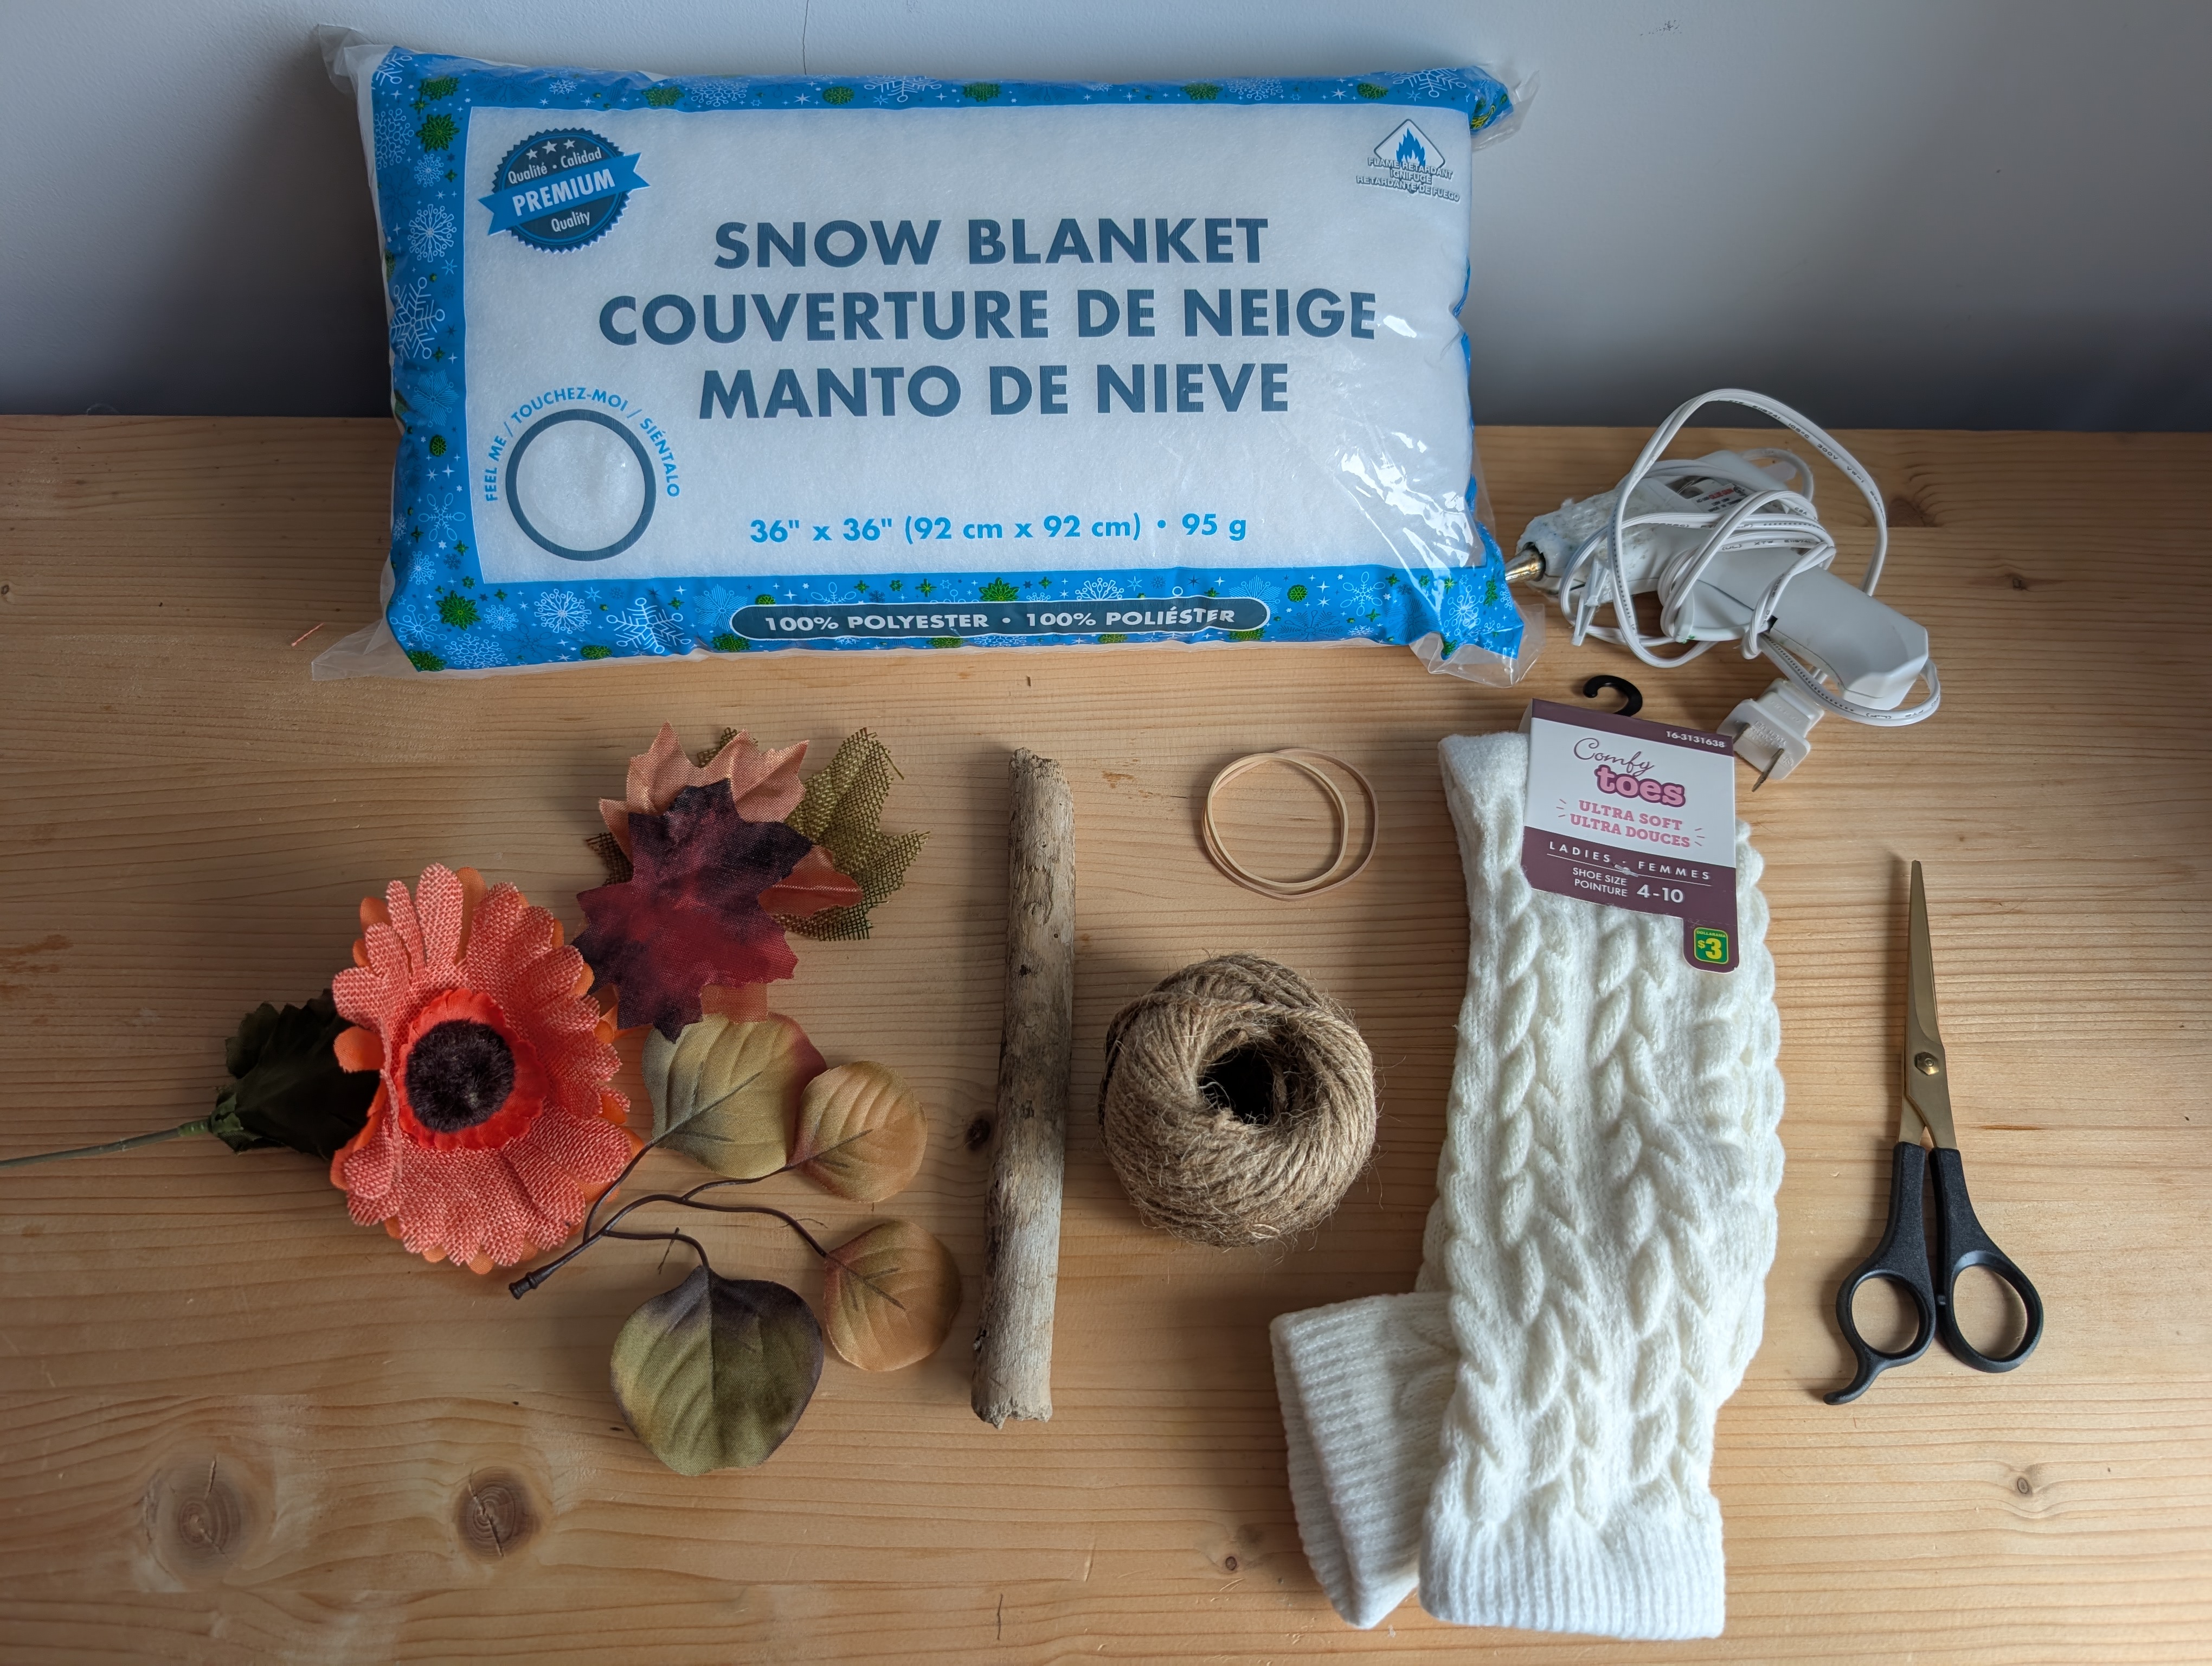
- A long, soft sock (a knit or cable-knit one gives the best texture)
- Stuffing — rice, beans, or anything you have at home (we used leftover snow blanket from last Christmas)
- Elastic hair ties or rubber bands
- A stick from outside, for the stem
- Twine, for the pumpkin grooves
- Scissors
- Hot glue gun
- Floral accessories — faux leaves, a flower, burlap, or a button
What we did
Step 1: Prep the sock
Cut the toe portion off the sock. Turn the sock inside out, tie an elastic around the cut end at the “top” of the sock, then turn the sock right side out again so the elastic is tucked inside.
Step 2: Stuff it
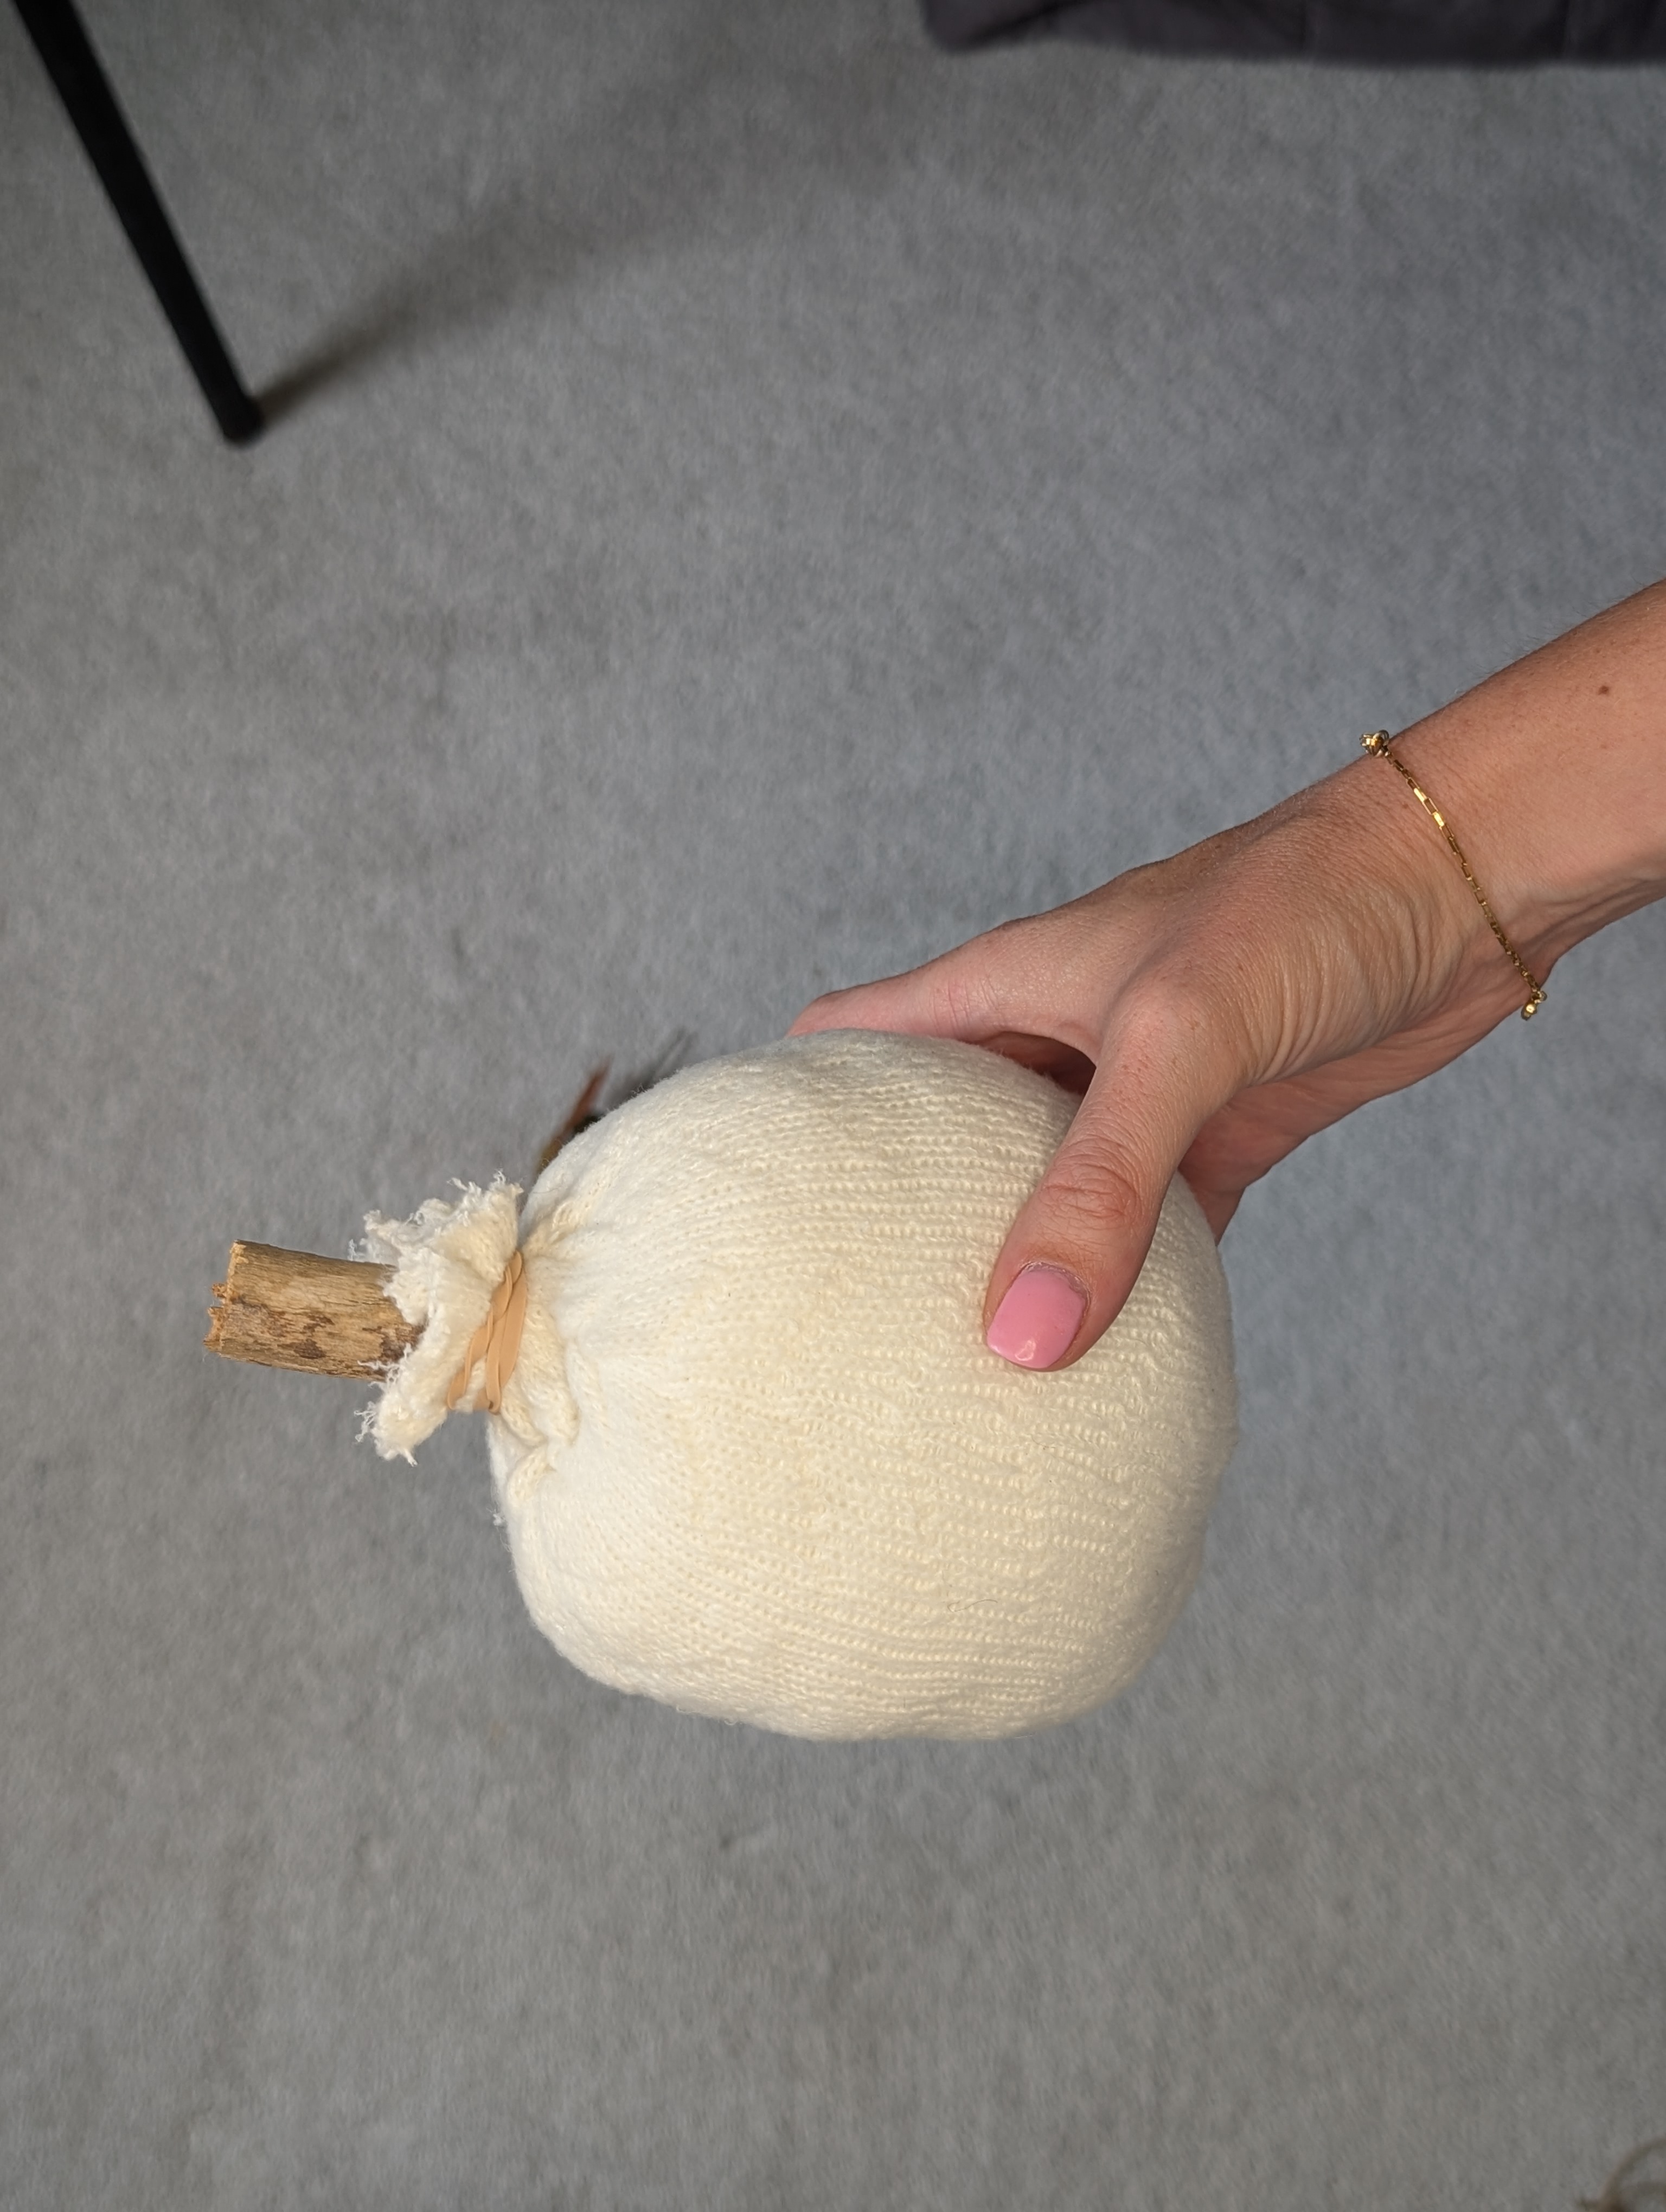
Fill the sock with stuffing, rice, beans, or whatever you have at home. We had leftover snow blanket from last Christmas, which made a soft, light pumpkin. Pack it in until the sock is nice and round.
Step 3: Add the stem
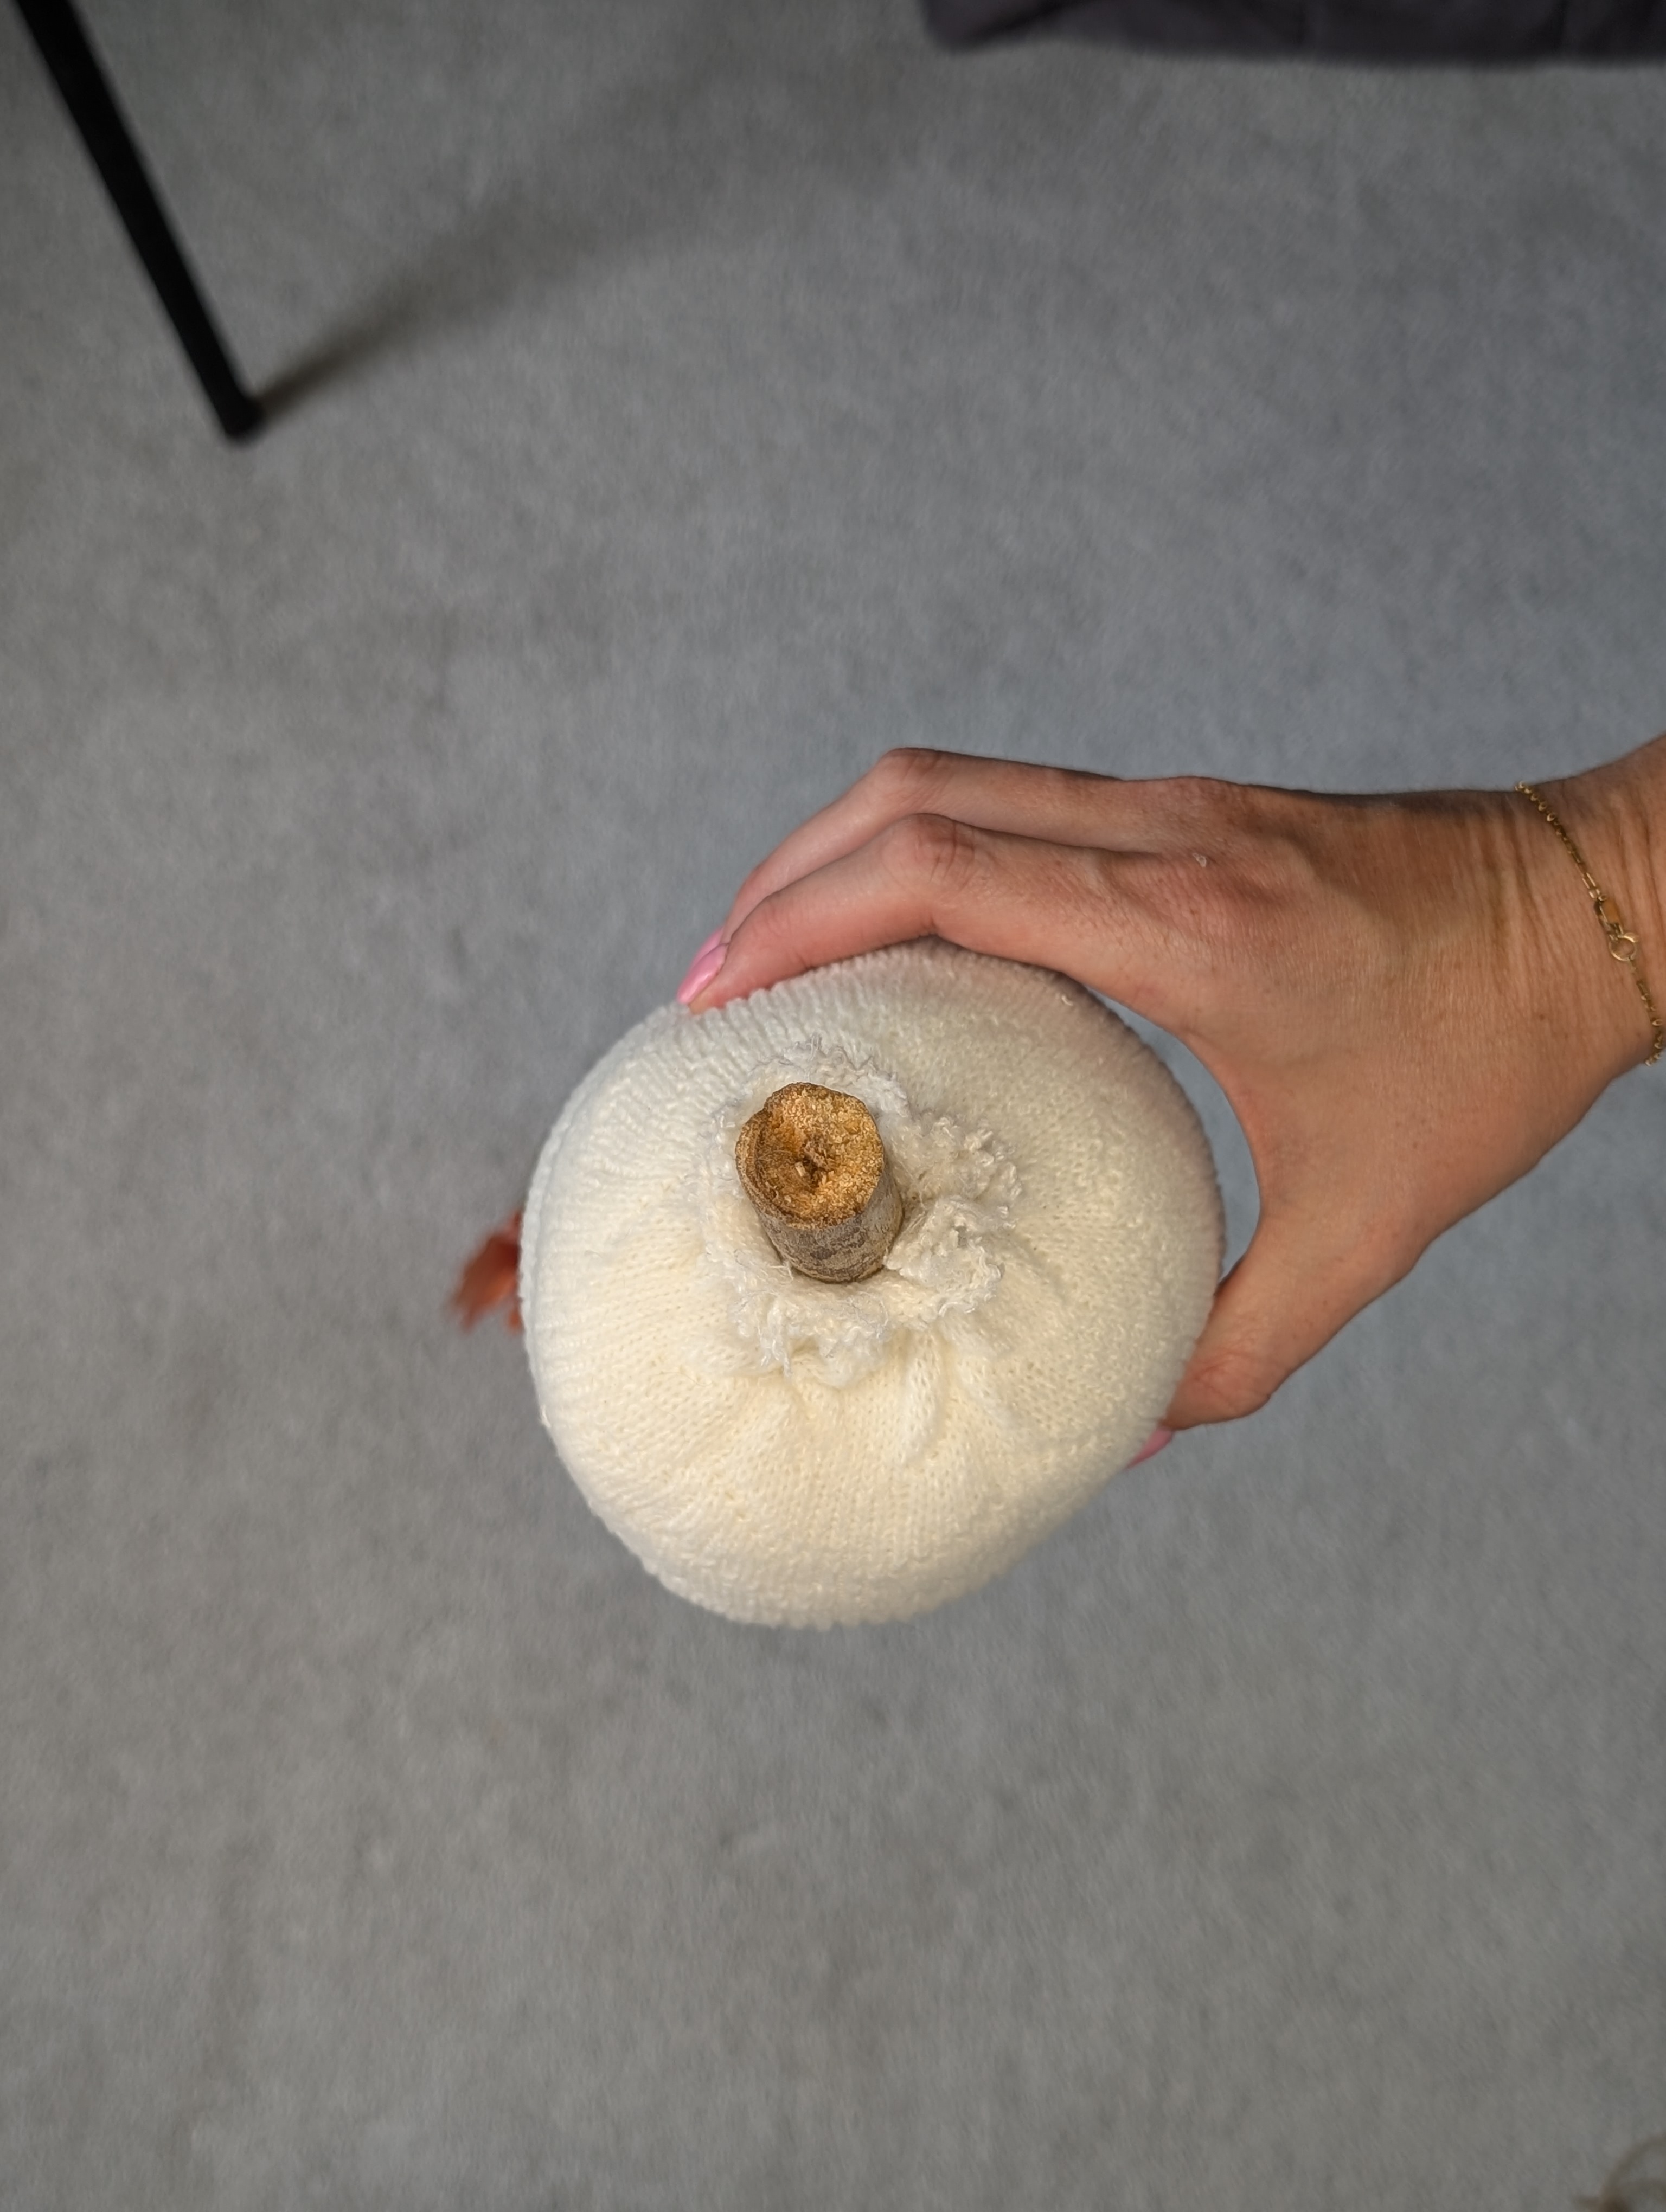
Push a stick into the open end for the stem — ours was a piece of branch we found outside. Wrap an elastic tightly around the sock where it meets the stem to close it up and hold the stem in place.
Step 4: Wrap with twine
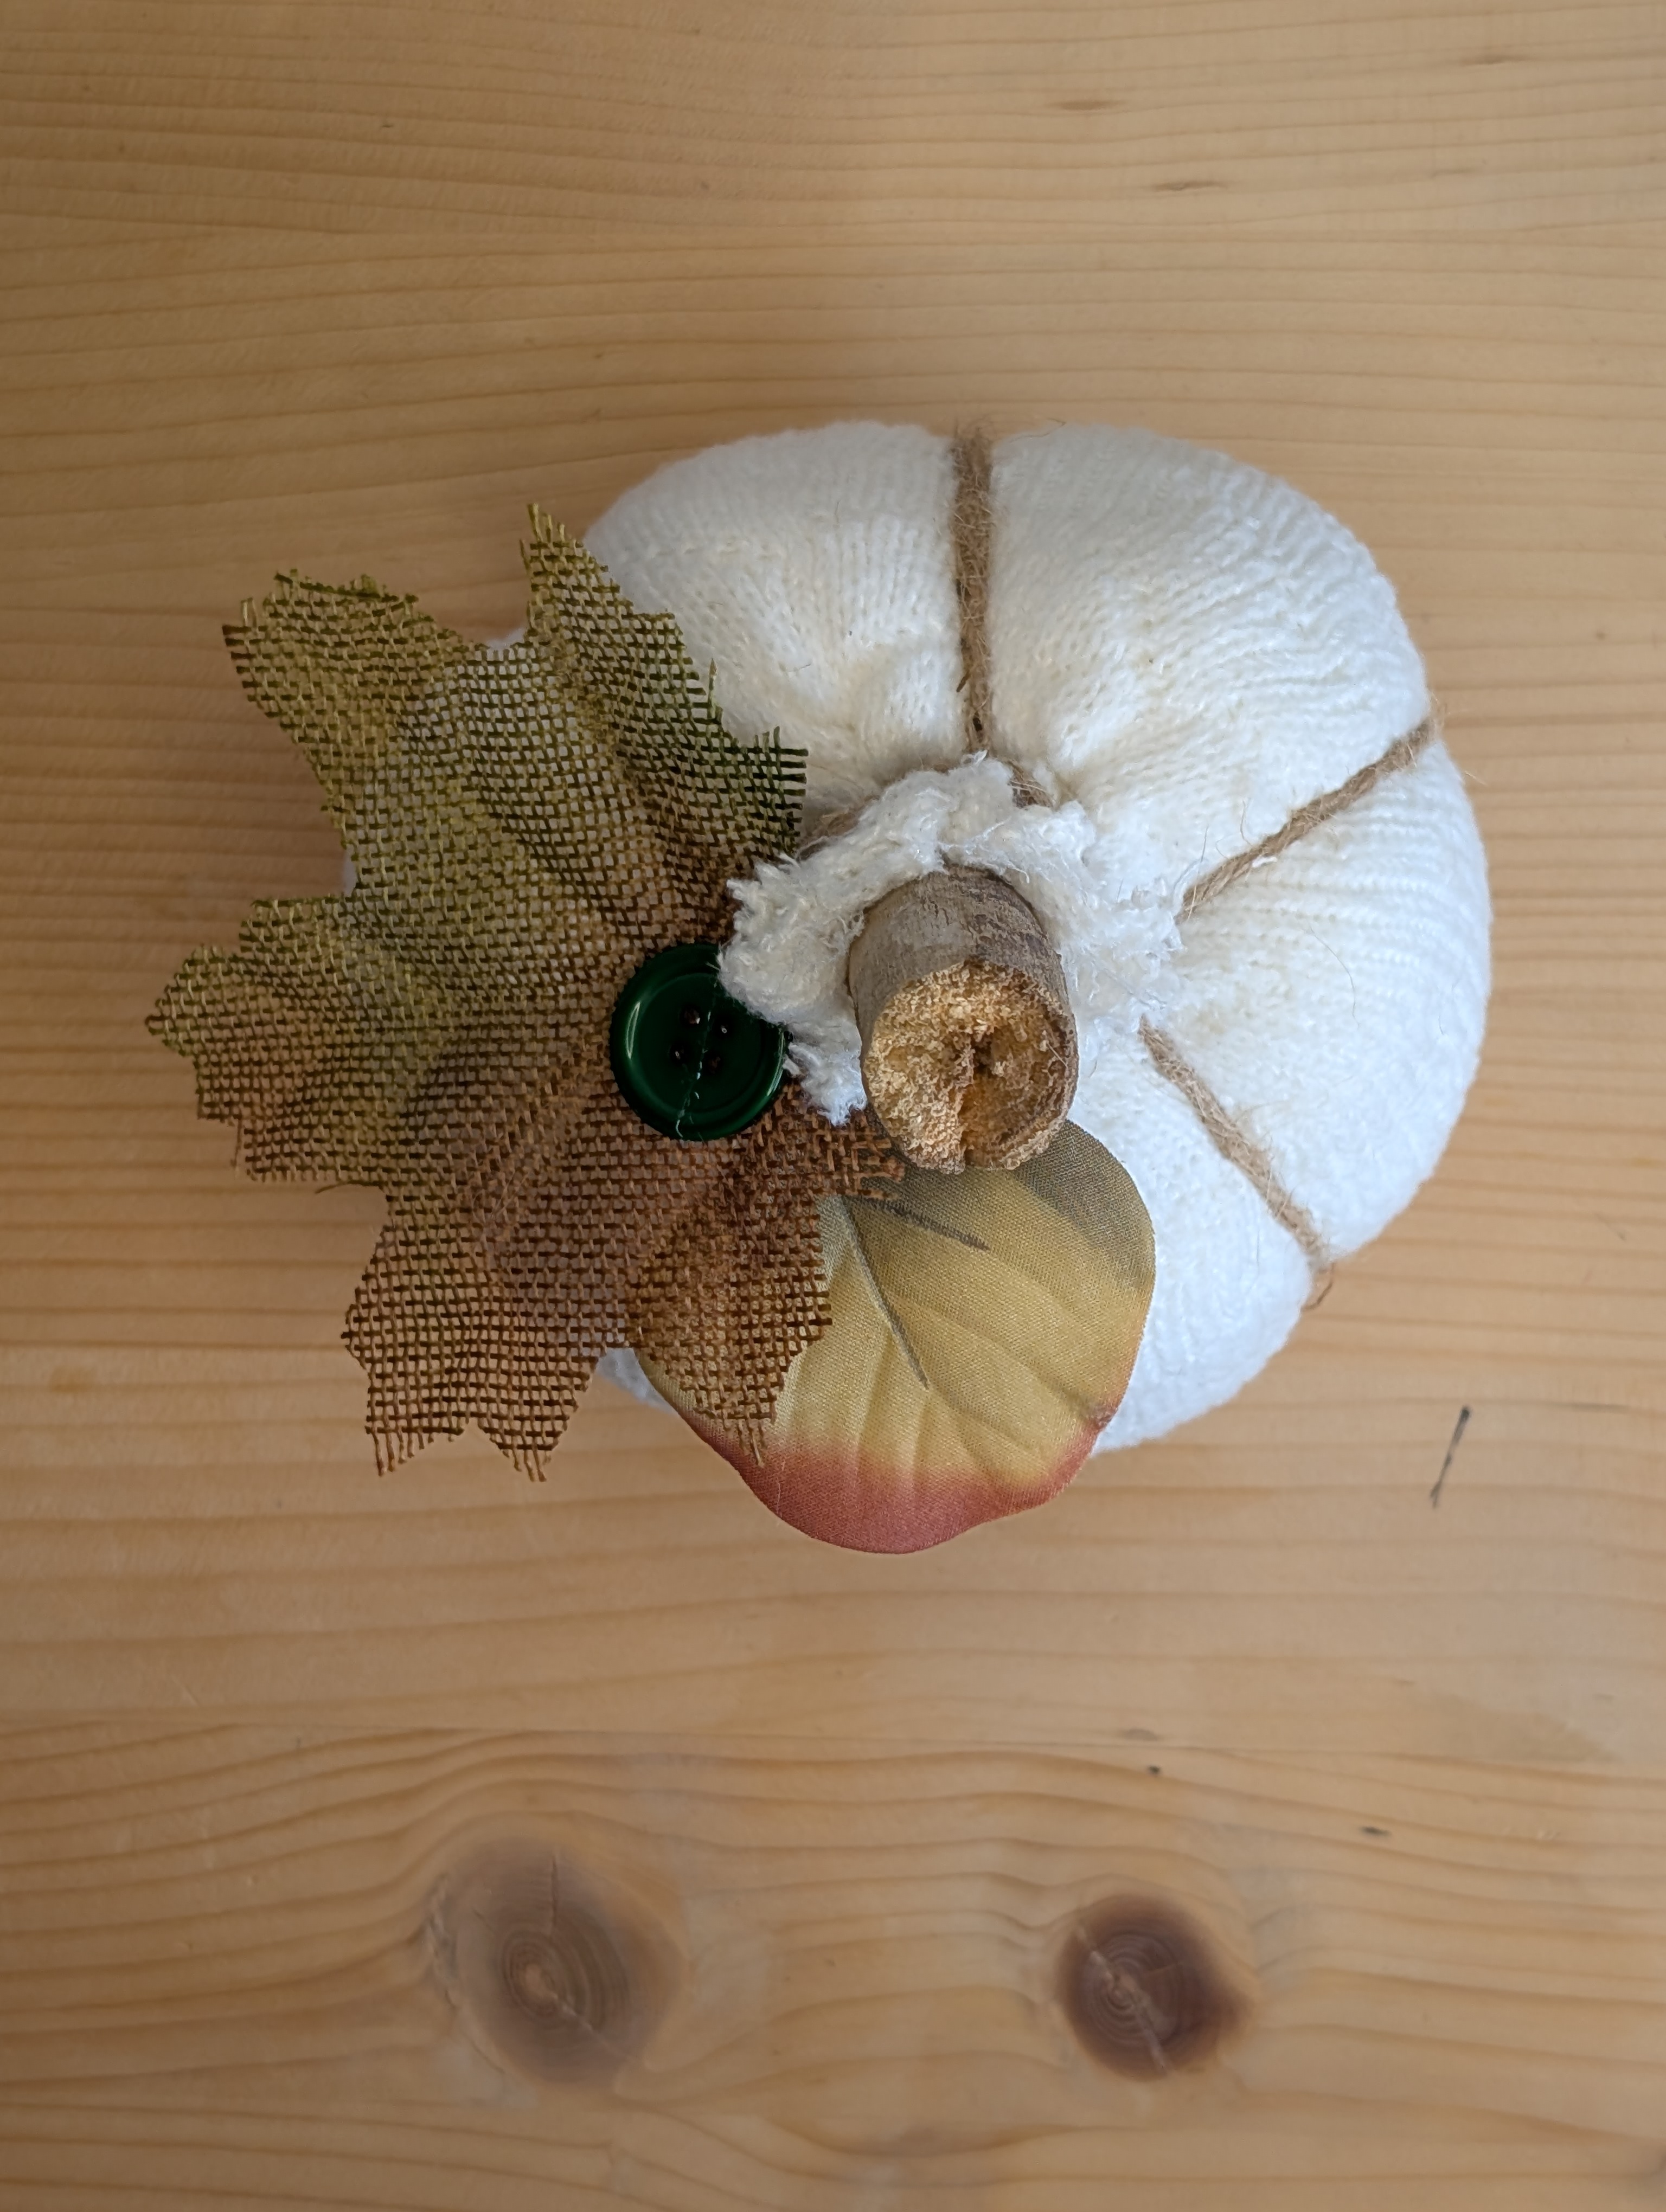
Using the twine, wrap the sock from the stem to the bottom and back up again, pulling snug each time to create the pumpkin grooves. Space the wraps evenly around the sock, then tie the twine off at the stem.
Step 5: Add the finishing touches
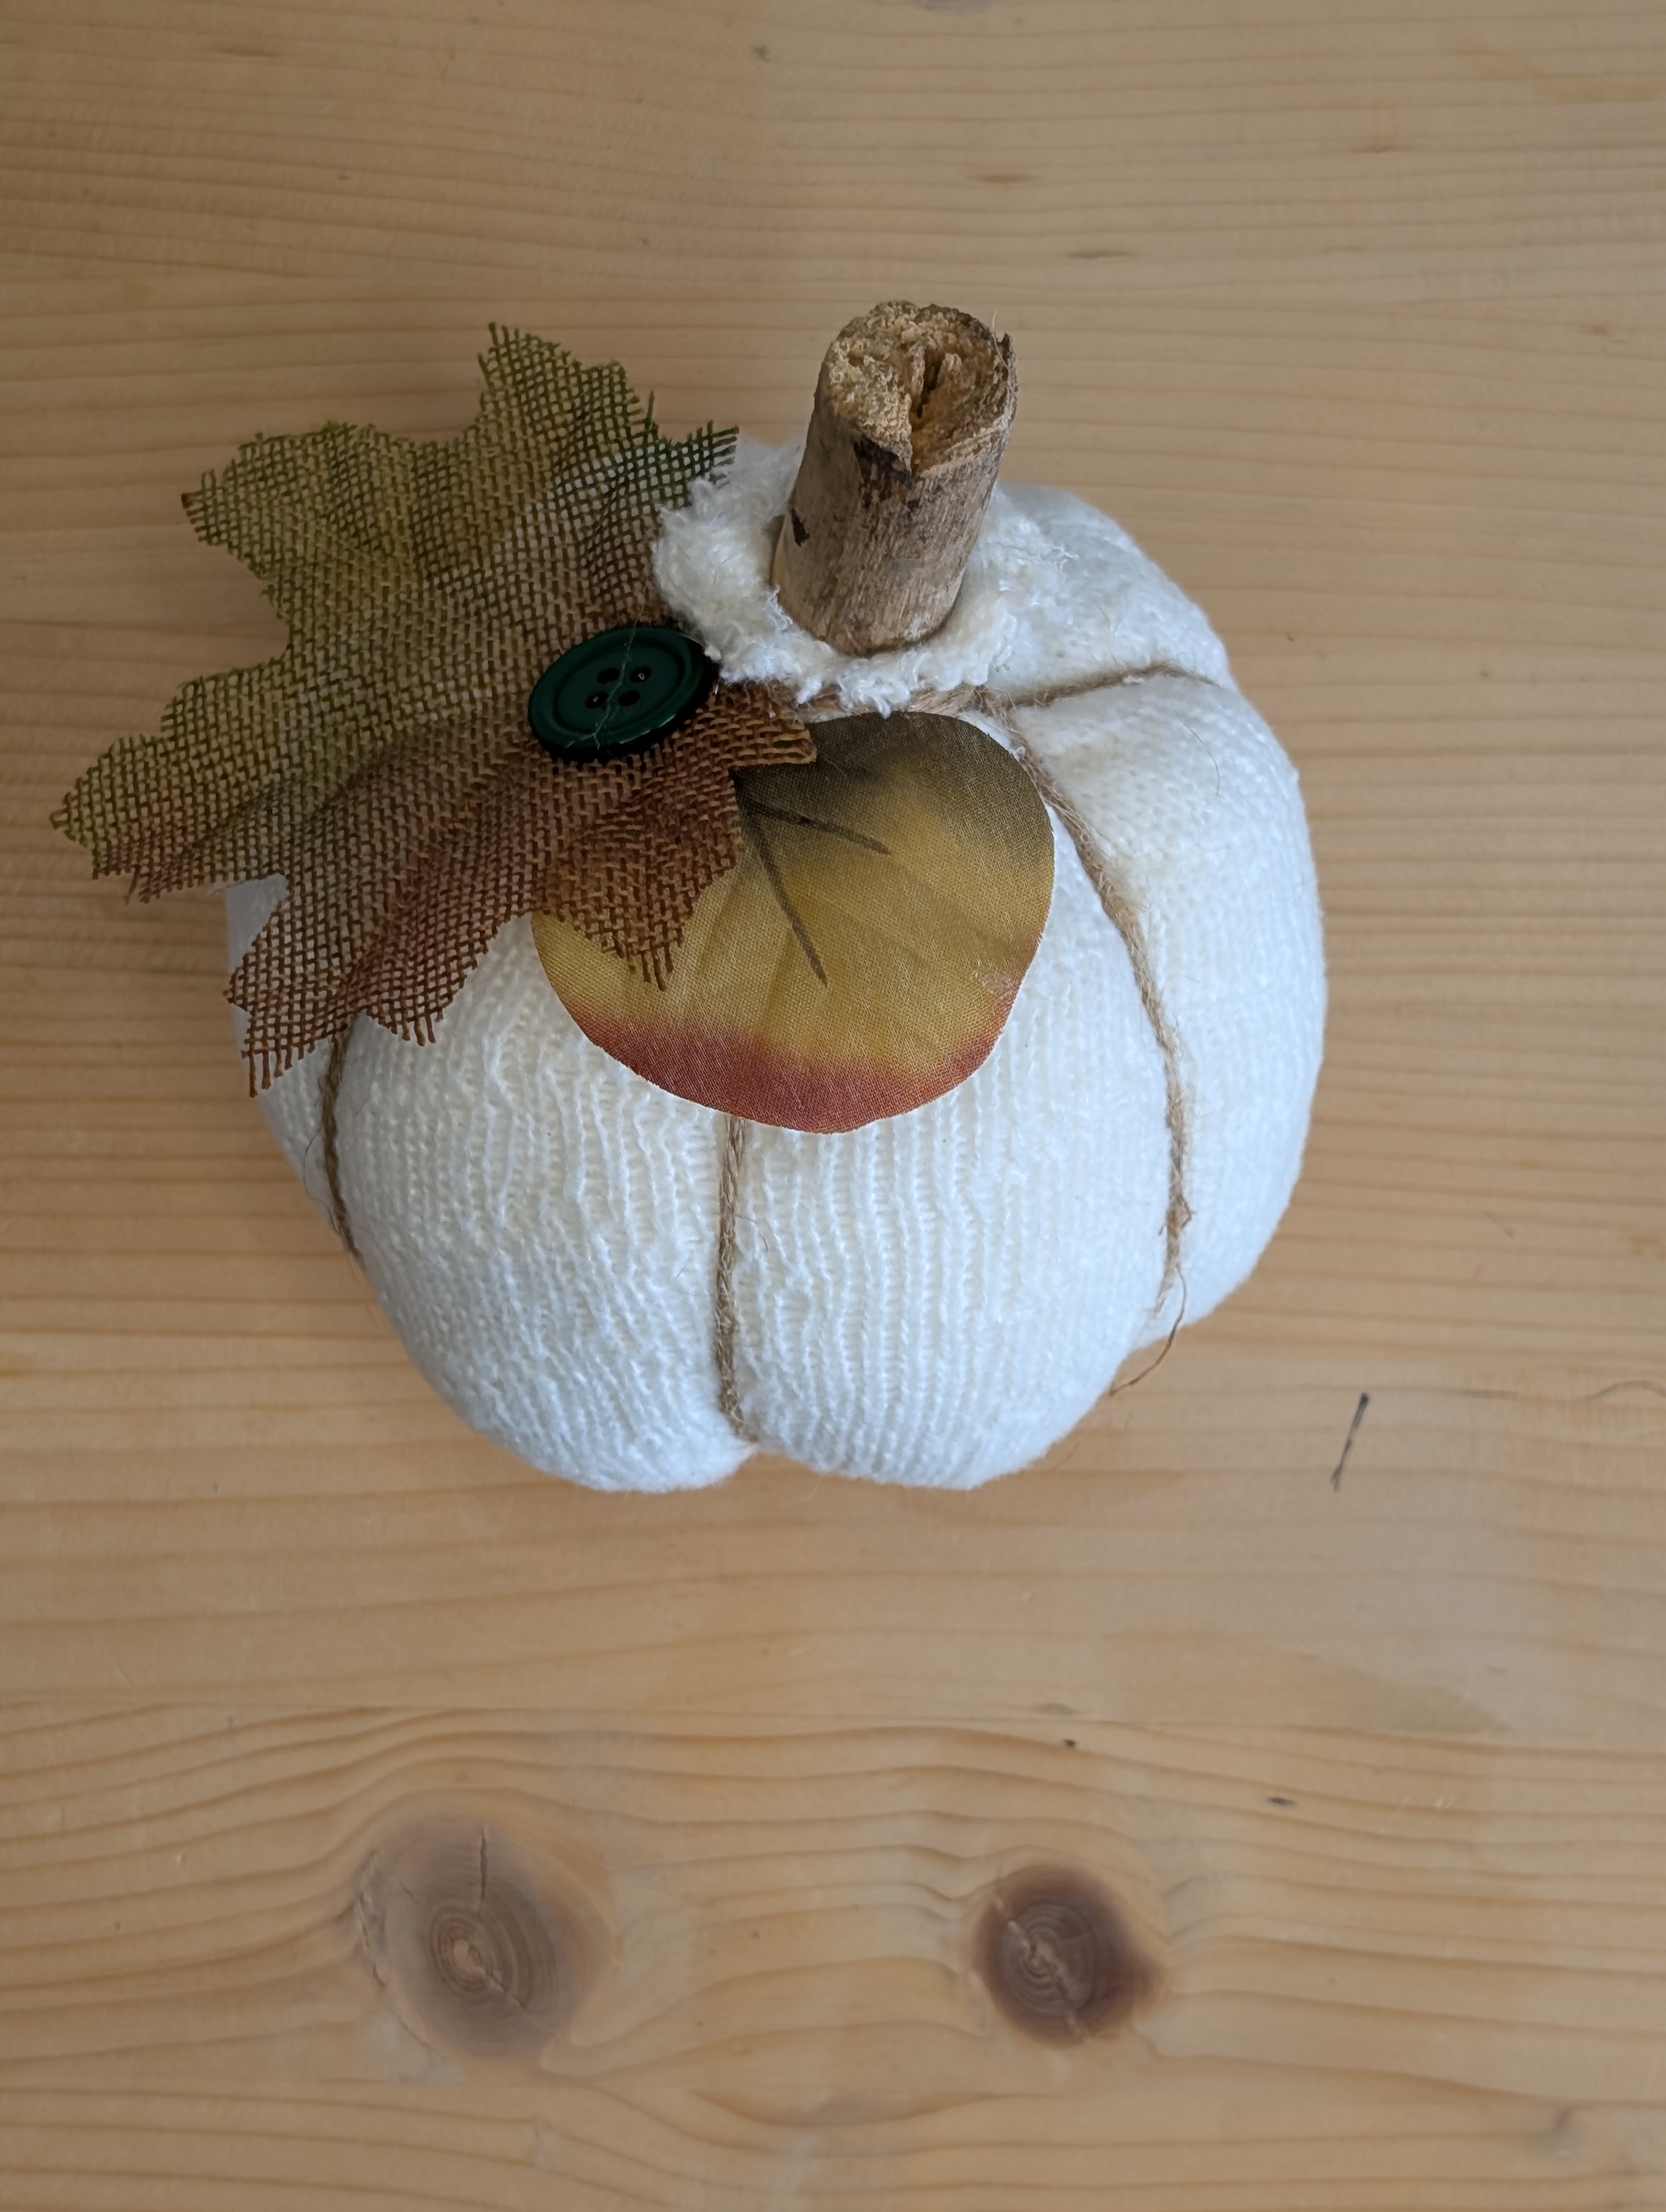
Hot glue some floral accessories at the base of the stem. We used a burlap leaf with a button in the middle and a faux fall leaf tucked underneath.
Result
A soft, cozy pumpkin for just a few dollars that looks like something from a home decor shop. Make a few in different sock colors and patterns for a fall mantel or table.