 Little Things Made
Home
DIY Toddler Checkout Counter
The idea
Our kids love playing with checkout counters every time we go to a play place, so I wanted to get them one for Christmas. The catch: we already had a play kitchen they still use, and we're tight on space. I also already had a stack of wood from Home Depot that I'd bought when I was planning to build a bed frame (we ended up buying a new bed instead). So I decided to use the materials I already owned and build a checkout counter that connects right into our existing play kitchen. A lot of careful measurements went into it before we cut anything, and it turned out better than I imagined.
Materials
- 1″ × 10″ × 4 ft knotty pine shelving board from Home Depot
- 1″ × 12″ × 6 ft knotty pine board from Home Depot
- 5/8″ 16 × 24 SmartTop shelf board from Home Depot
- Soft White milk paint from Real Milk Paint, for the counter
- A tester-size milk paint, for the conveyor belt
- Custom stickers made by Knightworks Design
- A wooden cash register (we already had this)
- Play grocery cans
- Baskets from Dollar Tree
- Our existing HONEY JOY play kitchen
What we did
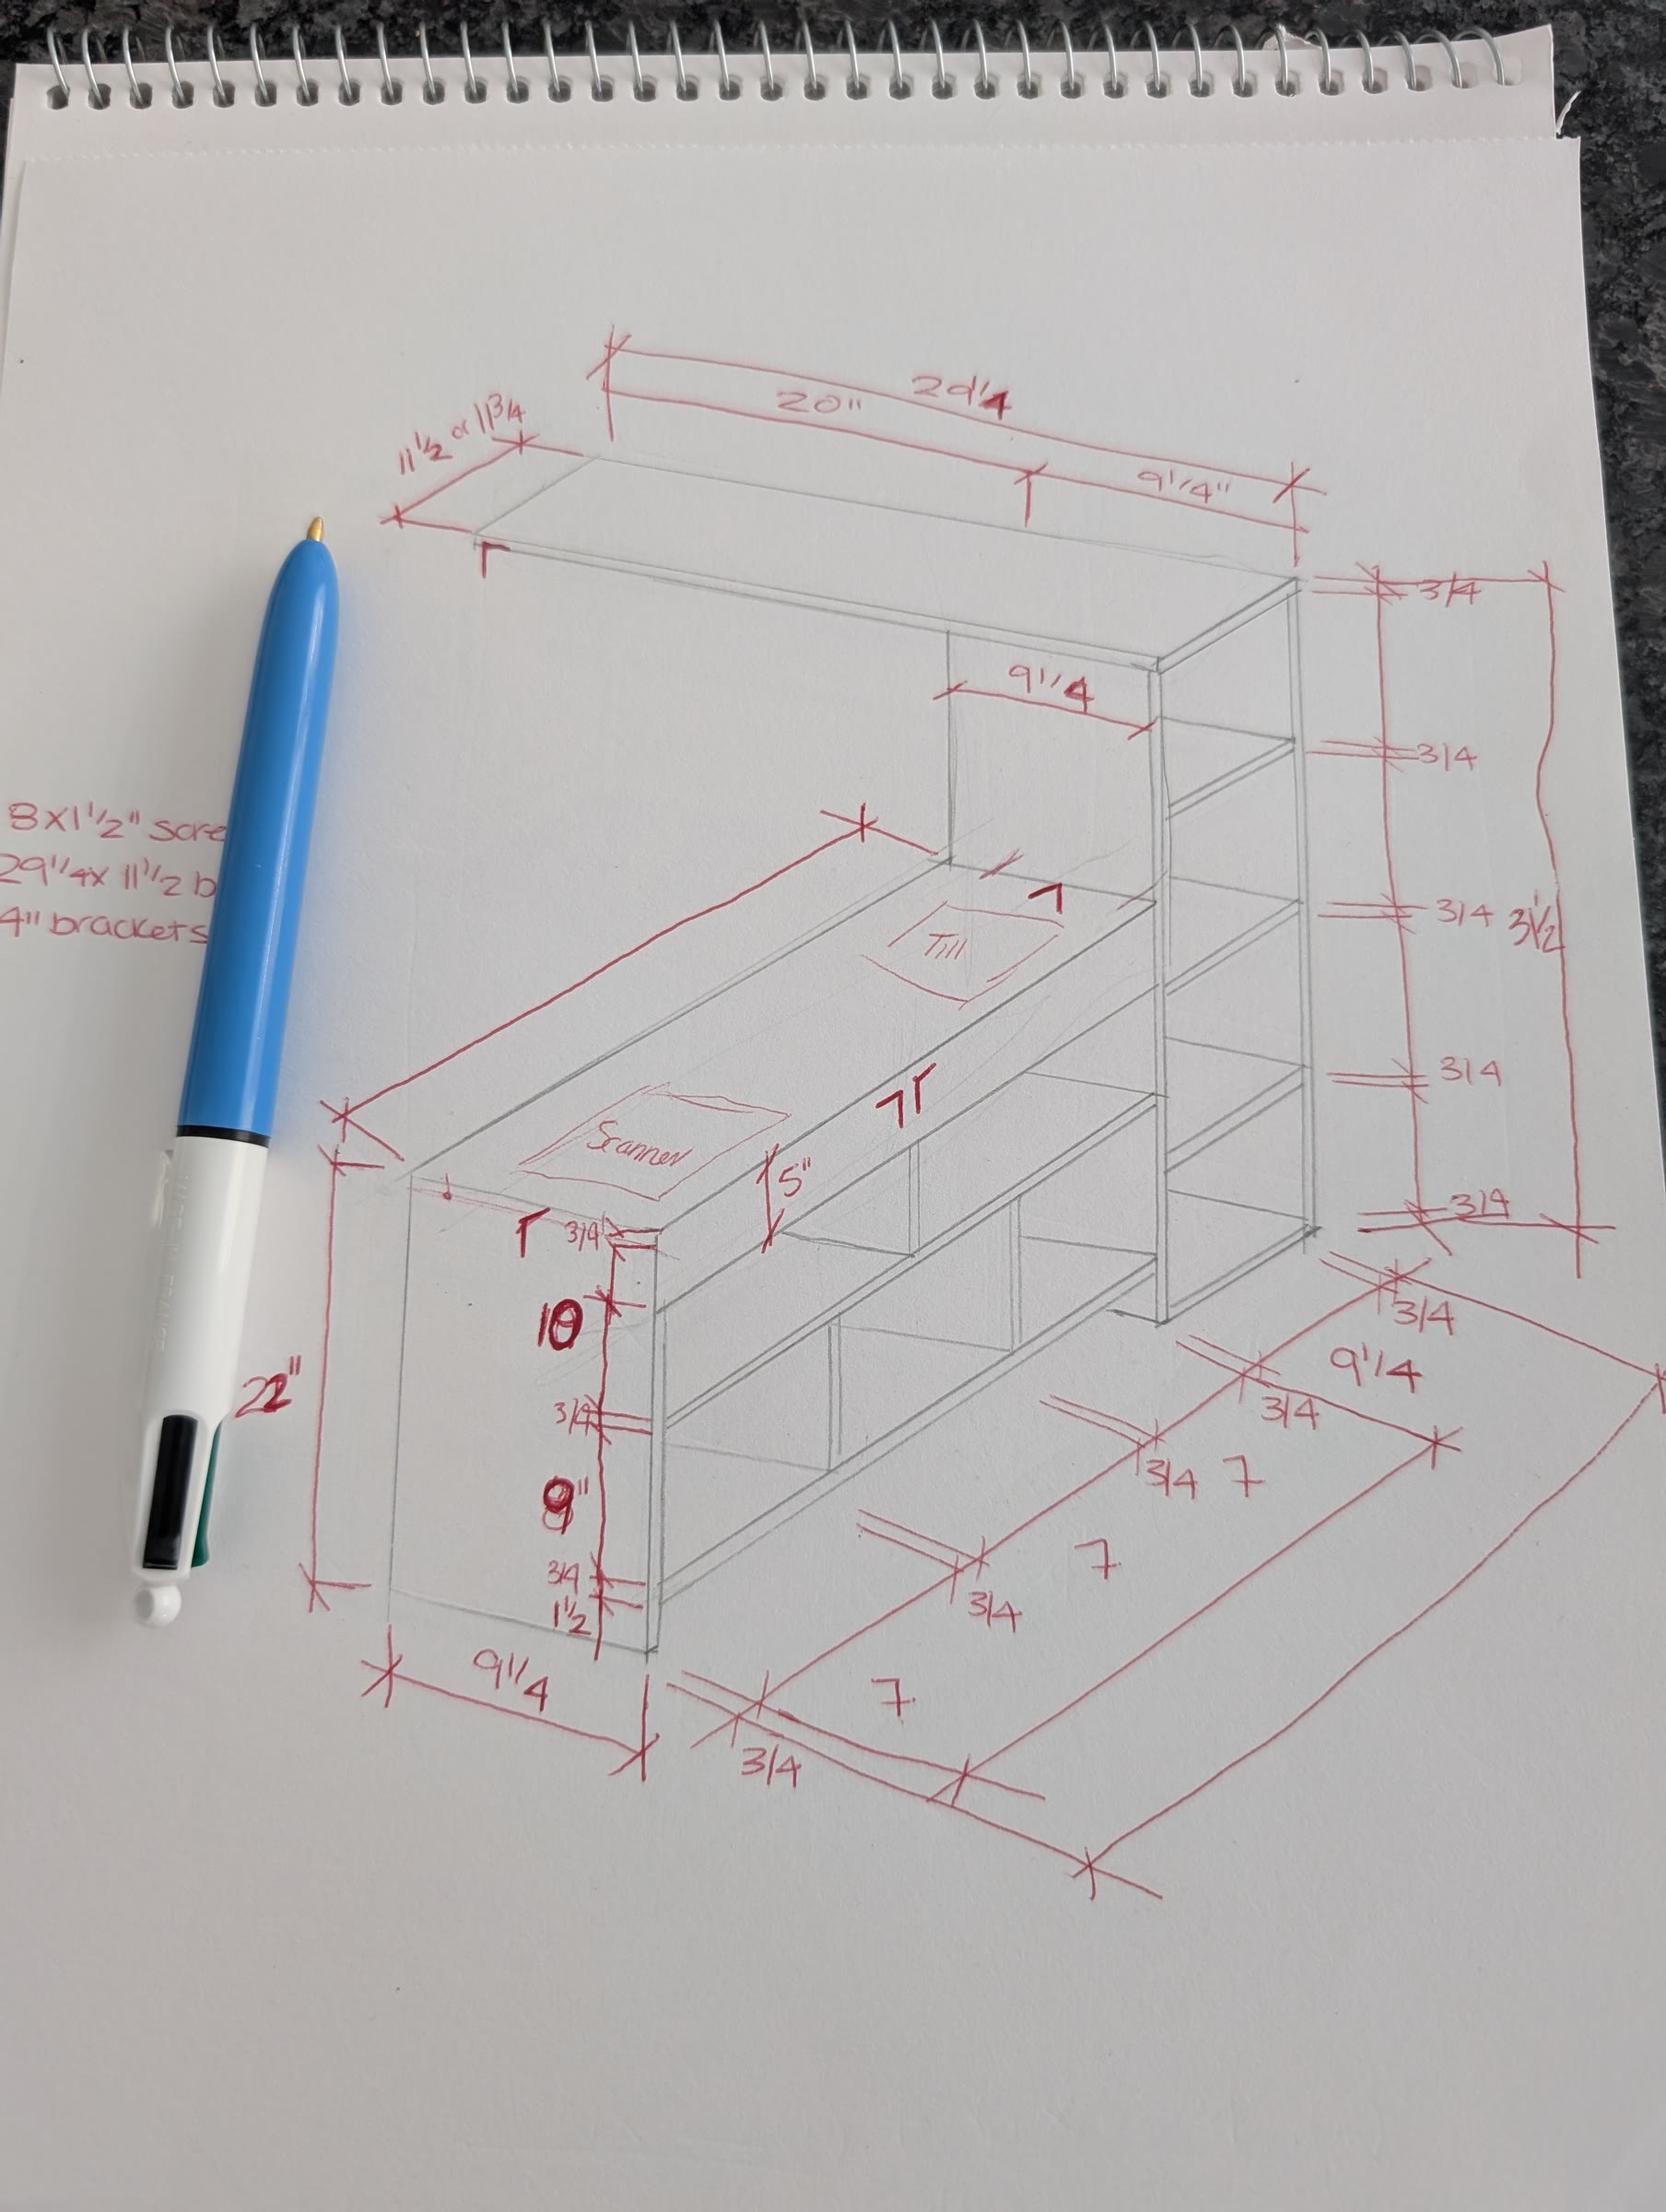
Step 1: Sketch it out and measure
Before cutting anything, I sketched the counter with all of its measurements and worked out the wood I'd need. Because it had to line up with the play kitchen we already had, I took a lot of careful measurements and didn't skip this step.
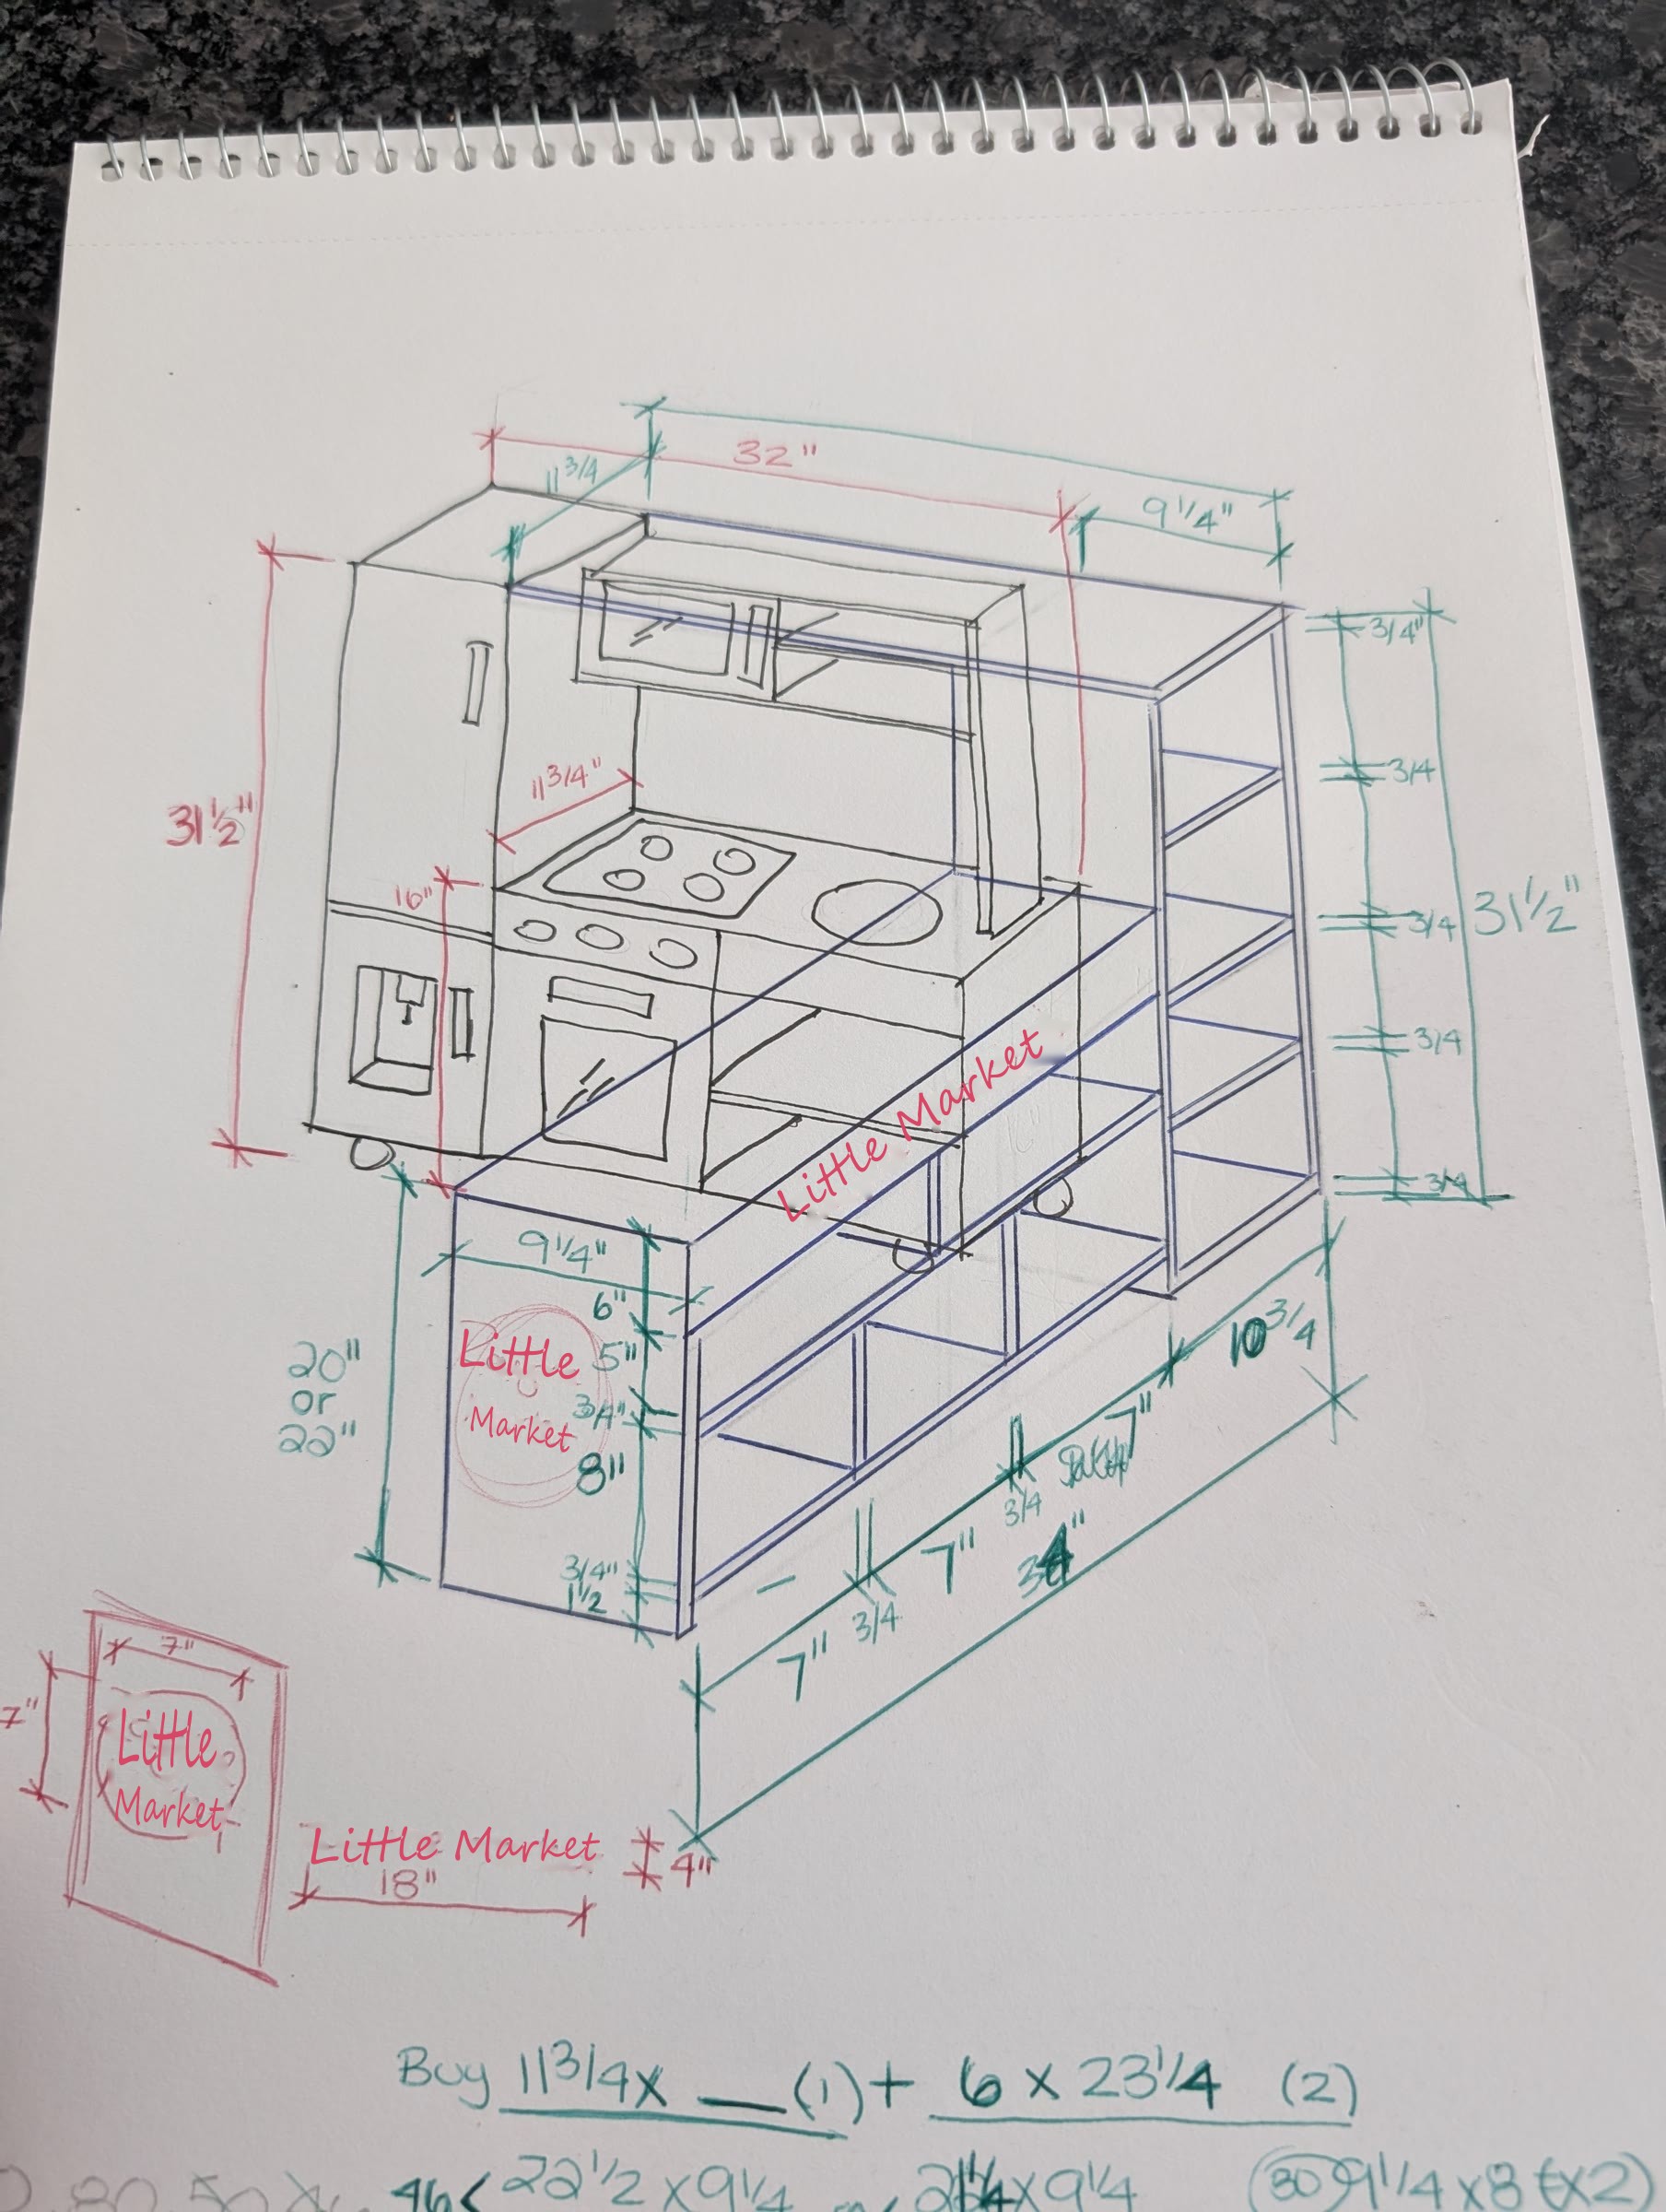
Step 2: Plan how it connects to the play kitchen
Since we're tight on space, the goal was to combine the new checkout counter with our existing play kitchen instead of adding a separate piece. I drew the counter right alongside the kitchen to work out how the two would fit together, and wrote out my buying list in the corner.
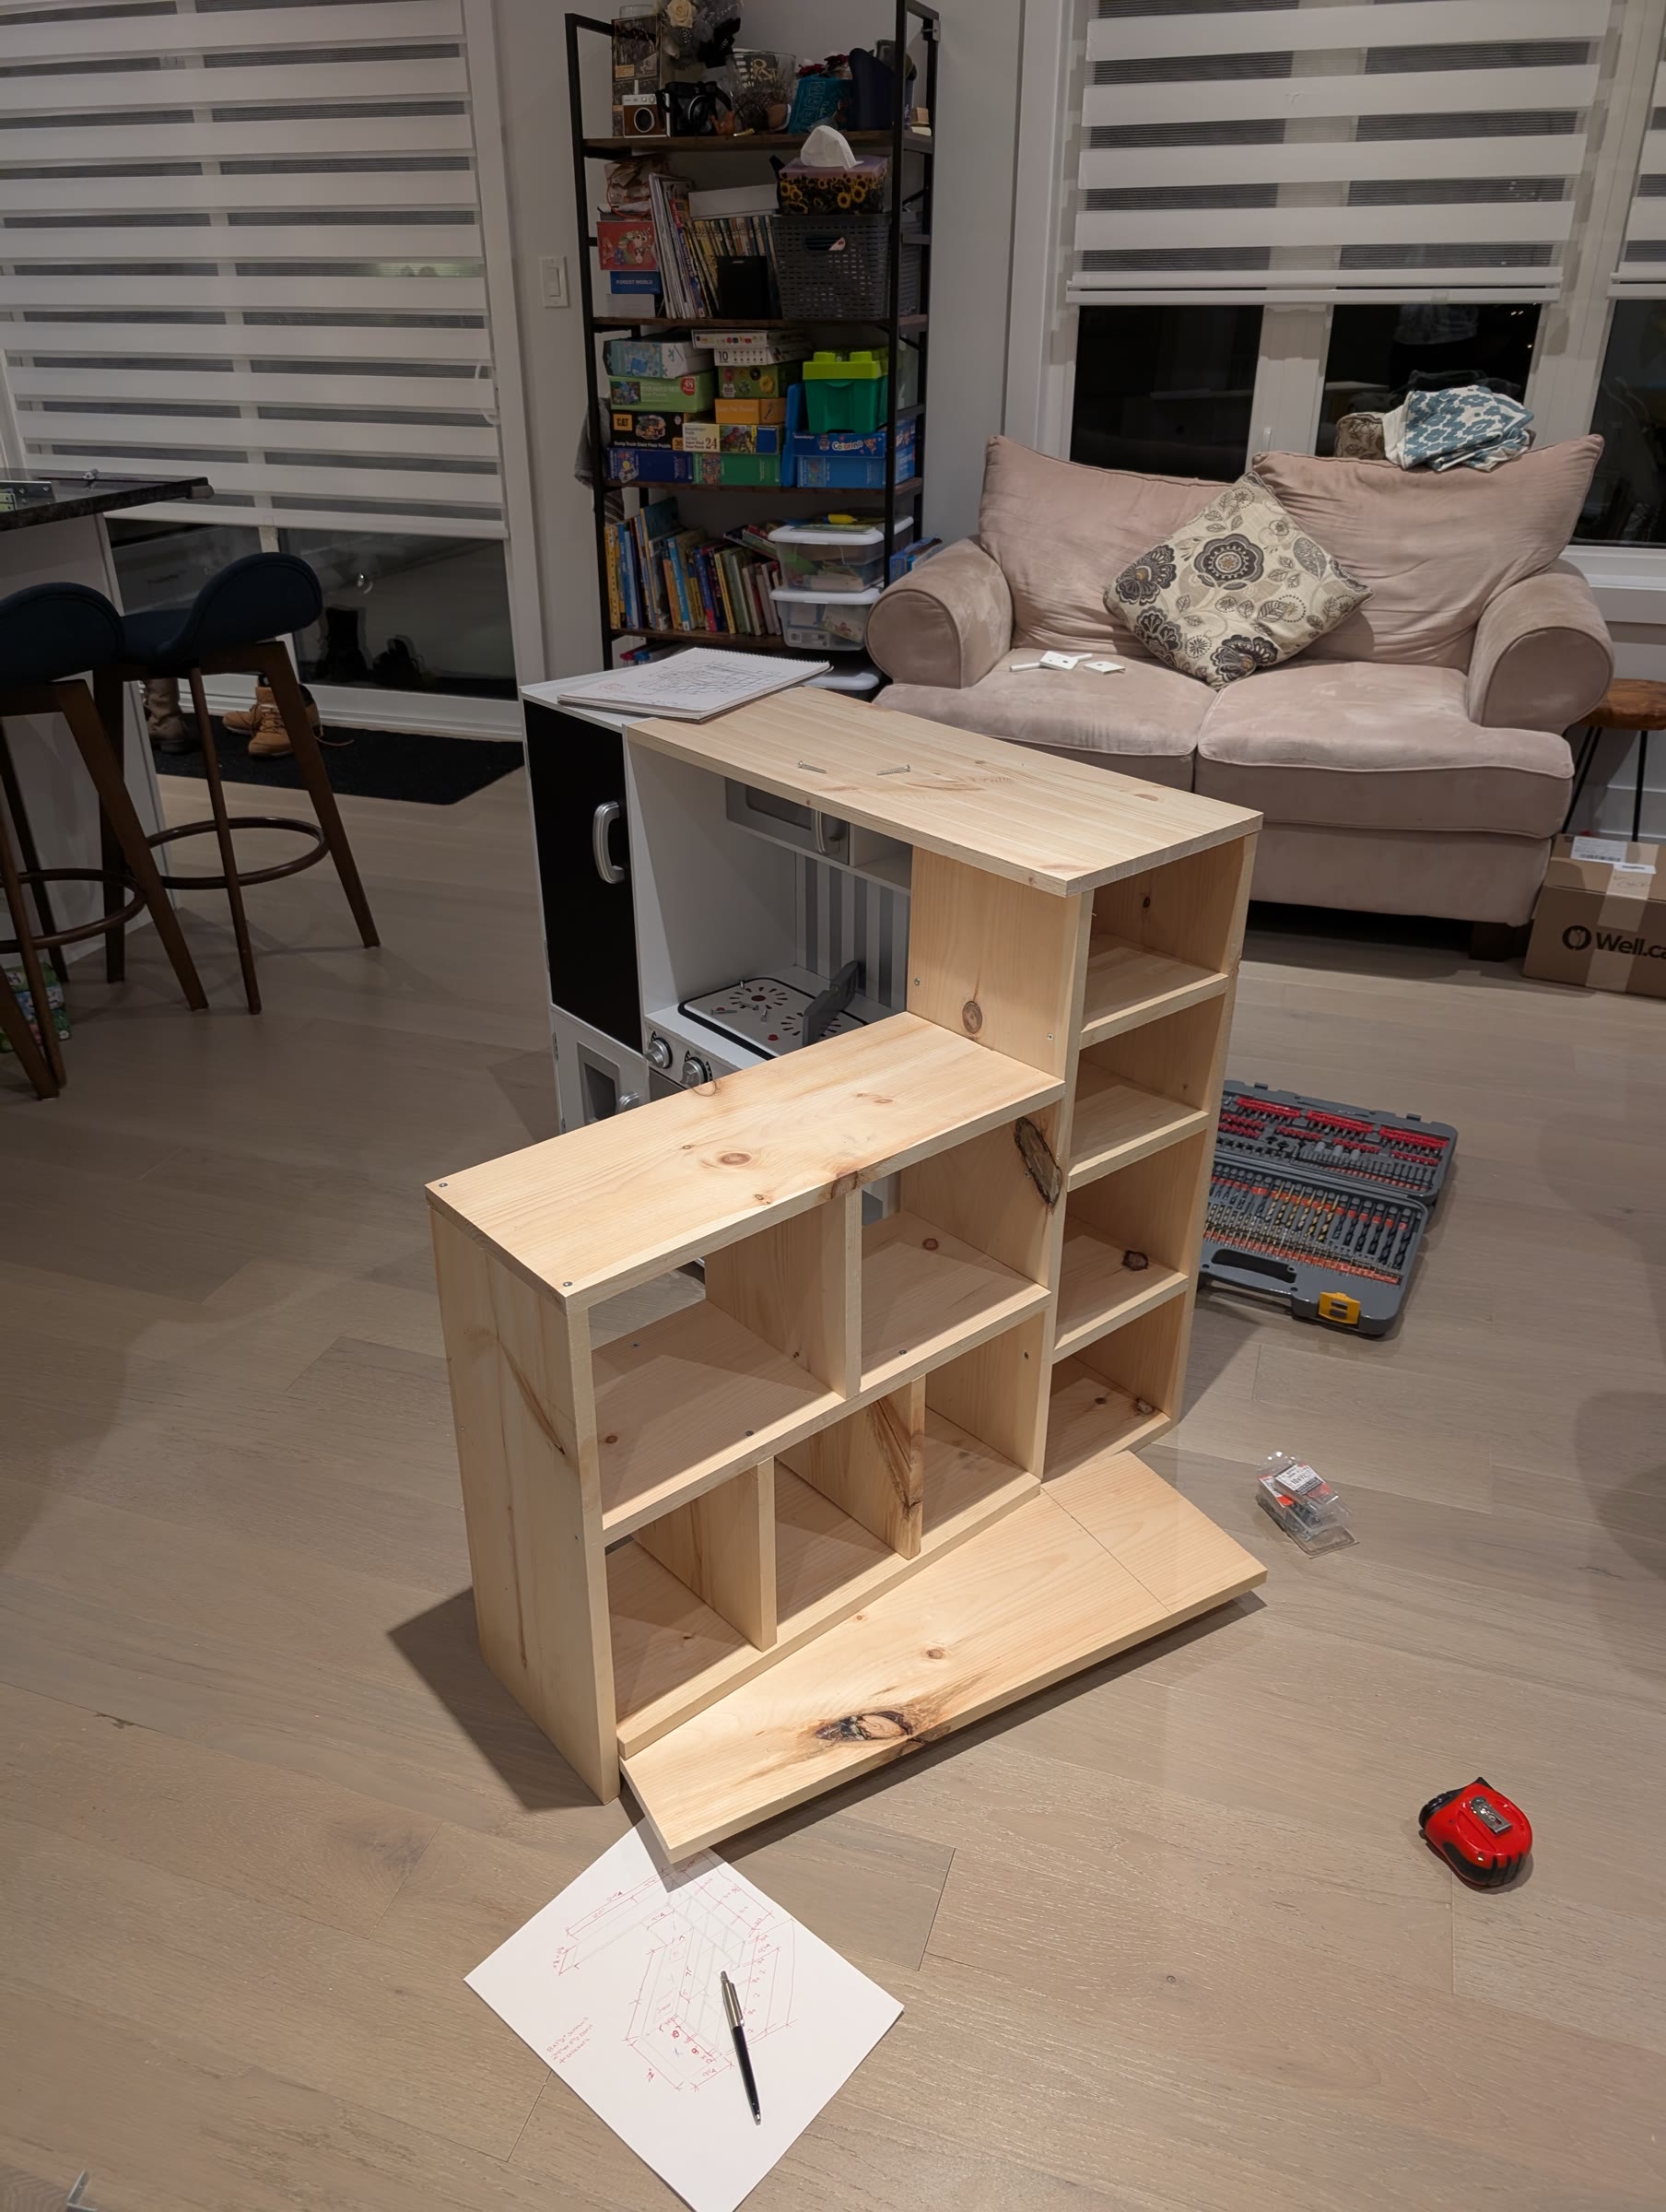
Step 3: Cut, assemble, and test the fit
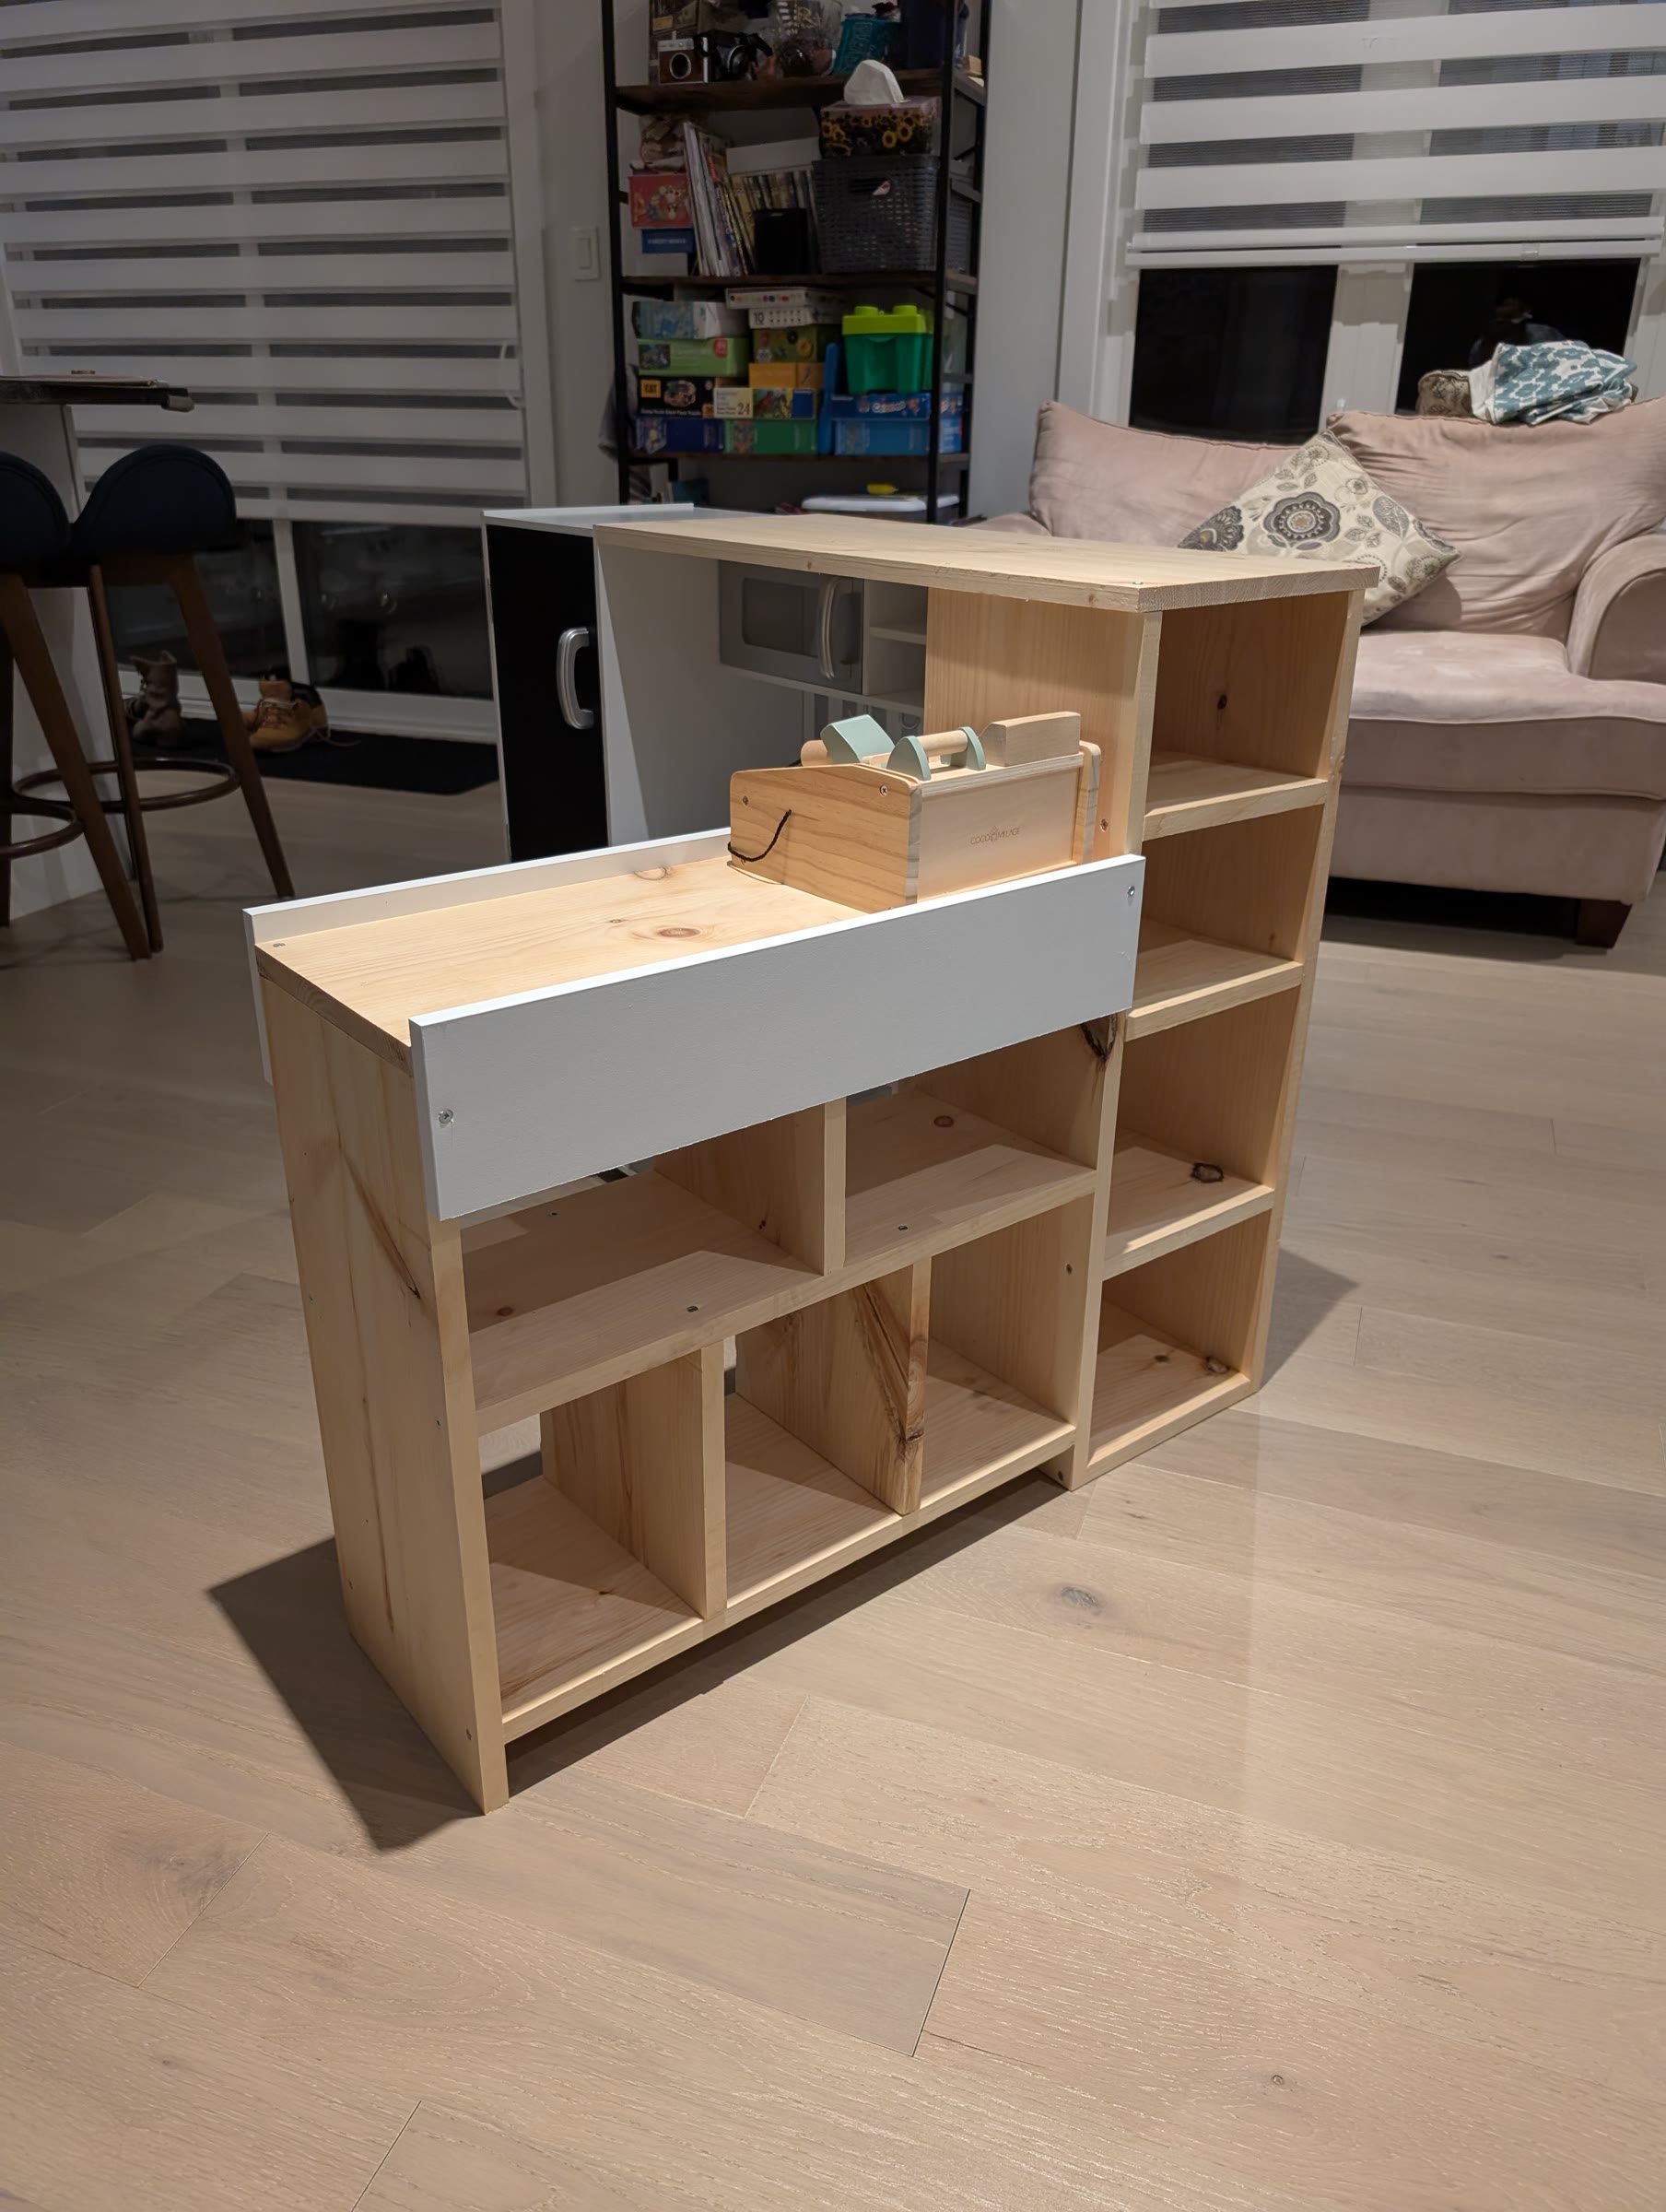
After cutting the boards, we put the pieces together and checked that everything fit together with the play kitchen before going any further.
Step 4: Paint it
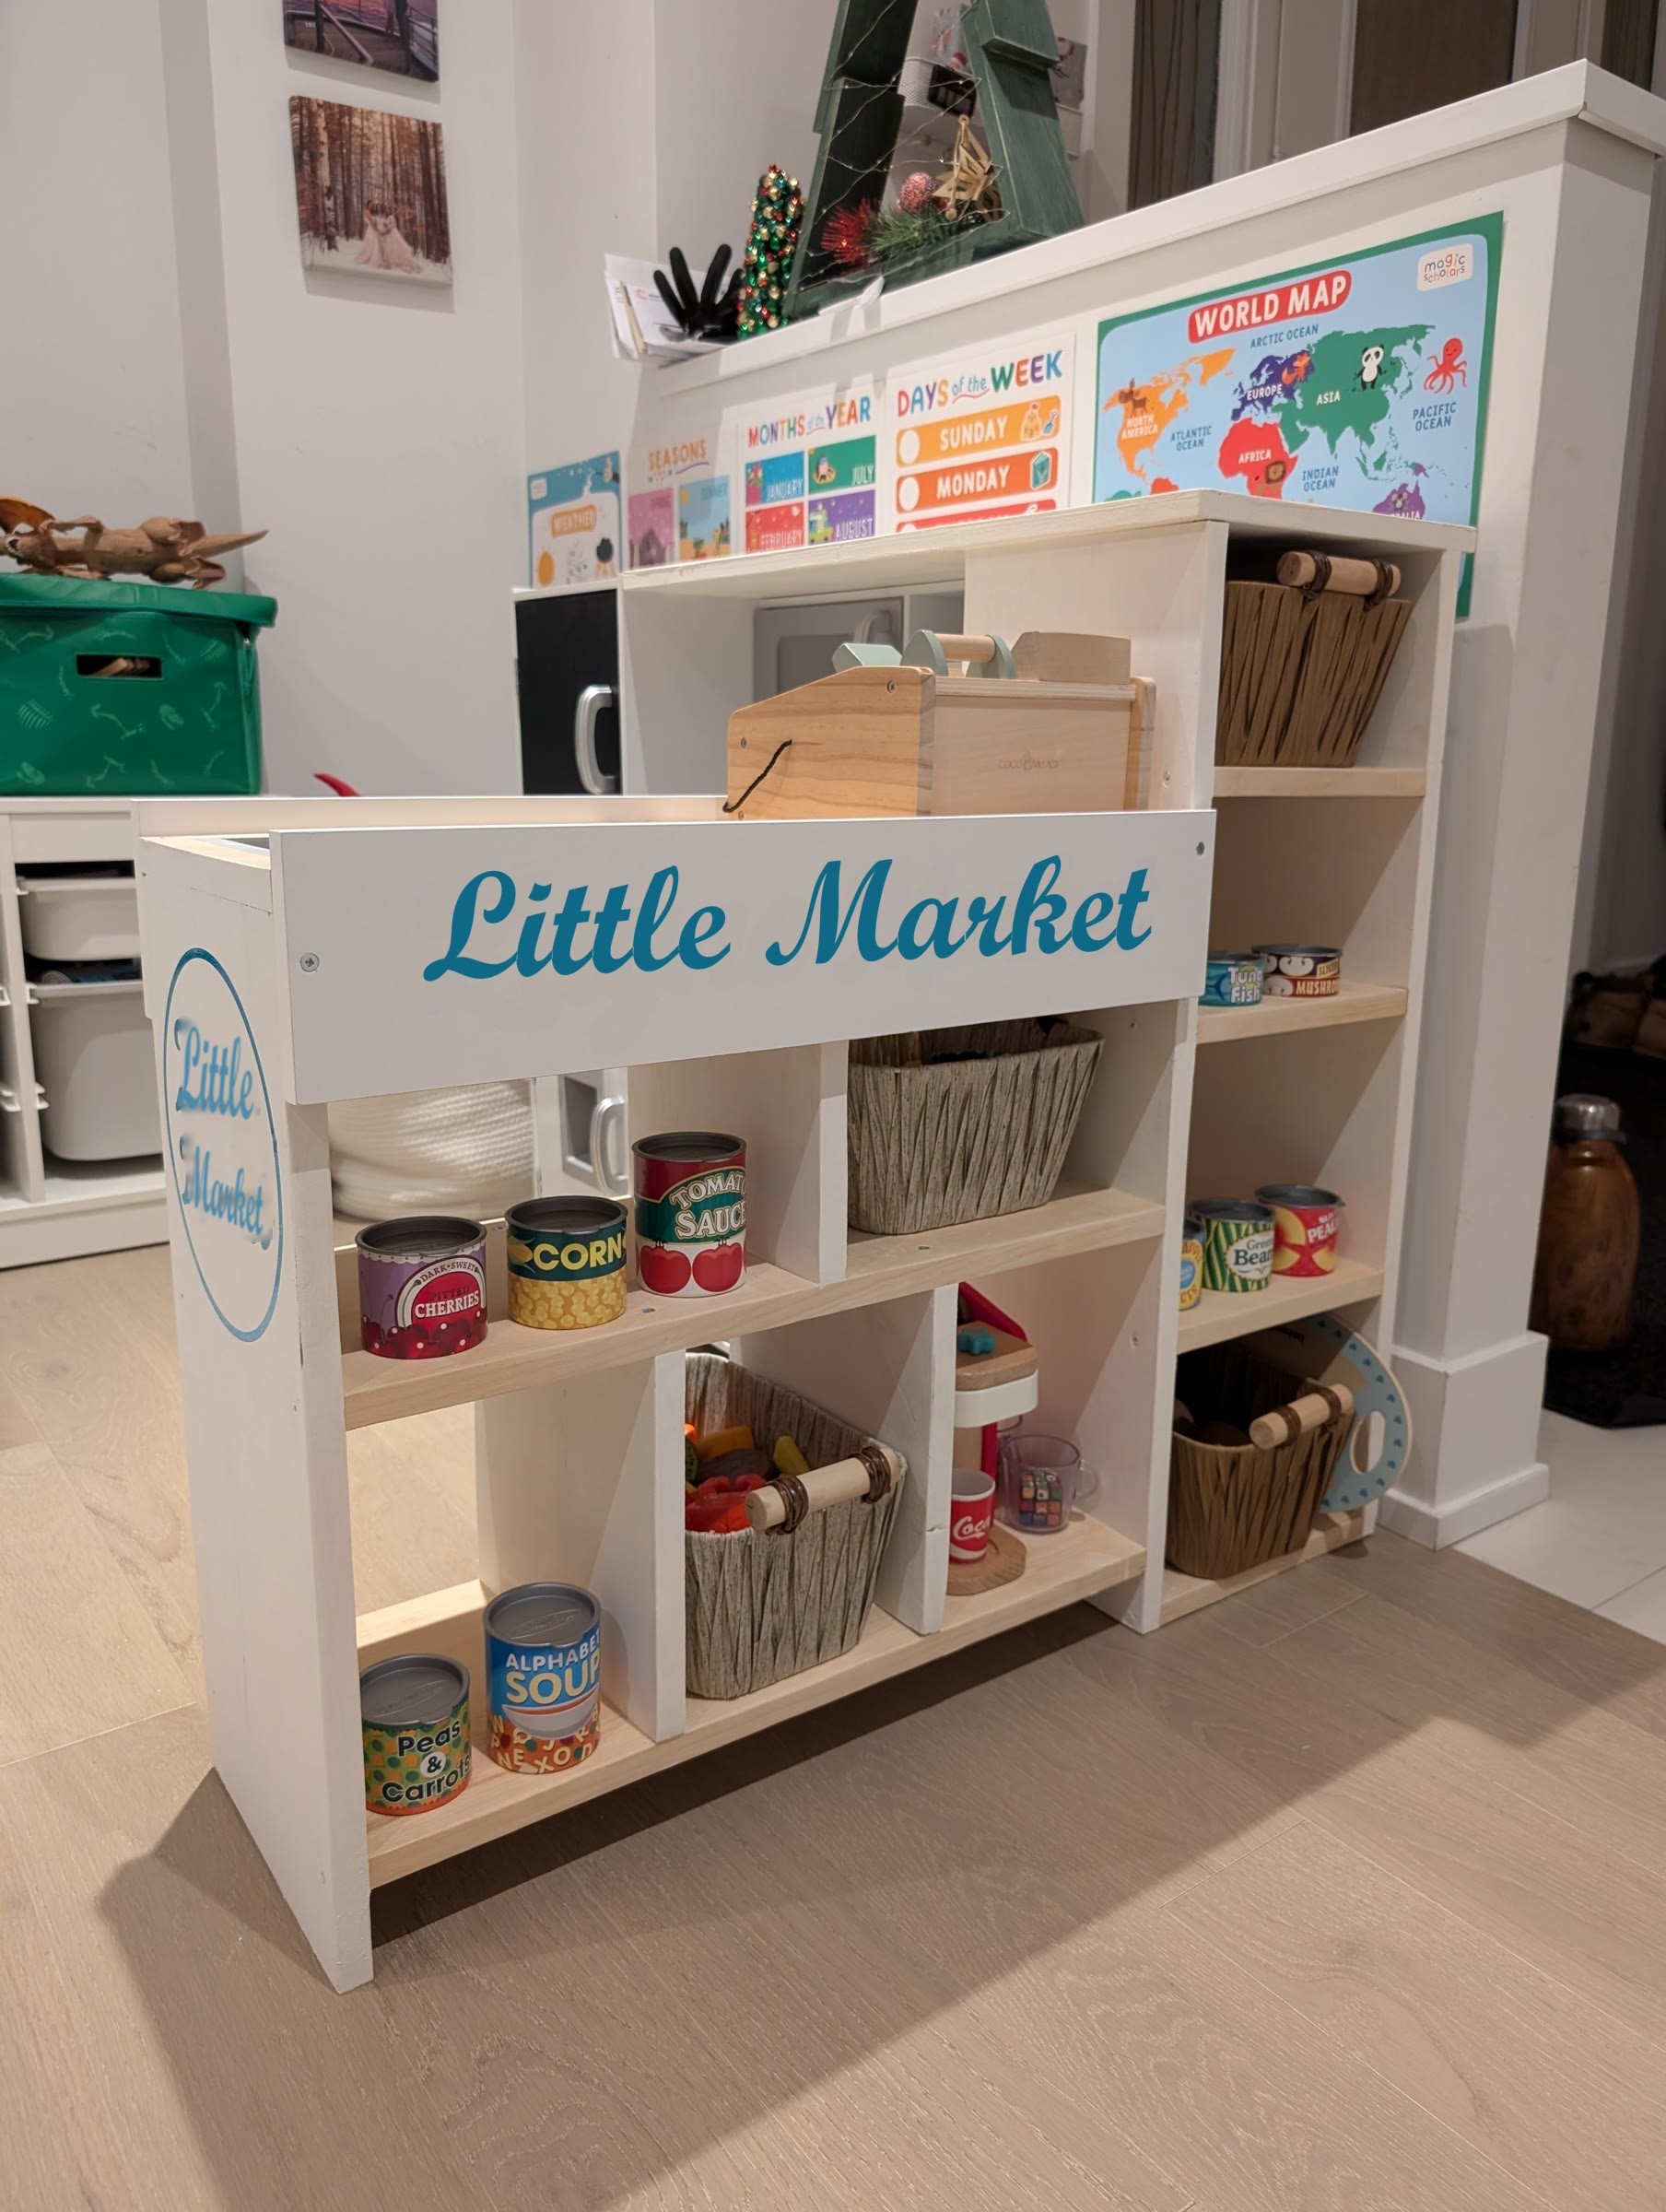
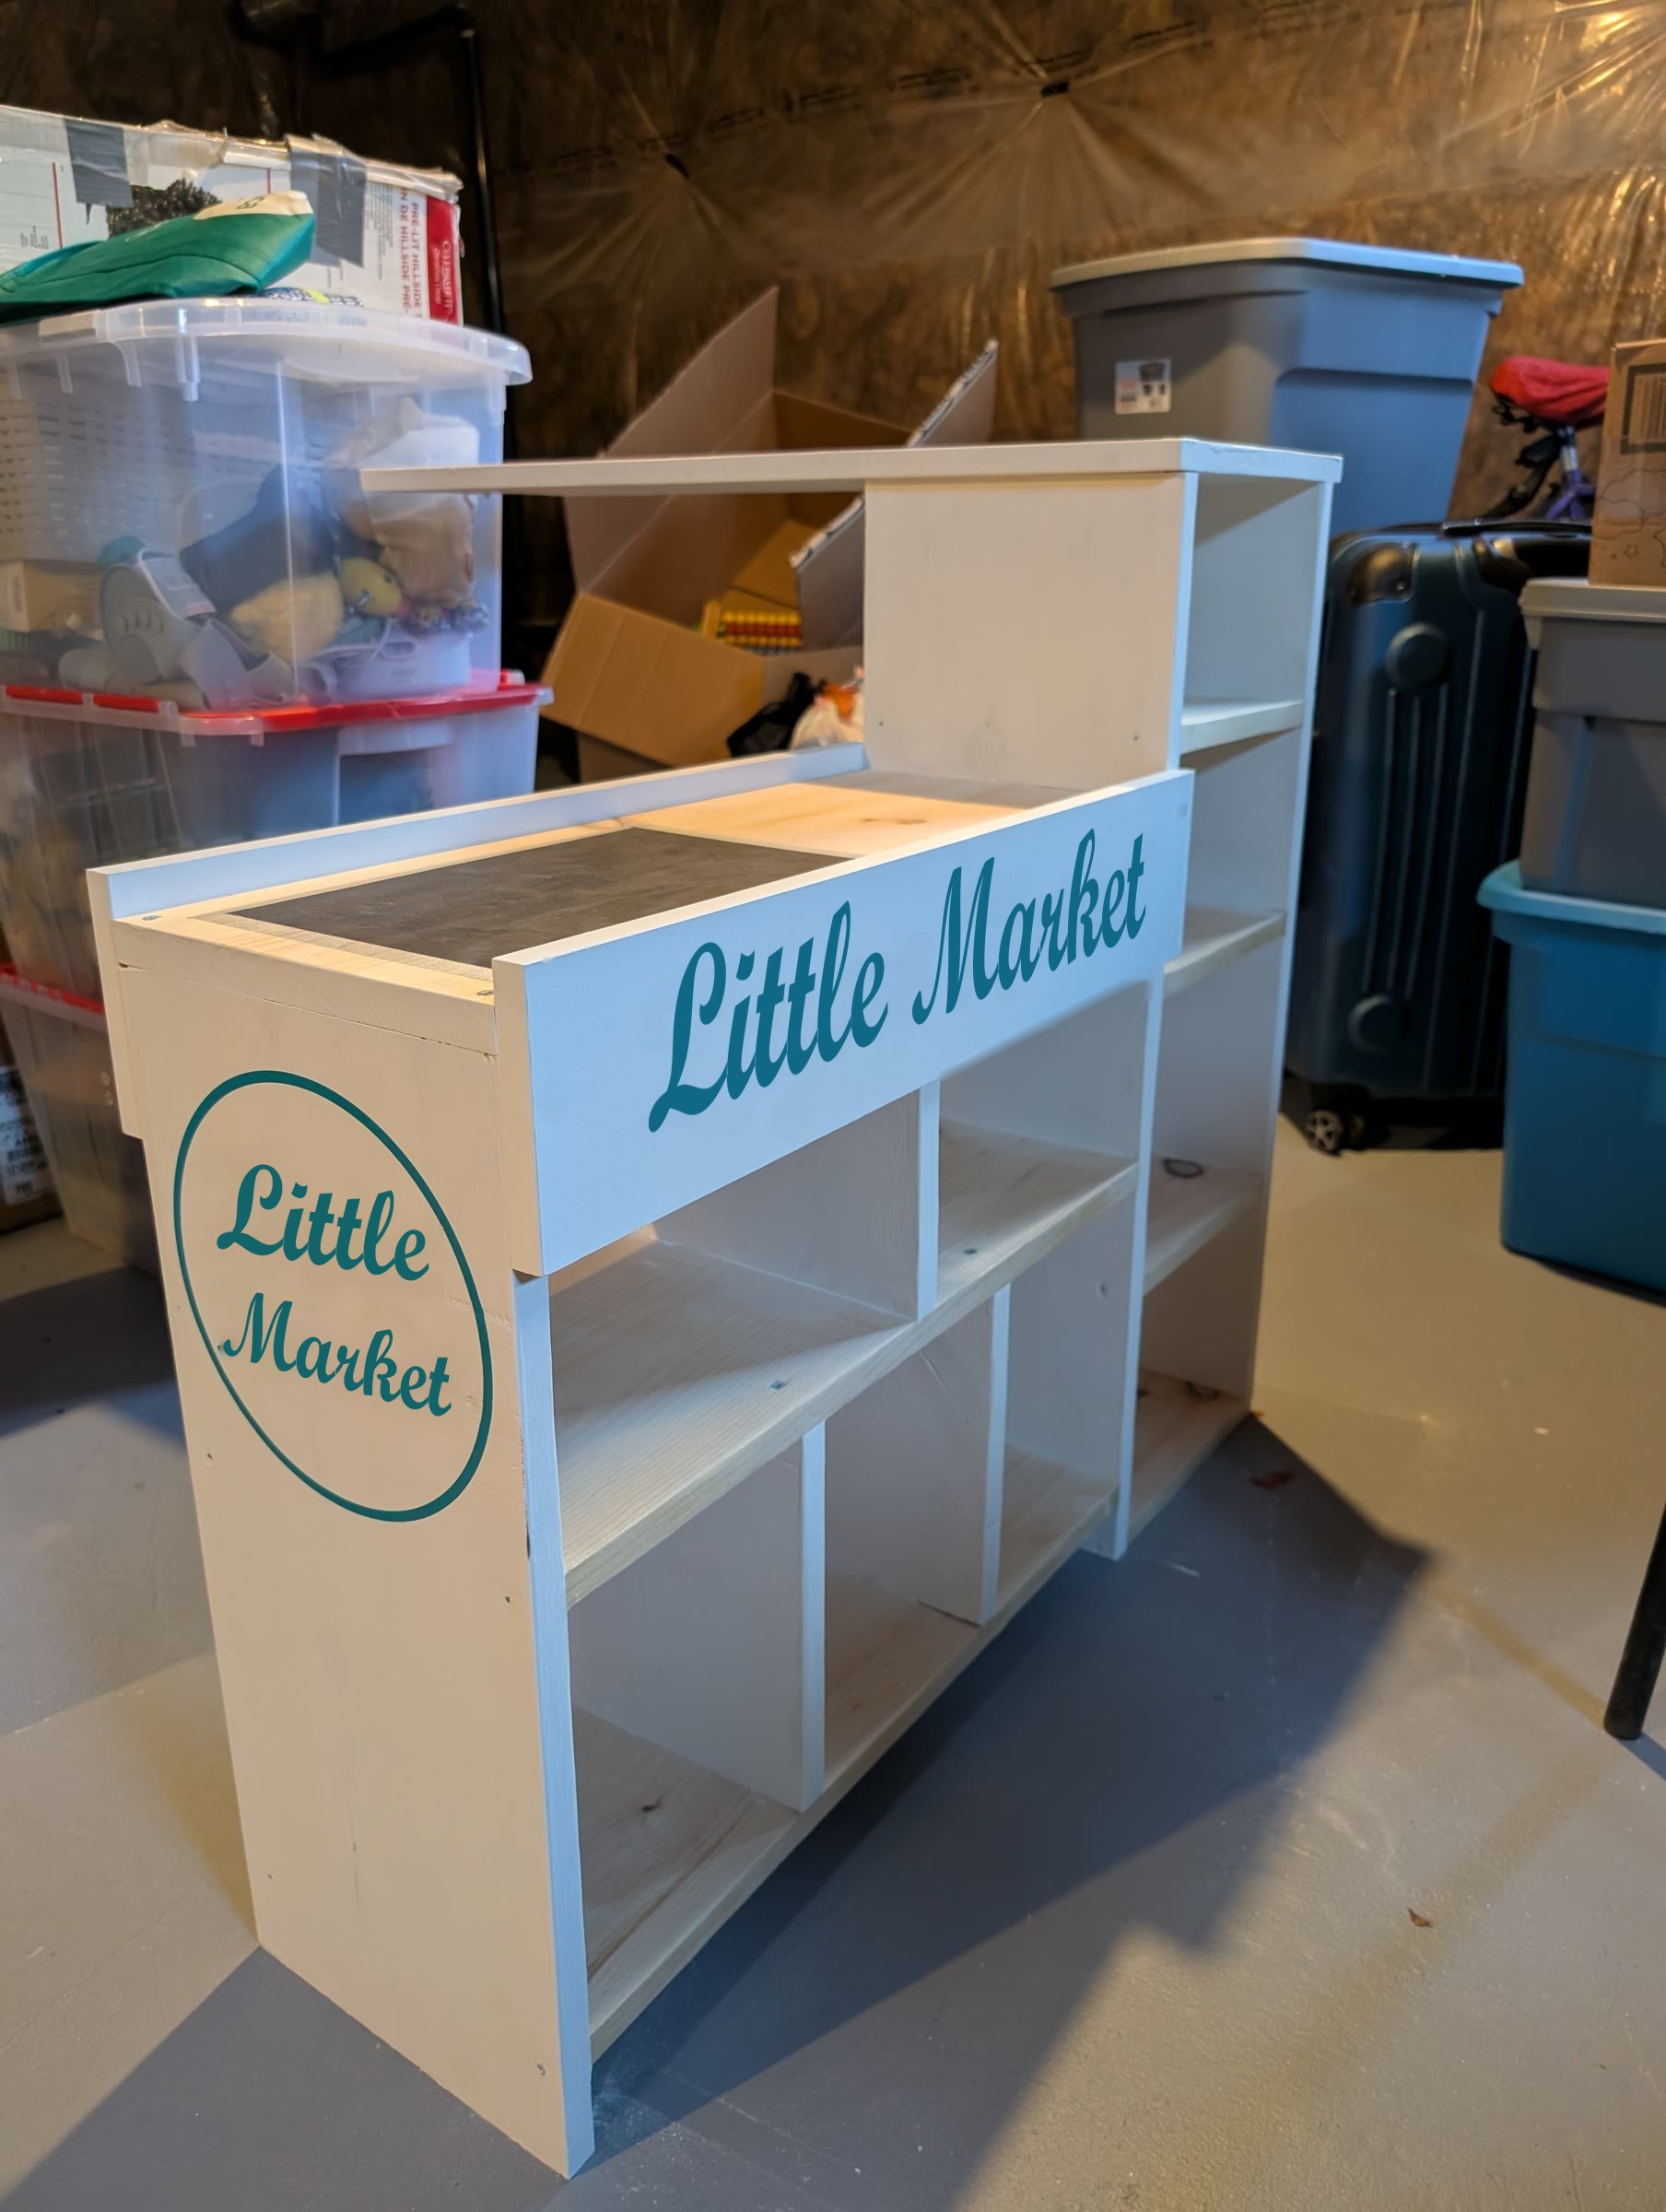
I painted the counter with Soft White milk paint, and used a tester-size milk paint for the conveyor belt. Then we added the stickers made by Knightworks Design, a circle logo on the side and a sign across the front.
Step 5: Stock it for Christmas morning
The last step was filling it up. We added Dollar Tree baskets, play grocery cans, and the cash register we already had, and set it up next to the play kitchen, ready for Christmas morning.
Result
A checkout counter that connects right into our existing play kitchen, built almost entirely from wood we already had at home. It takes up very little extra space, and it turned out better than I imagined.