 Little Things Made
Kids Craft
Painted Pinecone Bouquet
The idea
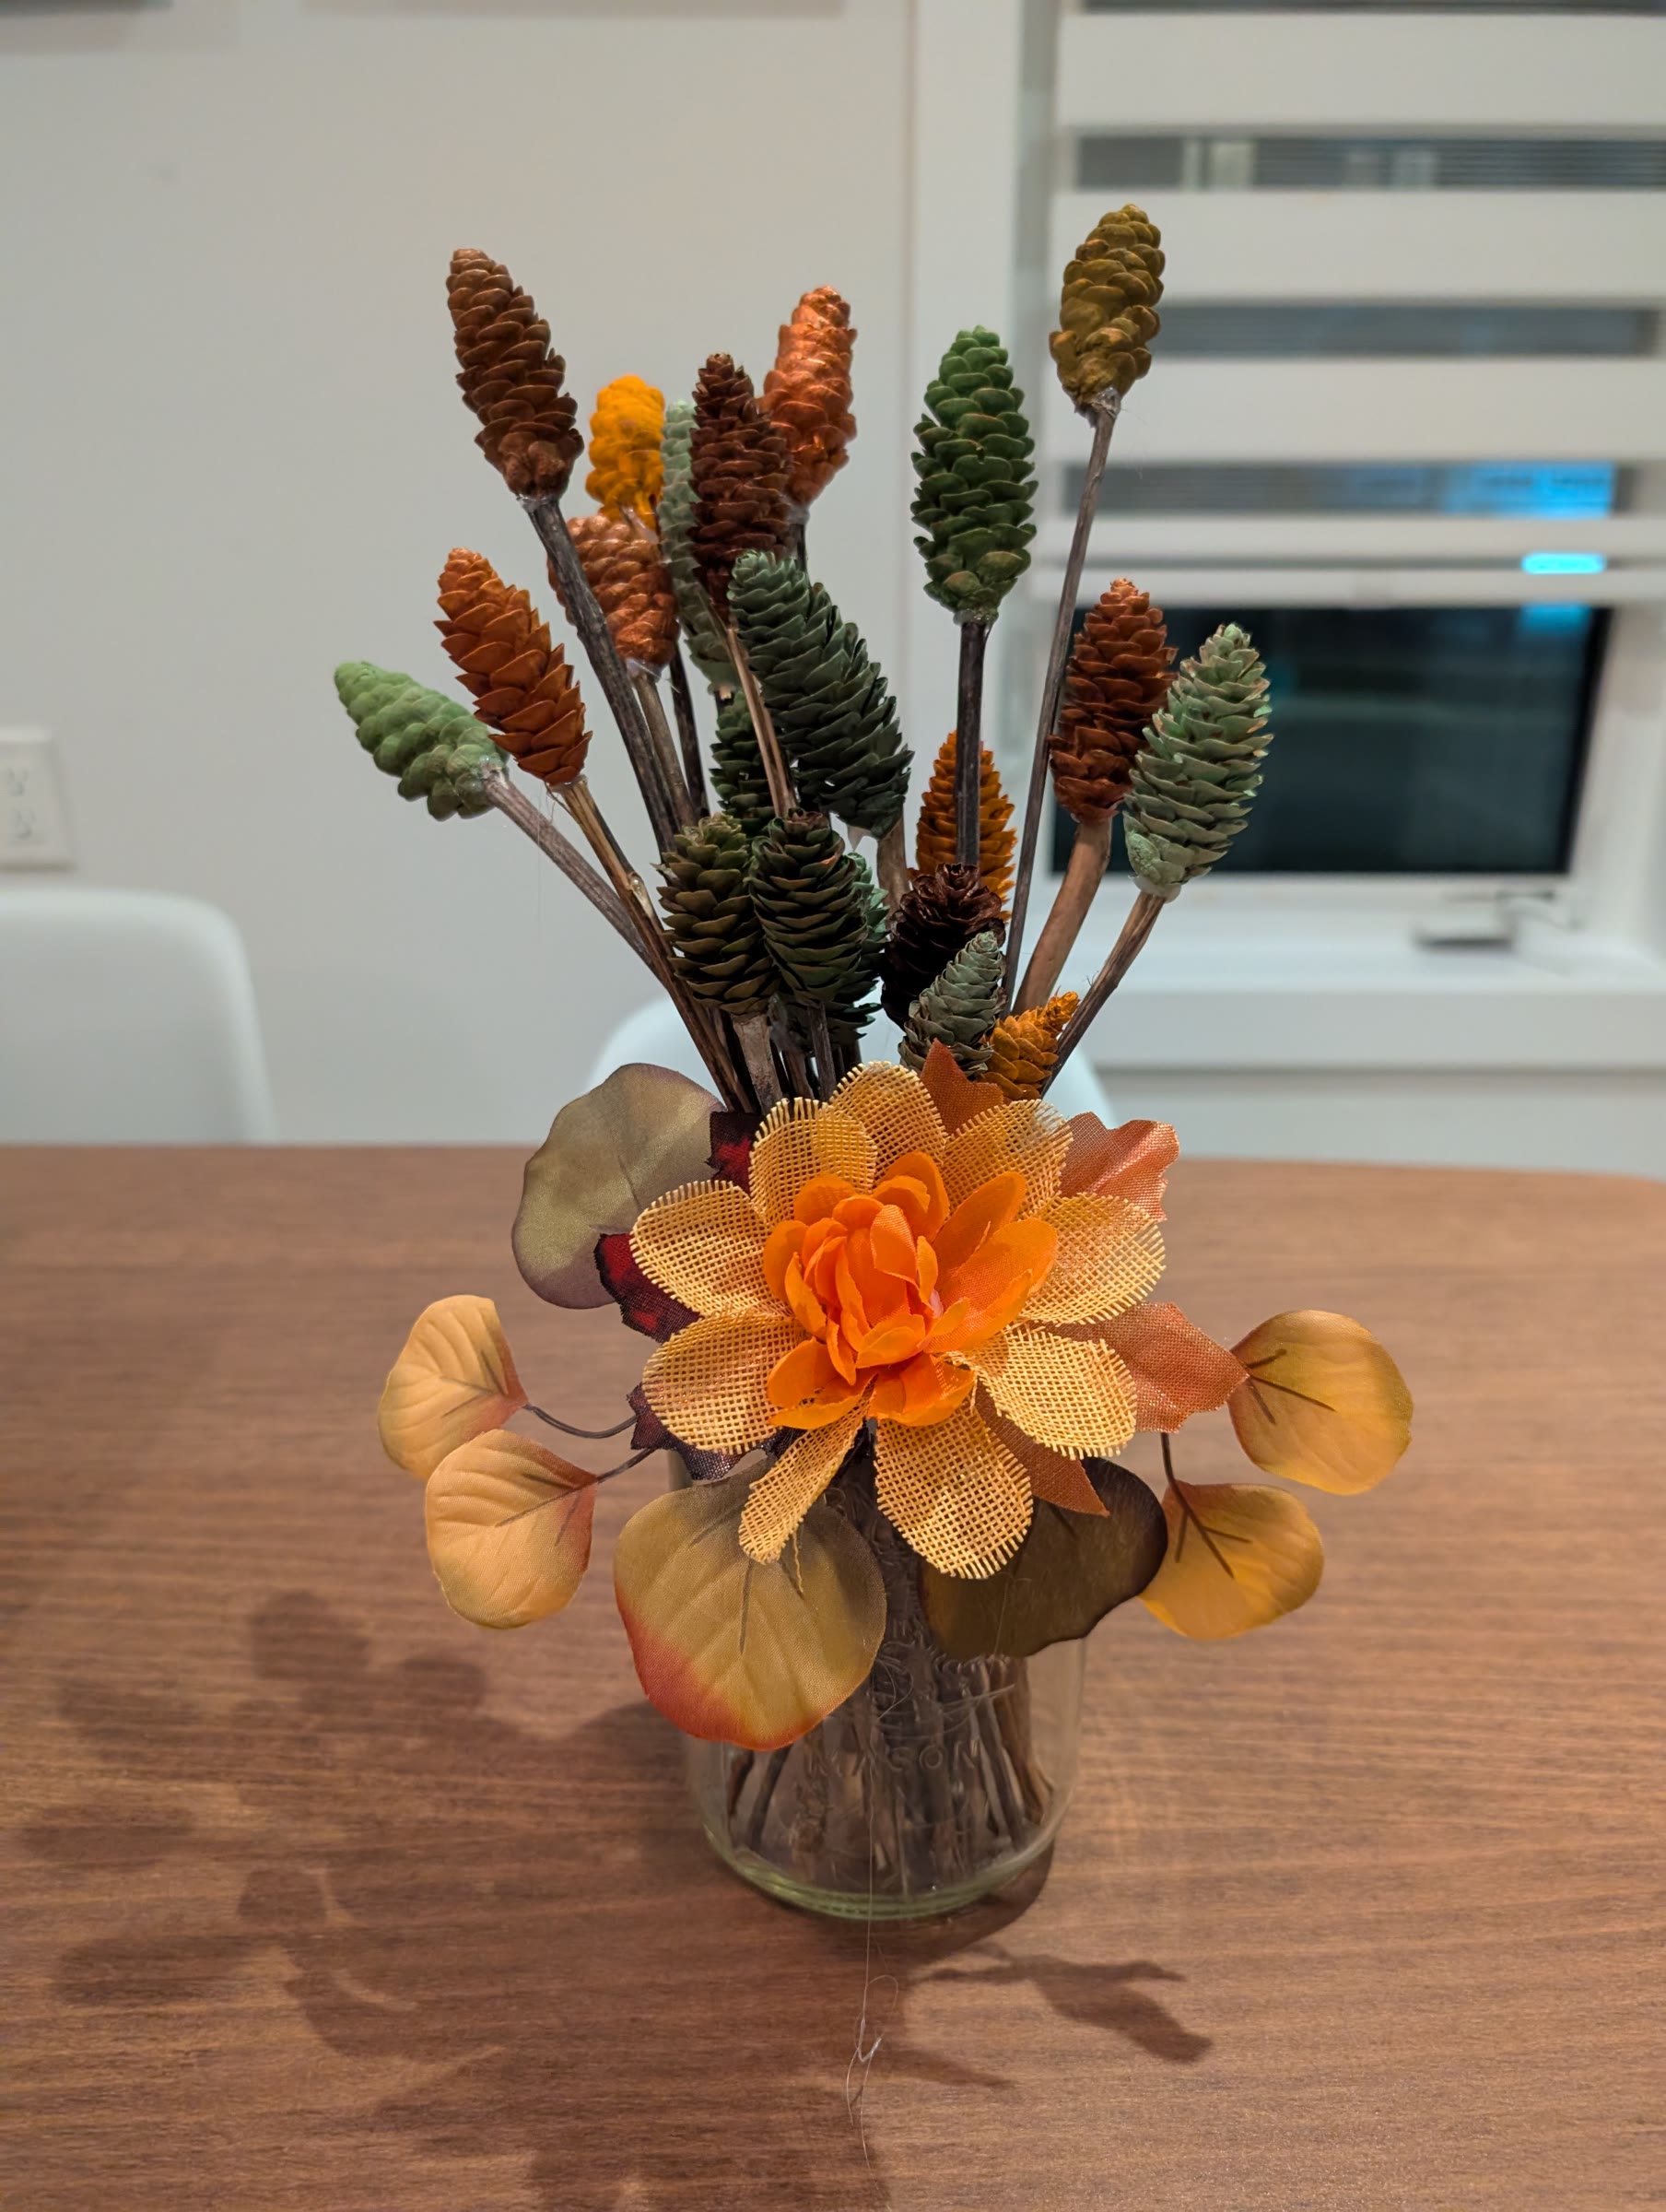
This is a great free activity to do with the kids on a fall day. Head out for a nature walk to pick up pinecones and sticks, then come home and paint the pinecones in fall colours. Once the paint is dry, an adult (or an older kid) can use the glue gun to attach each pinecone to a stick. We finished ours in a mason jar with a bit of leftover floral, and it makes a pretty fall centrepiece. It's a great way to be creative for free.
Materials
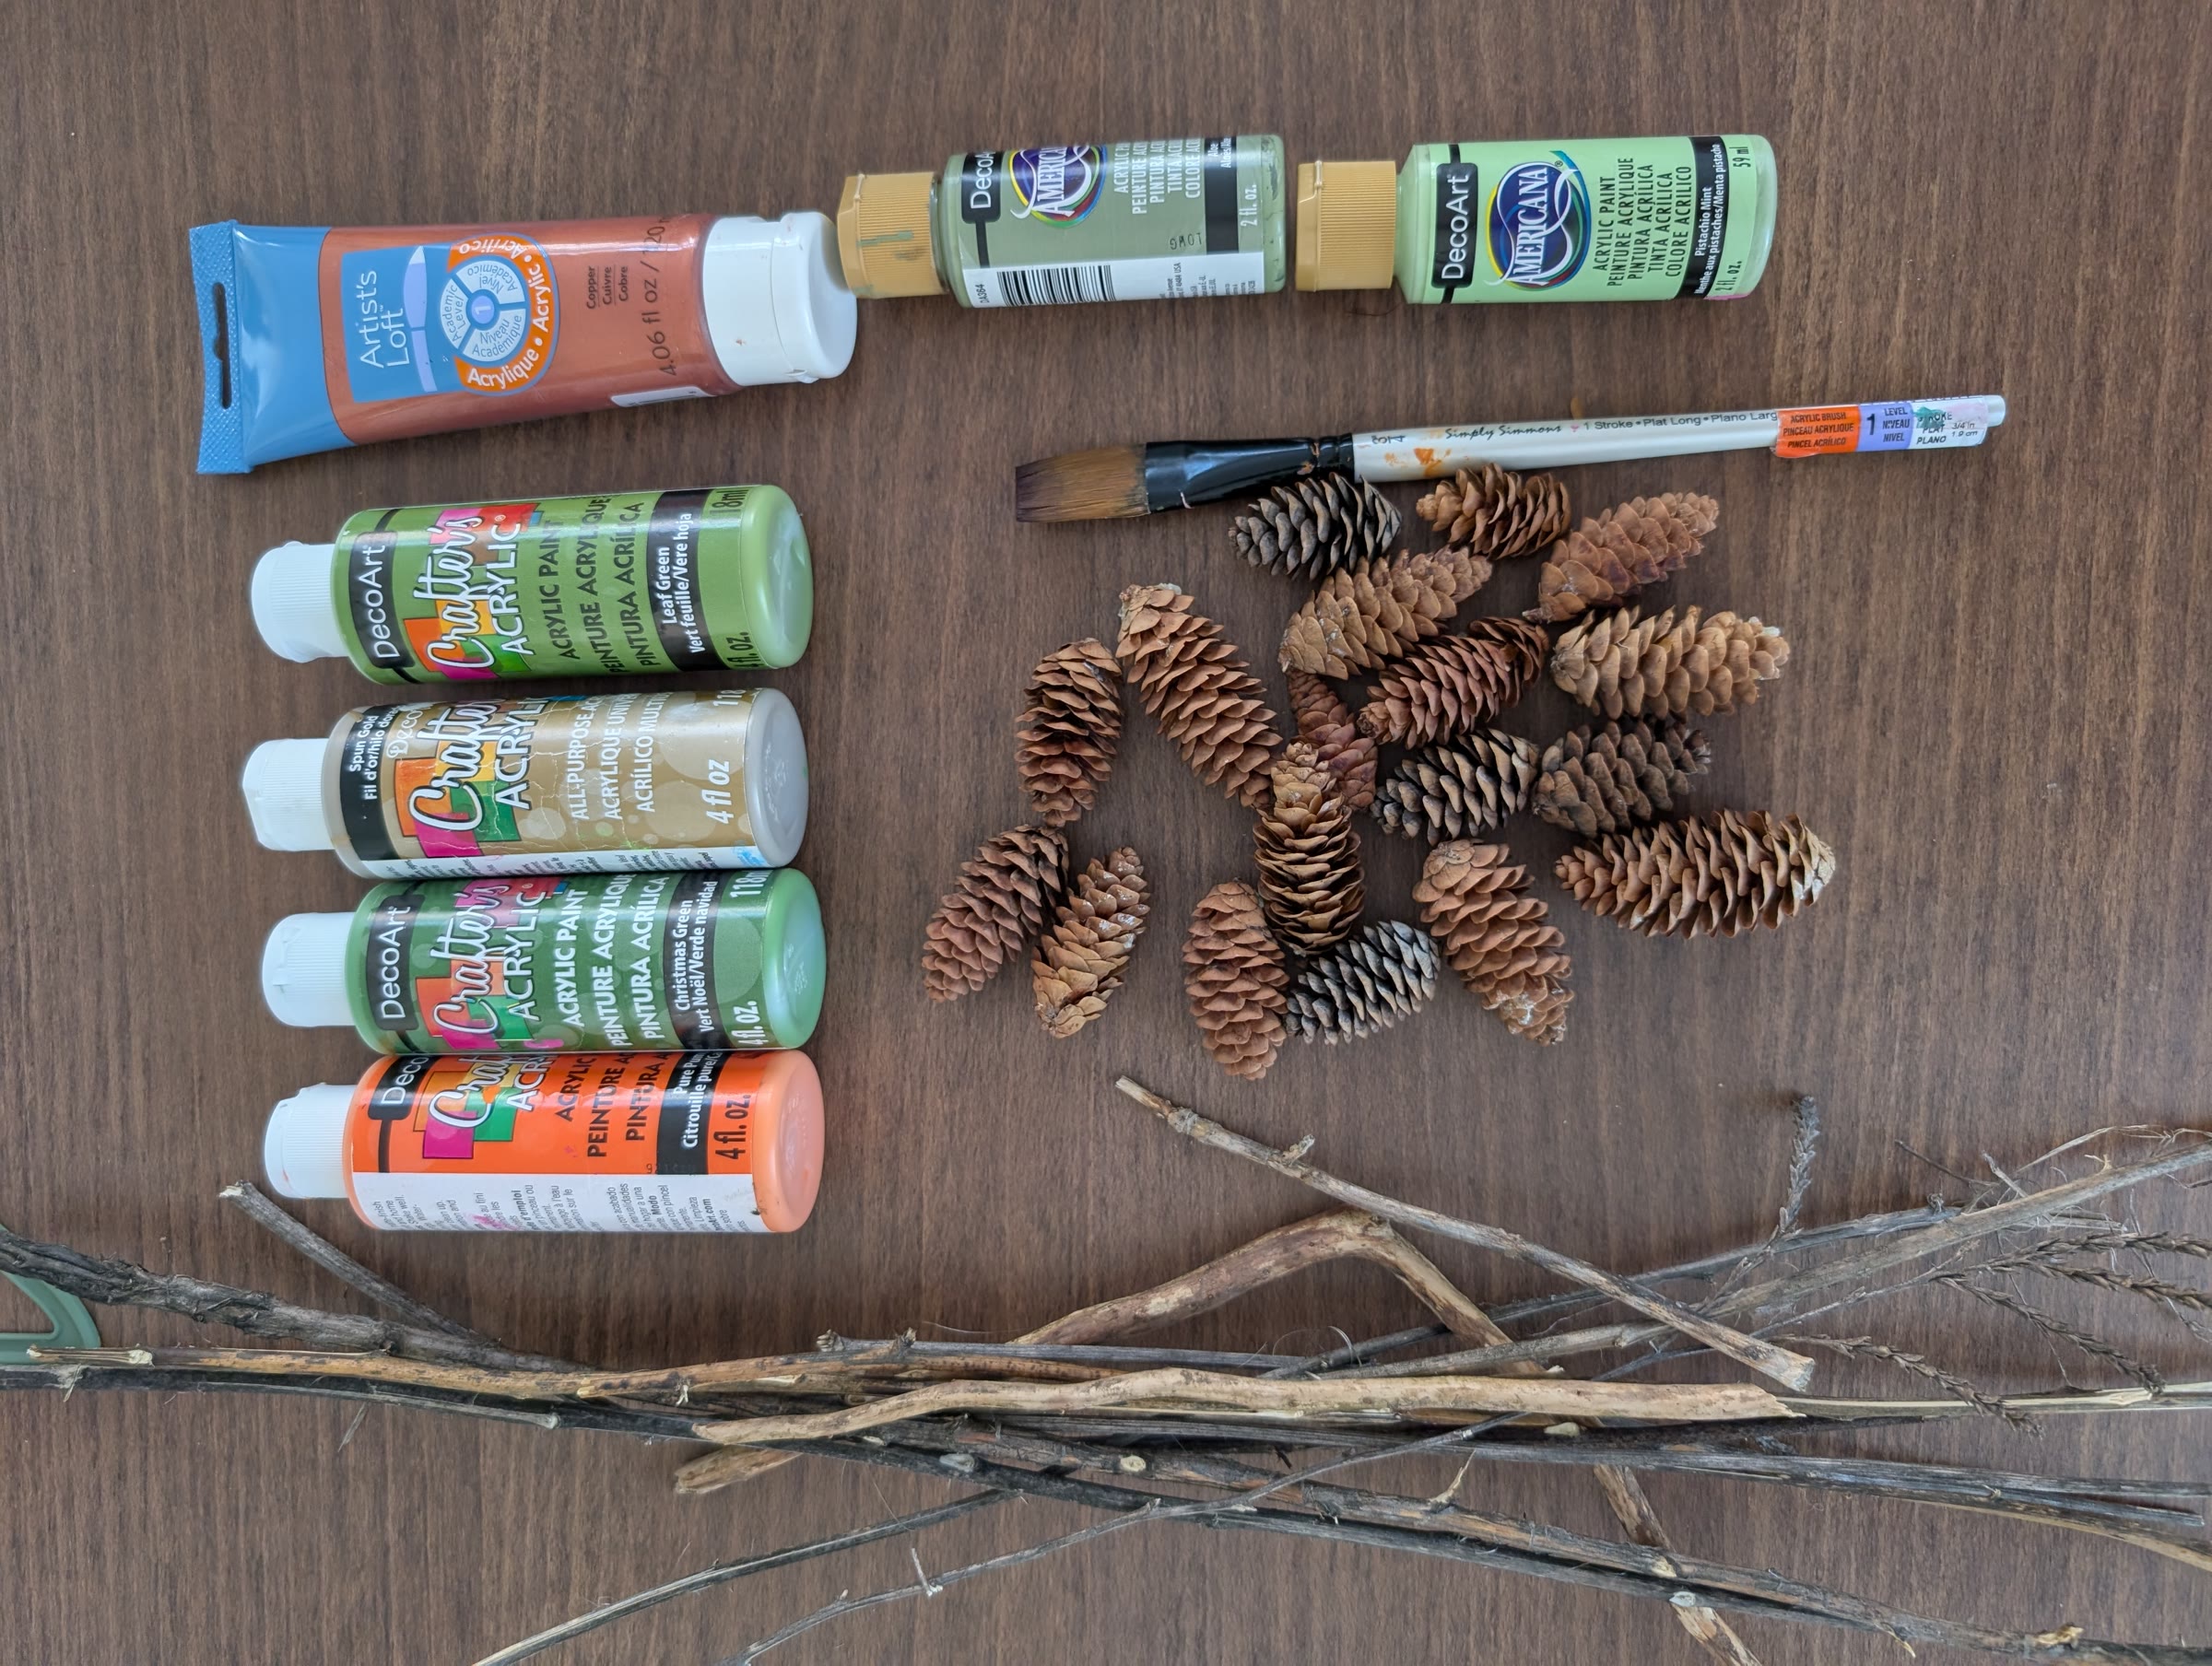
- Pinecones and sticks, collected on a nature walk
- Acrylic paint in fall colours (we used oranges, coppers, gold, and a few greens)
- A flat paintbrush
- A hot glue gun, for an adult or older kid to use
- A mason jar we already owned
- Leftover floral from our Cozy Yarn Pumpkin Wreath, to finish it off
What we did
Step 1: Go on a nature walk
Take the kids outside and collect pinecones and sticks as you go. It's a good excuse for a fall walk, and everything you pick up is free. Look for sticks that are long and fairly straight, since each one becomes a stem.
Step 2: Paint the pinecones
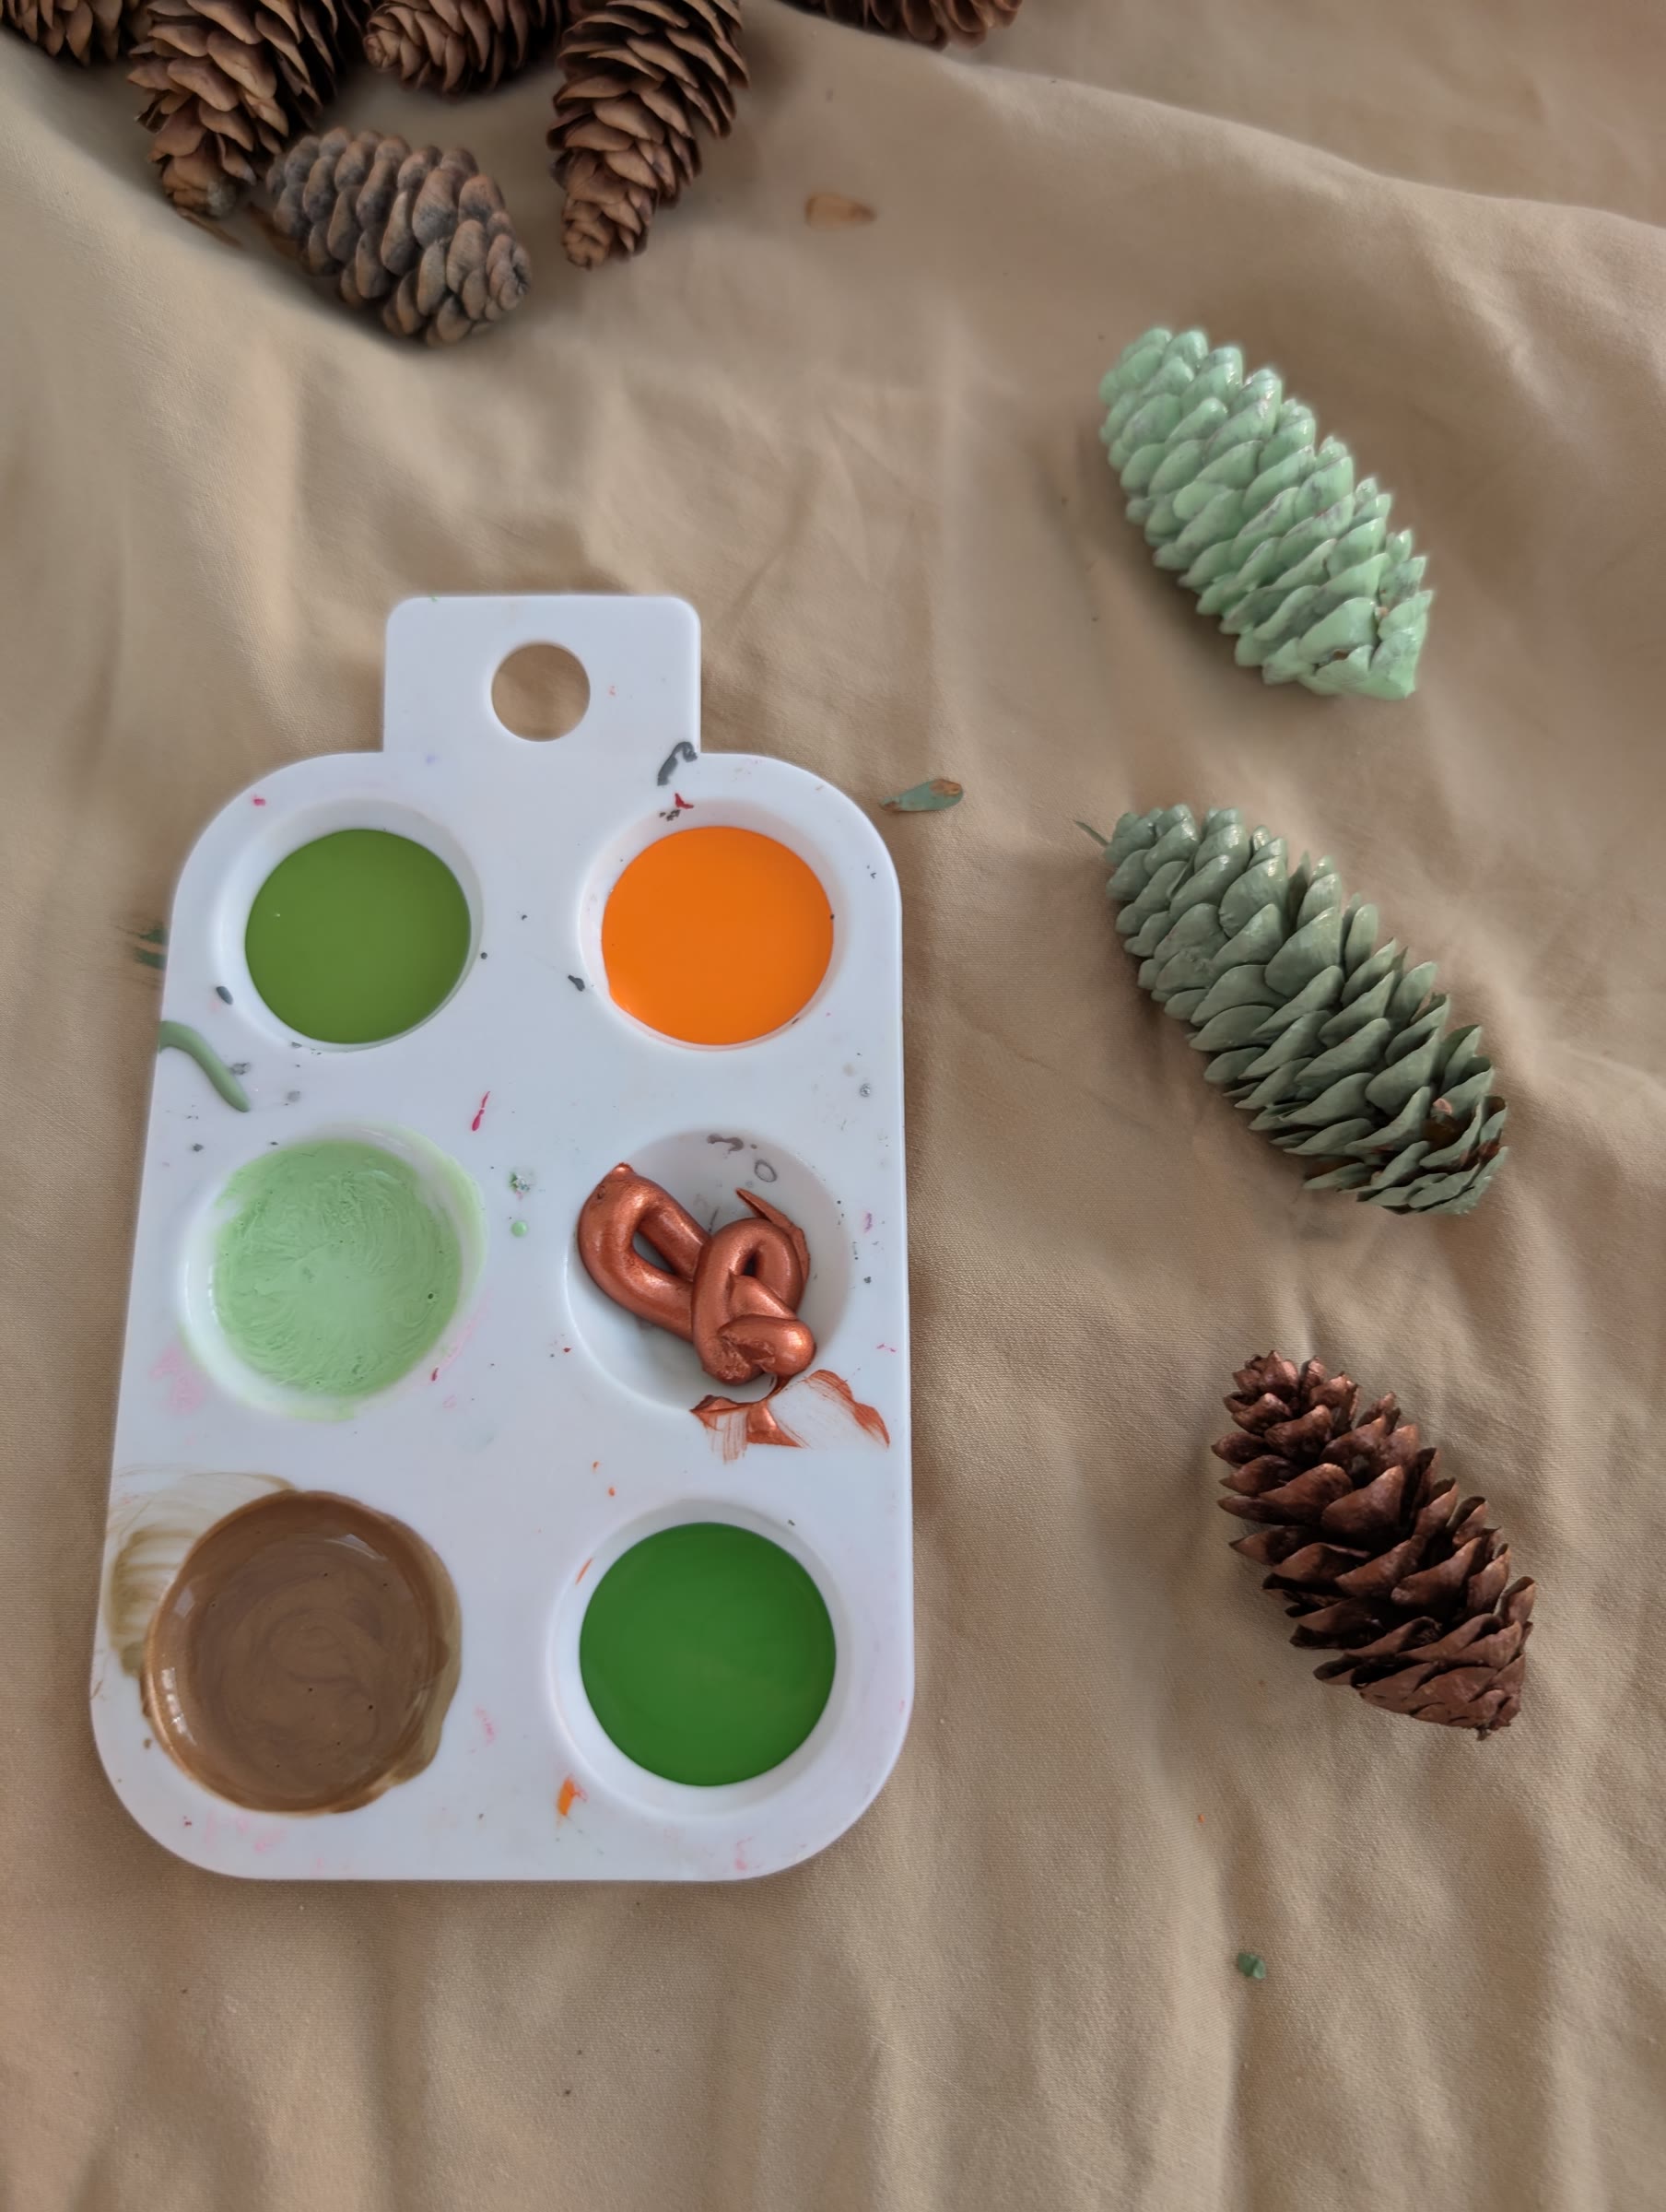
Back at home, let the kids paint the pinecones. We mixed up a palette of fall colours (oranges, coppers, gold, and some greens) and painted them in different colours, with a few left natural. Set them aside until the paint is dry.
Step 3: Glue the pinecones to the sticks
Once the paint is dry, it's time for the glue gun. This step is for an adult or older kids: glue each pinecone to the end of a stick.
Step 4: Arrange the bouquet
Put the sticks in a mason jar (we used one we already owned) and fan them out so the pinecones sit at different heights. To finish it off, we tucked in some leftover floral from our pumpkin wreath.
Result
A colourful fall bouquet made from things we found outside and supplies we already had at home. It's a fun way to spend a fall day with the kids, and it costs nothing.